New Year’s Eve Nails Ideas to Sparkle: A Step-by-Step Guide
As the clock ticks closer to midnight on December 31st, you’ll want to make sure your nails are sparkling and festive. Whether you’re heading to a New Year’s Eve party or just want to ring in the new year with some extra glamour, we’ve got the perfect nail ideas for you. In this guide, we’ll show you how to create stunning New Year’s Eve nails that are sure to turn heads.
Planning Your Design
The first step in creating your New Year’s Eve nails is to plan your design. Think about the occasion and what kind of look you want to achieve. Do you want a classic and elegant look or something more bold and eye-catching? Consider the colors and themes you want to use and start brainstorming ideas.
Choose Your Colors
When it comes to choosing colors for your New Year’s Eve nails, the possibilities are endless. Consider the colors of the party decorations, the theme of the celebration, and even the colors of the fireworks in the sky. Here are a few ideas to get you started:
- Classic silver and gold glitters for a timeless and elegant look
- Deep reds and burgundies for a sophisticated and luxurious feel
- Shimmering blues and purples for a bold and eye-catching statement
Preparing Your Nails
Before you can start creating your design, you’ll need to prepare your nails. This includes shaping, buffing, and cleaning your nails to get them ready for polish. Here’s how:
Step 1: Shape Your Nails
Use nail clippers to shape your nails into the desired shape. Make sure to keep your nails short and neat to avoid any awkwardness when applying polish.
Step 2: Buff Your Nails
Use a nail buffer to smooth out any ridges or imperfections on your nails. This will help your polish adhere better and create a smooth finish.
Step 3: Clean Your Nails
Use a lint-free wipe to clean your nails and remove any oils or residue. This will help your polish stick better and create a long-lasting finish.
Applying Polish
Now it’s time to apply your polish! Choose a high-quality polish that’s specifically designed for nail art. Here’s how to apply it:
Step 1: Apply a Base Coat
Apply a thin layer of clear base coat to each nail to protect your nails and create a smooth finish.
Step 2: Apply Your Color
Apply a thin layer of polish to each nail, starting at the center and working your way out towards the tips. Make sure to let each layer dry completely before applying the next one.
Step 3: Apply a Top Coat
Apply a thin layer of clear top coat to each nail to seal in your design and create a glossy finish.
Adding the Finishing Touches
Now that your polish is dry, it’s time to add the finishing touches. Here are a few ideas to get you started:
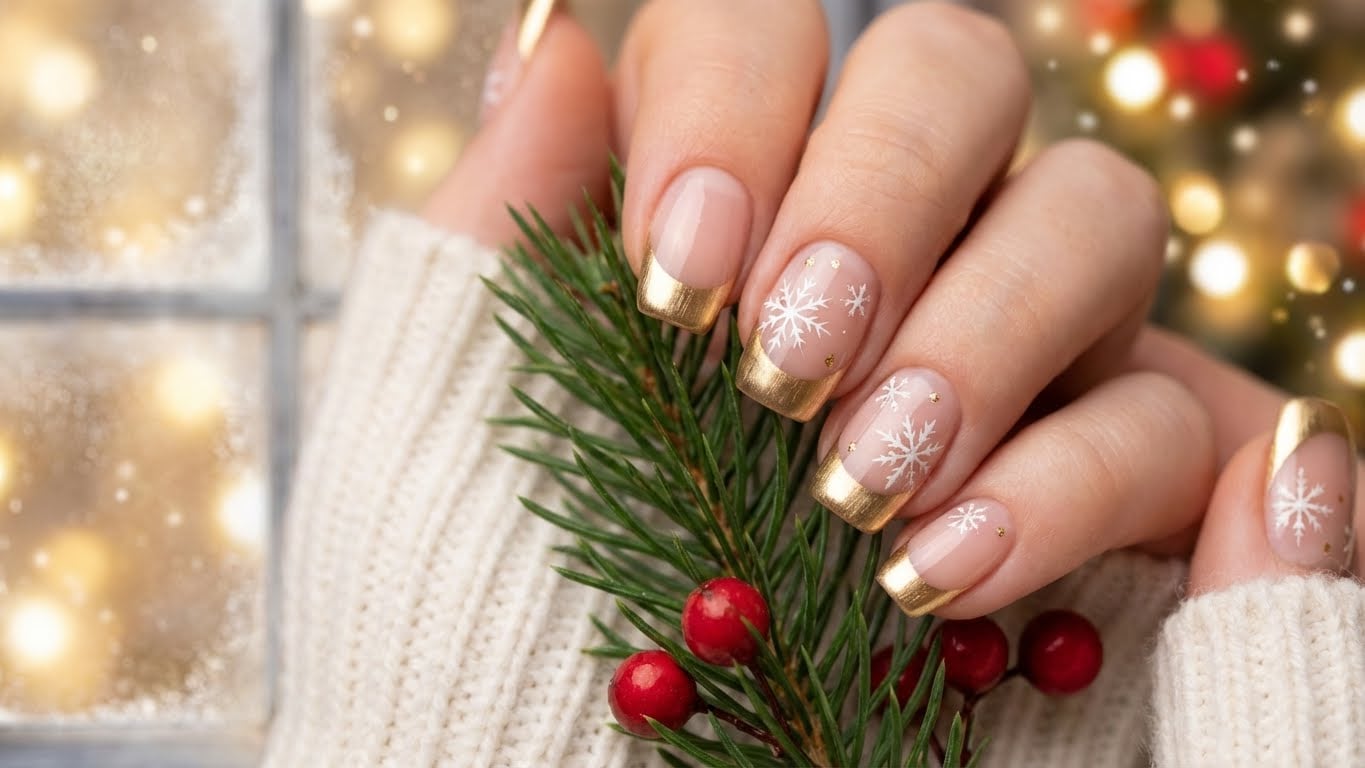
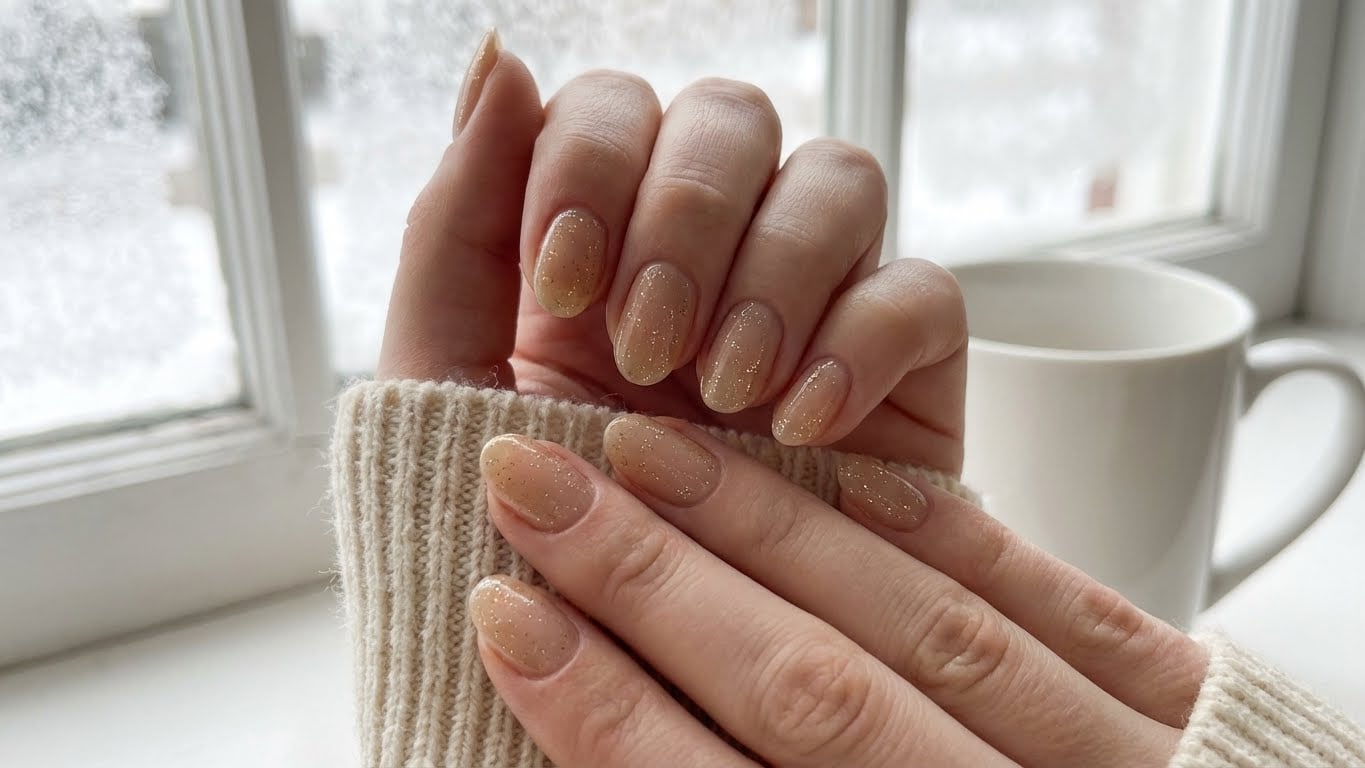
Step 1: Add Glitter
Use a glitter polish or add individual glitters to your nails for a sparkly finish. You can also use a glue-on glitter or a glitter top coat for added sparkle.
Step 2: Add Rhinestones
Use rhinestones or nail gems to add extra sparkle and shine to your nails. You can attach them using nail glue or a rhinestone applicator.
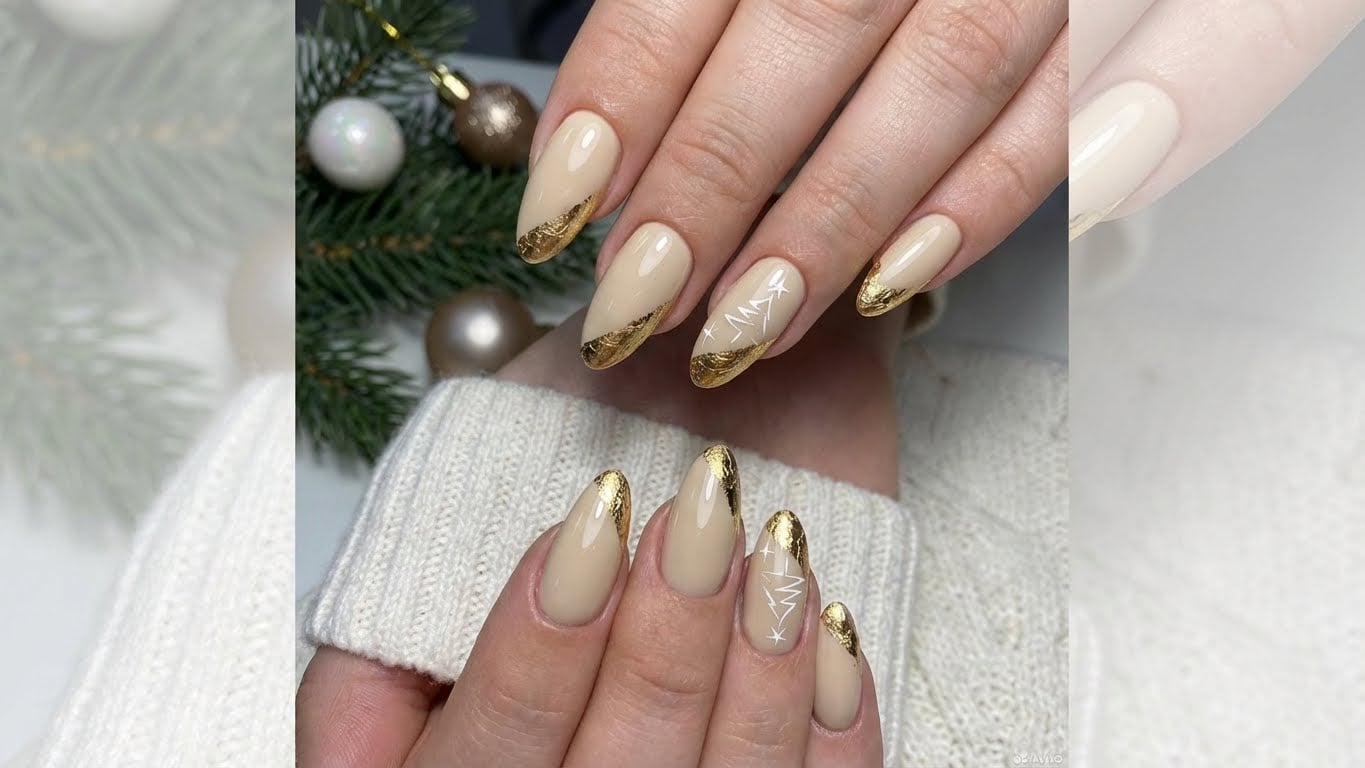
Step 3: Add a Nail Art Design
Use nail polish or a nail art brush to create intricate designs and details on your nails. You can also use a nail art stamp or a nail art sticker for added complexity.
Final Touches
Now that your design is complete, it’s time to add the final touches. Here are a few ideas to get you started:
Step 1: Apply a Cuticle Oil
Apply a cuticle oil to your cuticles to keep them hydrated and healthy. This will help your nails look their best and prevent dryness and cracking.
Step 2: Apply a Hand Cream
Apply a hand cream to your hands to keep them moisturized and soft. This will help your nails look their best and prevent dryness and cracking.
Step 3: Add a Finishing Touch
Use a nail polish or a nail art brush to add a final touch to your design. This could be a small detail or a finishing flourish to complete your look.
Step 4: Admire Your Handiwork
Finally, it’s time to admire your handiwork! Take a step back and admire your stunning New Year’s Eve nails. Share your design on social media using a hashtag and tag us in the comments so we can see your creations!
Conclusion
And there you have it – a step-by-step guide to creating stunning New Year’s Eve nails. From planning your design to adding the final touches, we’ve covered everything you need to know to create a look that’s sure to turn heads. So go ahead, get creative, and ring in the new year in style!
Keywords:
- New Year’s Eve nails
- Nail art
- Nail design
- Nail polish
- Nail glitter
- Rhinestones
- Nail gems
- Nail art brush
- Nail stamp
- Nail sticker
FAQ:
-
Q: What’s the best way to apply nail polish?
A: The best way to apply nail polish is to use a steady hand and apply thin layers, allowing each layer to dry completely before applying the next one.
-
Q: How do I remove nail polish?
A: To remove nail polish, soak your nails in a bowl of acetone for a few minutes, then gently scrape off the polish with a cuticle pusher or an orange stick.
-
Q: What’s the best way to care for my nails?
A: The best way to care for your nails is to keep them moisturized with a cuticle oil or hand cream, and to avoid using your nails as tools.
FAQ
What's the best way to apply nail polish?
The best way to apply nail polish is to use a steady hand and apply thin layers, allowing each layer to dry completely before applying the next one.
How do I remove nail polish?
To remove nail polish, soak your nails in a bowl of acetone for a few minutes, then gently scrape off the polish with a cuticle pusher or an orange stick.
What's the best way to care for my nails?
The best way to care for your nails is to keep them moisturized with a cuticle oil or hand cream, and to avoid using your nails as tools.
Related Posts