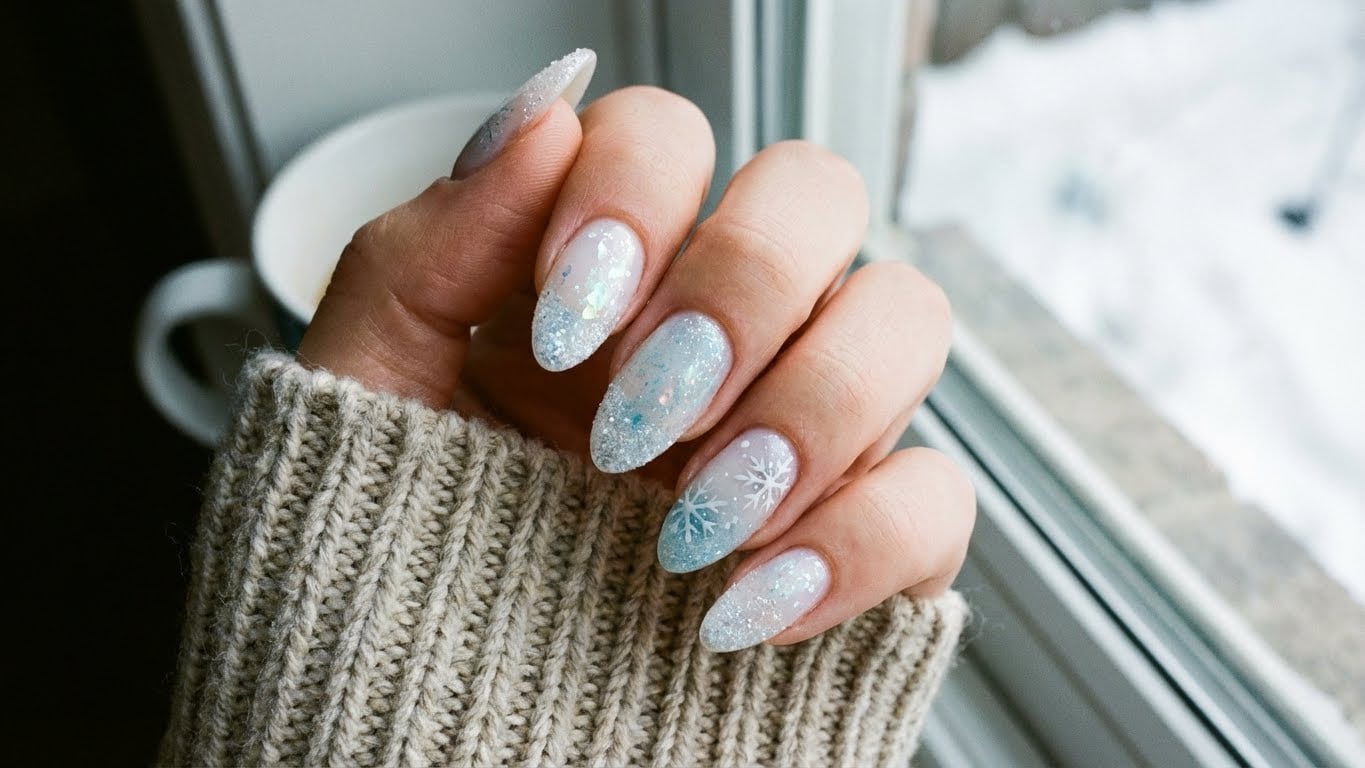
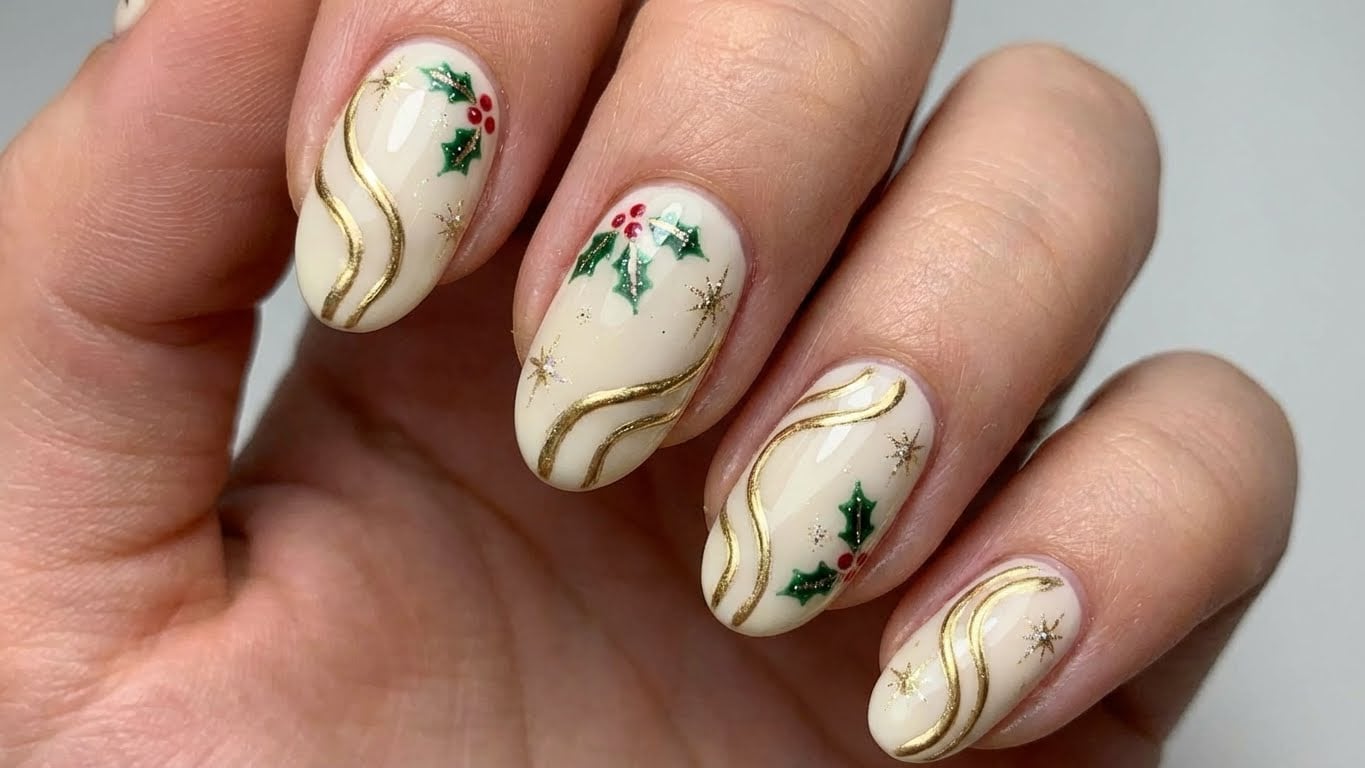
Introduction to Sparkling Winter Nails
Winter is here, and with it comes the perfect opportunity to get creative with your nail art. Sparkling winter nails are a fantastic way to add some festive flair to your look, and with the right techniques and materials, you can achieve a look that’s both elegant and eye-catching.
In this guide, we’ll walk you through the steps you need to follow to achieve stunning sparkling winter nails. From preparing your nails to choosing the perfect polish, we’ll cover everything you need to know to get started.
Step 1: Prepare Your Nails
Before you can start creating your sparkling winter nails, you need to prepare your nails for the process. This involves removing any old nail polish, trimming and shaping your nails, and applying a base coat to protect your nails from staining.
To remove old nail polish, you can use a nail polish remover. Soak a cotton pad with the remover and place it on your nail for a few minutes. Then, gently scrape off the polish with a cuticle pusher or an orange stick.
Next, use nail clippers to trim and shape your nails to your desired shape. Be sure to follow the natural curve of your nail bed to avoid any unevenness.
Finally, apply a base coat to your nails to protect them from staining. This will also help your polish adhere better to your nails.
Step 2: Choose Your Polish
Now that your nails are prepared, it’s time to choose the perfect polish for your sparkling winter nails. There are many different types of polish available, including creme, glitter, and holographic.
For a classic sparkling look, you can’t go wrong with a good ol’ creme polish. Look for a polish that’s rich in pigment and has a smooth, creamy finish. Some popular creme polish shades for winter include “Ruby Red” and “Emerald Green”.
If you want to add some extra sparkle to your nails, you can try a glitter polish. Glitter polishes come in a range of different finishes, from fine glitter to chunky glitter. Be sure to choose a polish that’s specifically designed for nail art, as these polishes are usually formulated to be more durable and long-lasting.
Step 3: Apply Your Polish
Now that you’ve chosen your polish, it’s time to apply it to your nails. Start by applying a thin layer of polish to your nail using a nail brush. Be sure to cover the entire surface of your nail, but don’t overload the brush with too much polish.
Next, use a clean-up brush to remove any excess polish from around your cuticles and nail bed. This will help prevent any streaks or smudges from forming.
Finally, apply a top coat to seal in your polish and add extra shine. This will also help your polish last longer and prevent chipping.
Step 4: Add Some Sparkle
Now that your polish is dry, it’s time to add some sparkle to your nails. You can use a variety of different methods to add sparkle to your nails, including nail glue, nail stickers, and nail gems.
One popular method for adding sparkle to your nails is to use nail glue to attach nail gems or rhinestones to your nails. This will give your nails a beautiful, eye-catching sparkle that’s sure to turn heads.
Another option is to use nail stickers to add some sparkle to your nails. Nail stickers are small pieces of plastic or foil that you can stick to your nails to create a variety of different designs. Look for nail stickers that are specifically designed for nail art, as these will be more durable and long-lasting.
Conclusion
And there you have it – a step-by-step guide to achieving stunning sparkling winter nails. With these simple steps, you can create a look that’s both elegant and eye-catching, perfect for the holiday season.
So why not give it a try? With a little bit of practice and patience, you can achieve the sparkling winter nails of your dreams. Happy nail-ing!
Related Posts