Introduction
Winter is here, and it’s the perfect time to add some sparkle to your look. What better way to do that than with a set of sparkly winter nails? In this guide, we’ll take you through the steps to create a stunning set of nails that will make you feel like a winter wonderland princess.
Choosing the Right Nail Polish
The first step in creating sparkly winter nails is to choose the right nail polish. You’ll want to opt for a polish that’s not only sparkly but also long-lasting. Look for polishes that are labeled as “gel” or “durable” as they tend to be more long-lasting.
Popular Winter Nail Polish Colors
Some popular winter nail polish colors include:
- Silver and gold metallic shades
- Deep berry and plum colors
- Shimmery pastel shades
Applying Nail Polish
Once you’ve chosen your nail polish, it’s time to apply it. Here’s a step-by-step guide on how to apply nail polish like a pro:
- Clean and prepare your nails by removing any old polish and pushing back your cuticles.
- Apply a base coat to protect your nails and promote adhesion.
- Apply one coat of nail polish, following the manufacturer’s instructions.
- Finish with a top coat to seal in the color and add shine.
Adding Some Sparkle with Nail Art
If you want to take your sparkly winter nails to the next level, consider adding some nail art. You can use nail polish, stickers, or even glitter to create a unique design. Here are a few ideas to get you started:
- Nail polish stripes: Use a nail polish brush to create stripes of different colors on your nails.
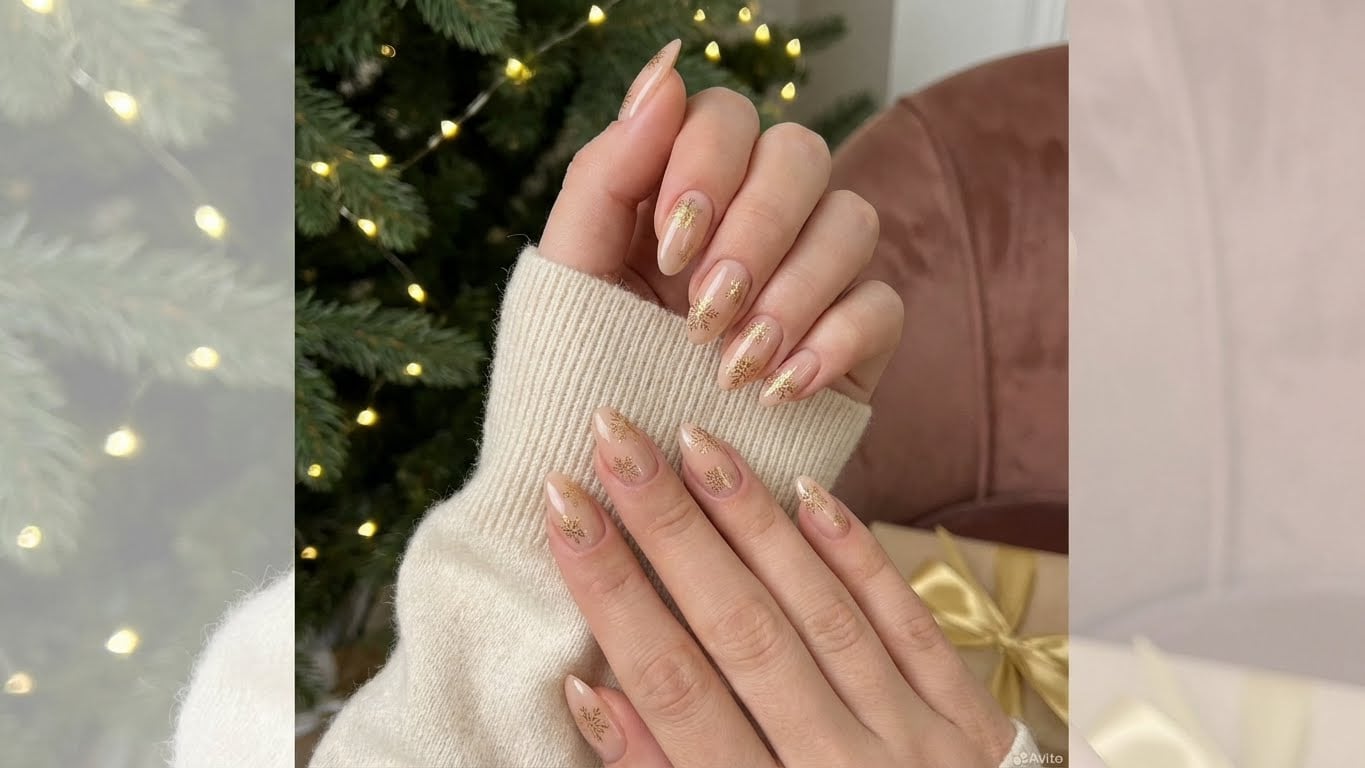
- Nail stickers: Apply nail stickers in a festive design, such as snowflakes or holly leaves.
- Glitter accents: Add a pinch of glitter to the center of your nails for a touch of sparkle.
Tips and Tricks for Long-Lasting Sparkly Winter Nails
To keep your sparkly winter nails looking their best, follow these tips and tricks:
- Use a base coat to protect your nails and promote adhesion.
- Apply a top coat to seal in the color and add shine.
- Avoid using your nails as tools, such as opening packages or picking at things.
- Keep your nails moisturized with a nail oil or cream.
Conclusion
With these steps and tips, you’re ready to create your own set of sparkly winter nails. Whether you’re looking for a simple, elegant look or something more bold and festive, we’ve got you covered. So go ahead, get creative, and add some sparkle to your winter look!
Frequently Asked Questions
Q: How do I remove old nail polish?
A: To remove old nail polish, use a nail polish remover and follow the manufacturer’s instructions.
Q: Can I use nail polish with a built-in top coat?
A: Yes, you can use nail polish with a built-in top coat. This can save you time and effort, but be sure to follow the manufacturer’s instructions.
Q: How do I prevent chipping and fading?
A: To prevent chipping and fading, use a base coat to protect your nails and promote adhesion, and apply a top coat to seal in the color and add shine.
Q: Can I use sparkly nail polish on my natural nails?
A: Yes, you can use sparkly nail polish on your natural nails. Just be sure to follow the manufacturer’s instructions and use a base coat to protect your nails.

Related Posts