Winter is here, and with it comes the perfect excuse to get creative with your nail art. Whether you’re a seasoned pro or a beginner, sparkly winter nails are a great way to add some festive flair to your look. But how do you achieve that perfect frosty glow? In this article, we’ll share our top tips and tricks for creating stunning sparkly winter nails.
Choose the Right Base Coat
A good base coat is the foundation of any great nail look, and for sparkly winter nails, it’s no exception. Look for a clear base coat that’s infused with nourishing ingredients like argan oil or keratin. This will help to hydrate your nails while also providing a smooth canvas for your nail polish.
Some of our favorite base coats include the Essie First Base coat, which is infused with argan oil and keratin, and the Deborah Lippmann Gel Lab Pro Base Coat, which is a long-lasting and nourishing option. For a more affordable option, try the Sally Hansen Miracle Nail Thickener Base Coat, which helps to strengthen and thicken your nails.
Select the Perfect Polish
When it comes to selecting the perfect polish for your sparkly winter nails, there are a few things to consider. First, think about the color. For a classic winter look, try a shade of blue or purple. If you want to add some extra sparkle to your look, look for a polish that’s infused with glitter or holographic particles.
Some of our favorite polishes for sparkly winter nails include the OPI I’m Never Amberrassed, which is a gorgeous shade of shimmering amber, and the Butter London Union Jack Black, which features a bold and sparkly finish. For a more affordable option, try the Revlon ColorStay Polish in Sparkling Snow, which is a beautiful shade of pale blue.
Add Some Extra Sparkle
Once you’ve chosen your base coat and polish, it’s time to add some extra sparkle to your look. One of our favorite ways to do this is with a top coat that’s infused with glitter or holographic particles. This will help to add a touch of extra shine to your nails and make them look like they’re sparkling in the light.
Some of our favorite top coats include the Seche Vite Dry Fast Top Coat, which is a fast-drying and long-lasting option, and the Nails Inc. 45 Second Top Coat, which features a unique blend of ingredients that help to add shine and sparkle to your nails.
Get Creative with Nail Art
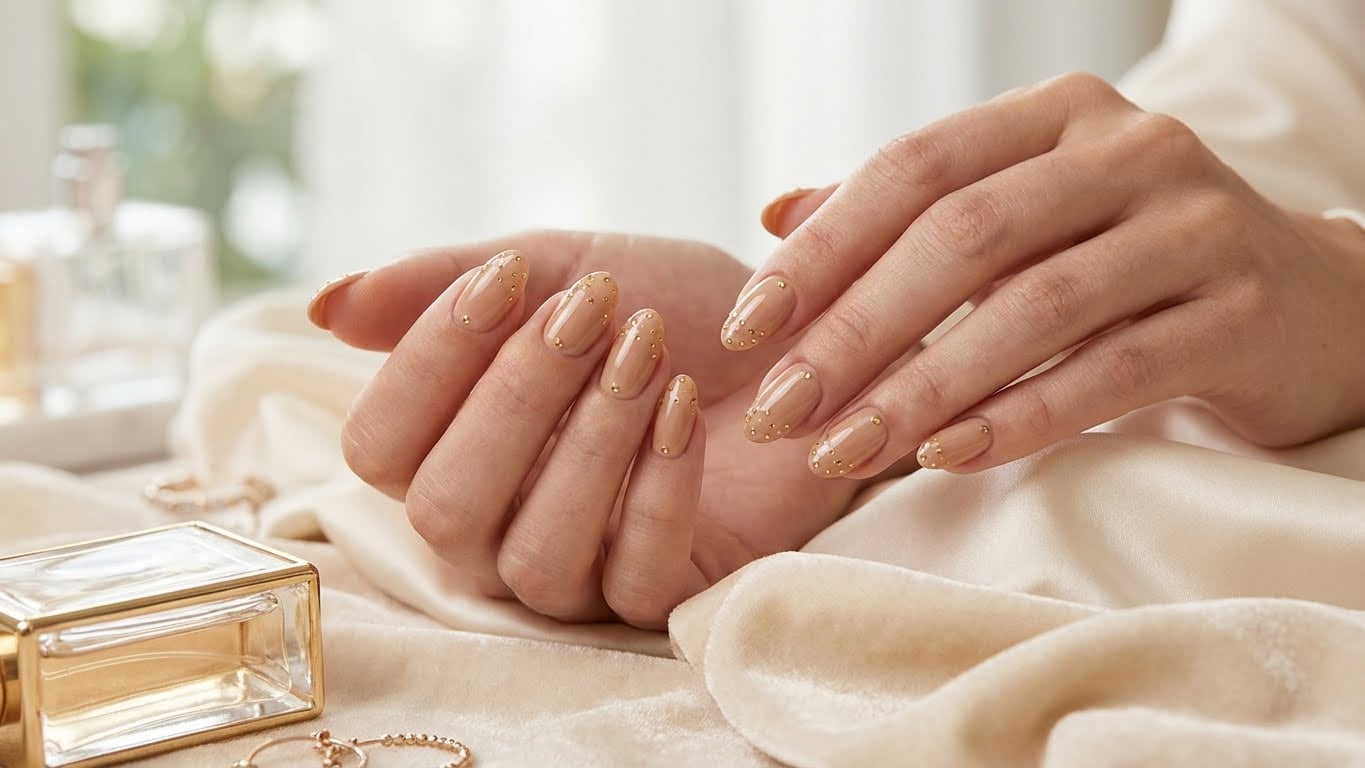
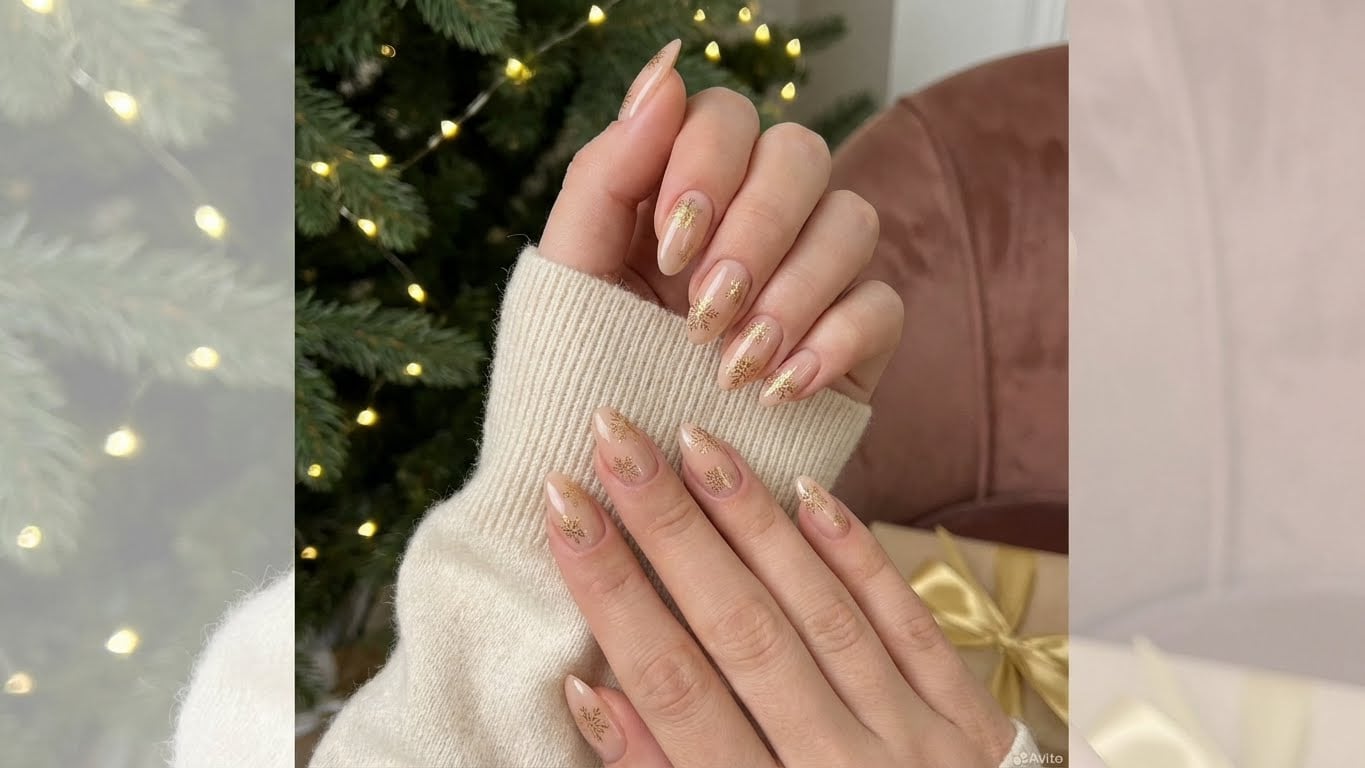
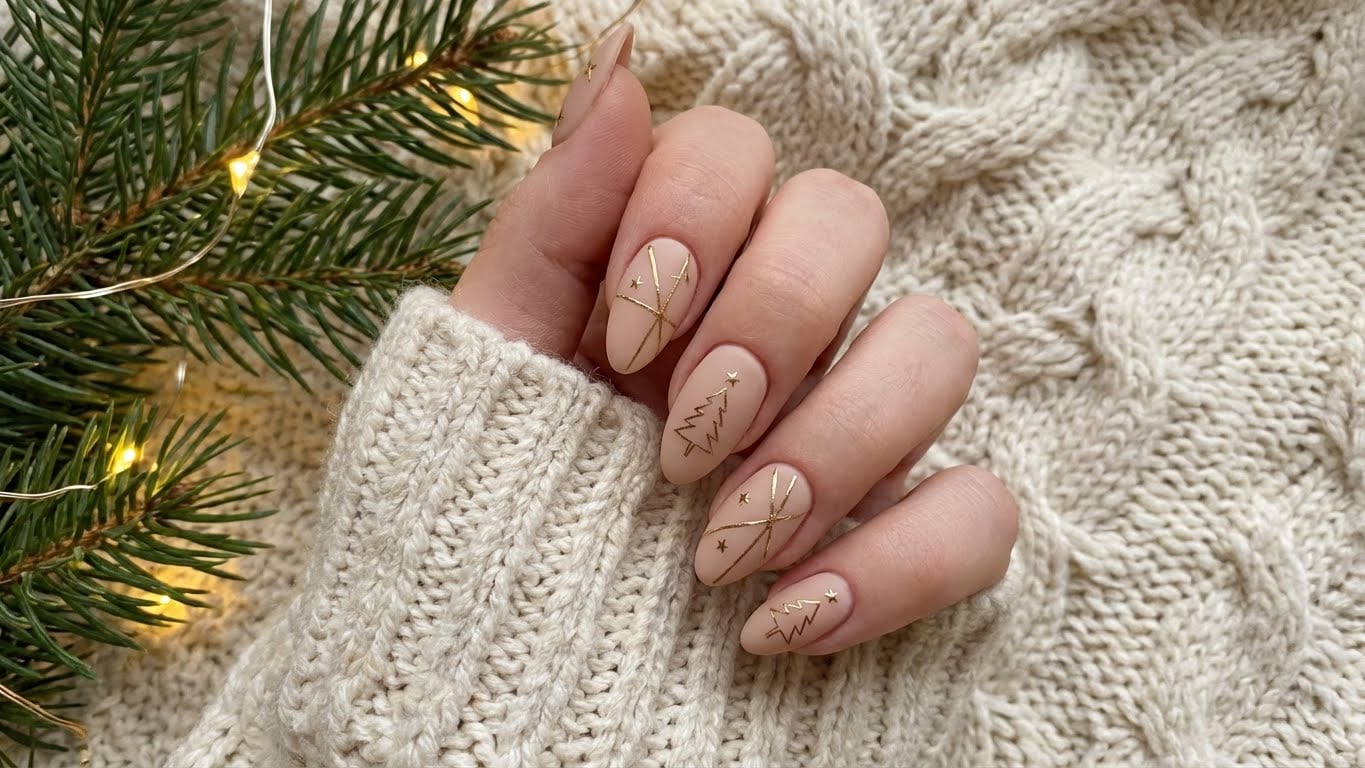
One of the best things about winter nail art is that it’s the perfect excuse to get creative and try out new techniques. From snowflakes to pinecones, there are countless ways to add some extra flair to your sparkly winter nails.
Some of our favorite nail art techniques include using nail stickers or guides to create intricate designs, and using a dotting tool to add small dots of polish to your nails. For a more advanced look, try using a nail art brush to paint on some delicate snowflakes or holly leaves.
Tips for Achieving a Perfect Glitter Finish
One of the biggest challenges of achieving a perfect glitter finish is getting the glitter to lie flat on the nail. Here are a few tips to help you achieve a smooth and even finish:
- Use a glitter polish that’s specifically designed for nail art. These polishes are usually more viscous and easier to work with.
- Apply a thin layer of polish to your nail and let it dry completely before adding a second layer. This will help to prevent the glitter from getting muddled.
- Use a top coat that’s infused with ingredients that help to add shine and sparkle to your nails.
Common Questions About Sparkly Winter Nails
Q: What’s the best way to remove glitter polish?
A: The best way to remove glitter polish is to use a nail polish remover that’s specifically designed for glitter polish. These removers usually contain ingredients that help to break down the glitter and make it easier to remove.
Some of our favorite nail polish removers include the OPI Nail Envy Remover, which is a gentle and effective option, and the Sally Hansen Miracle Nail Polish Remover, which is a long-lasting and nourishing option.
Q: Can I use a nail glue to attach glitter or rhinestones to my nails?
A: Yes, you can use a nail glue to attach glitter or rhinestones to your nails. However, make sure to choose a glue that’s specifically designed for nail use and follow the instructions carefully to avoid any damage to your nails.
Some of our favorite nail glues include the Sally Hansen Insta-Dri Nail Glue, which is a quick-drying and long-lasting option, and the ORLY Nail Glue, which is a gentle and effective option.
Q: How do I prevent my glitter polish from chipping?
A: One of the biggest challenges of glitter polish is getting it to last long enough without chipping. Here are a few tips to help you prevent your glitter polish from chipping:
- Apply a thin layer of polish to your nail and let it dry completely before adding a second layer. This will help to prevent the glitter from getting muddled.
- Use a top coat that’s infused with ingredients that help to add shine and sparkle to your nails.
- Avoid using your nails as tools (e.g. to open packages or pick at things).
Q: Can I use a glitter polish on my toes?
A: Yes, you can use a glitter polish on your toes. However, make sure to choose a polish that’s specifically designed for foot use and follow the instructions carefully to avoid any damage to your nails.
Some of our favorite polishes for toes include the OPI I’m Never Amberrassed, which is a gorgeous shade of shimmering amber, and the Butter London Union Jack Black, which features a bold and sparkly finish.
FAQ
What's the best way to remove glitter polish?
Use a nail polish remover that's specifically designed for glitter polish.
Can I use a nail glue to attach glitter or rhinestones to my nails?
Yes, but make sure to choose a glue that's specifically designed for nail use and follow the instructions carefully.
How do I prevent my glitter polish from chipping?
Apply a thin layer of polish, use a top coat, and avoid using your nails as tools.
Can I use a glitter polish on my toes?
Yes, but choose a polish that's specifically designed for foot use and follow the instructions carefully.
Related Posts