Why Sparkly Winter Nails are a Must-Try
Winter is here, and it’s time to get creative with your nail art. Sparkly winter nails are the perfect way to add some glamour to your look, and they’re surprisingly easy to achieve. Whether you’re heading out for a night on the town or just want to brighten up your daily routine, a sparkly nail design is sure to turn heads.
The Benefits of Sparkly Winter Nails
In addition to being a stylish and fun way to express yourself, sparkly winter nails have a number of practical benefits. They can help to distract from any imperfections in your nail shape or color, and they can even help to make your nails look healthier and more vibrant. Plus, with so many different types of glitter and sparkly finishes available, you can choose a design that suits your personal style and preferences.
Materials Needed for Sparkly Winter Nails
Before you can get started on your sparkly winter nail design, you’ll need to gather a few basic materials. These include:
* A nail polish remover
* A nail file
* A cuticle pusher
* A nail buffer
* A base coat
* A top coat
* A glitter polish
* A dotting tool (optional)
Step 1: Prep Your Nails
To create a smooth, even surface for your sparkly winter nail design, start by prepping your nails. Remove any old nail polish using a nail polish remover, and then use a nail file to shape and smooth out your nails. Use a cuticle pusher to gently push back your cuticles, and then use a nail buffer to buff your nails and remove any ridges or imperfections.
Step 2: Apply a Base Coat
Once your nails are prepped, it’s time to apply a base coat. Choose a clear base coat that will help to protect your nails and create a smooth surface for your sparkly winter nail design.
Step 3: Apply a Glitter Polish
Now it’s time to get creative with your sparkly winter nail design! Use a glitter polish to create a sparkly, glittery effect. You can choose from a wide range of different glitter polishes, including fine glitters, chunky glitters, and even holographic glitters.
Step 4: Add a Top Coat
Once you’ve applied your glitter polish, it’s time to add a top coat. This will help to seal in your sparkly winter nail design and create a long-lasting finish.
Sparkly Winter Nail Design Ideas
If you’re feeling stuck for ideas, here are a few different sparkly winter nail design ideas to try:
* Create a glittery gradient effect by layering different shades of glitter polish on top of each other.
* Use a dotting tool to create a sparkly, polka-dot design.
* Try a glittery ombre effect by layering different shades of glitter polish on top of a clear base coat.
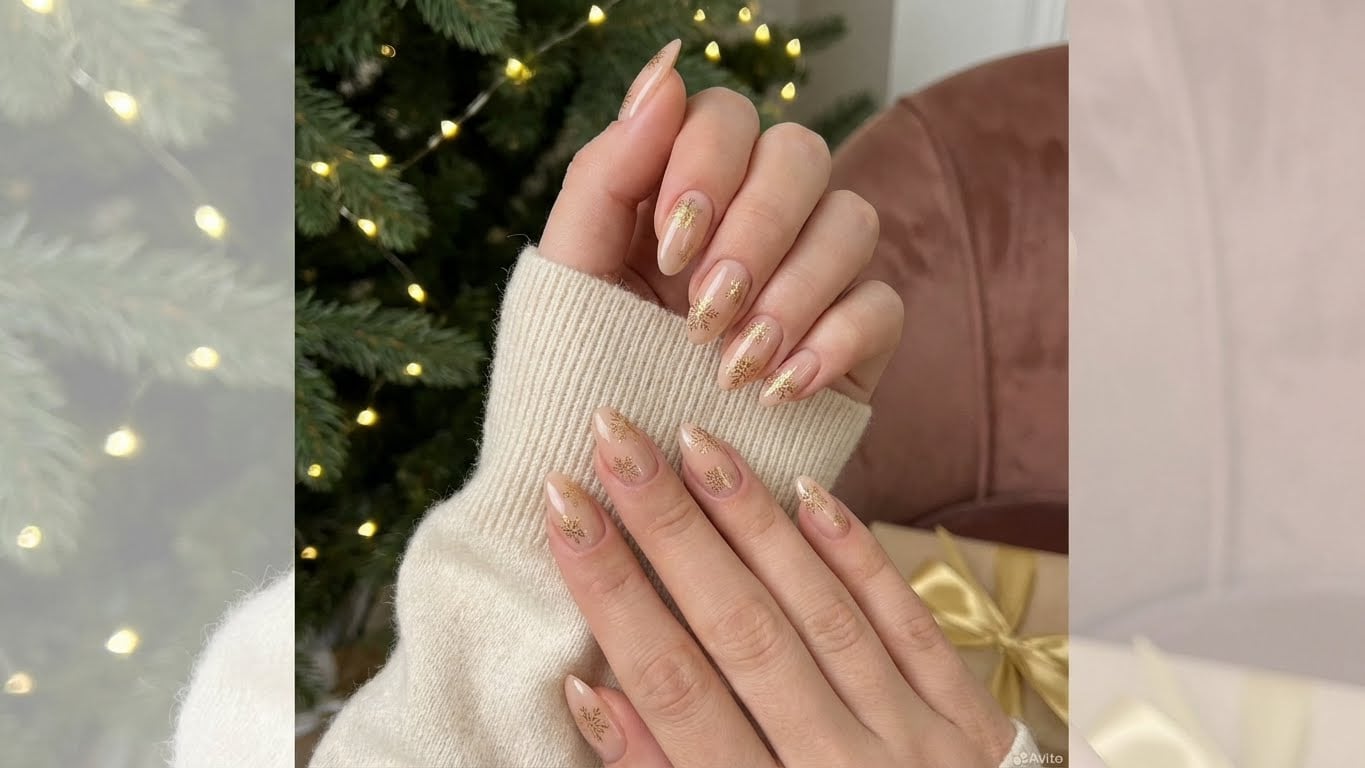
* Create a snowflake-inspired design using a nail art brush and a glitter polish.
FAQs
{
“faq”: [
{“q”: “What type of glitter polish should I use for a sparkly winter nail design?”, “a”: “There are many different types of glitter polish available, including fine glitters, chunky glitters, and holographic glitters. Choose a glitter polish that suits your personal style and preferences.”}
]
}
Conclusion
Sparkly winter nails are a fun and easy way to add some glamour to your look. With a few basic materials and some simple steps, you can create a glittering manicure at home. Whether you’re heading out for a night on the town or just want to brighten up your daily routine, a sparkly nail design is sure to turn heads.

Related Posts