Create a Festive Winter Wonderland with Sparkly Nails
As the cold winter months approach, why not add a touch of glamour to your look with some sparkly winter nails? In this step-by-step guide, we’ll walk you through the process of creating a dazzling winter nail look that’s sure to turn heads.
Step 1: Prepare Your Nails
Before you start painting, make sure to prepare your nails by removing any old nail polish and giving them a good buff to smooth out ridges and imperfections. This will help your new nail polish adhere better and last longer.
Why Buff Your Nails?
Buffing your nails helps to create a smooth surface for your nail polish to adhere to, which can help prevent chipping and fading. It also helps to remove any ridges or imperfections in the nail.
Step 2: Choose Your Nail Polish
When it comes to choosing a sparkly winter nail polish, there are many options to choose from. Consider a polish that has a mix of fine and chunky glitter to give your nails a dynamic look. You can also choose a polish that has a holographic effect for an extra touch of glamour.
Tips for Choosing the Perfect Nail Polish
When choosing a nail polish, consider the color and finish you want to achieve. Look for a polish that has a good balance of fine and chunky glitter for a dynamic look. You can also choose a polish that has a holographic effect for an extra touch of glamour.
Step 3: Apply a Base Coat
Before applying your nail polish, make sure to apply a base coat to protect your nails and help the polish adhere. Choose a base coat that’s infused with nourishing ingredients like keratin and vitamins to help strengthen your nails.
The Importance of a Base Coat
A base coat helps to protect your nails from staining and damage caused by the nail polish. It also helps the polish to adhere better and last longer.
Step 4: Apply Your Nail Polish
Now it’s time to apply your nail polish. Start by applying a thin layer of polish to each nail, making sure to cover the entire nail surface. Allow the first layer to dry completely before applying a second layer.
Tips for Applying Nail Polish
When applying nail polish, make sure to use a steady hand and apply the polish in thin layers. This will help prevent the polish from pooling at the cuticles and make it easier to achieve a smooth finish.
Step 5: Add a Top Coat
Once you’ve completed the first two layers of polish, make sure to apply a top coat to seal in the color and add shine. Choose a top coat that’s infused with nourishing ingredients like keratin and vitamins to help strengthen your nails.
The Importance of a Top Coat
A top coat helps to seal in the color and add shine to your nails. It also helps to protect your nails from chipping and fading.
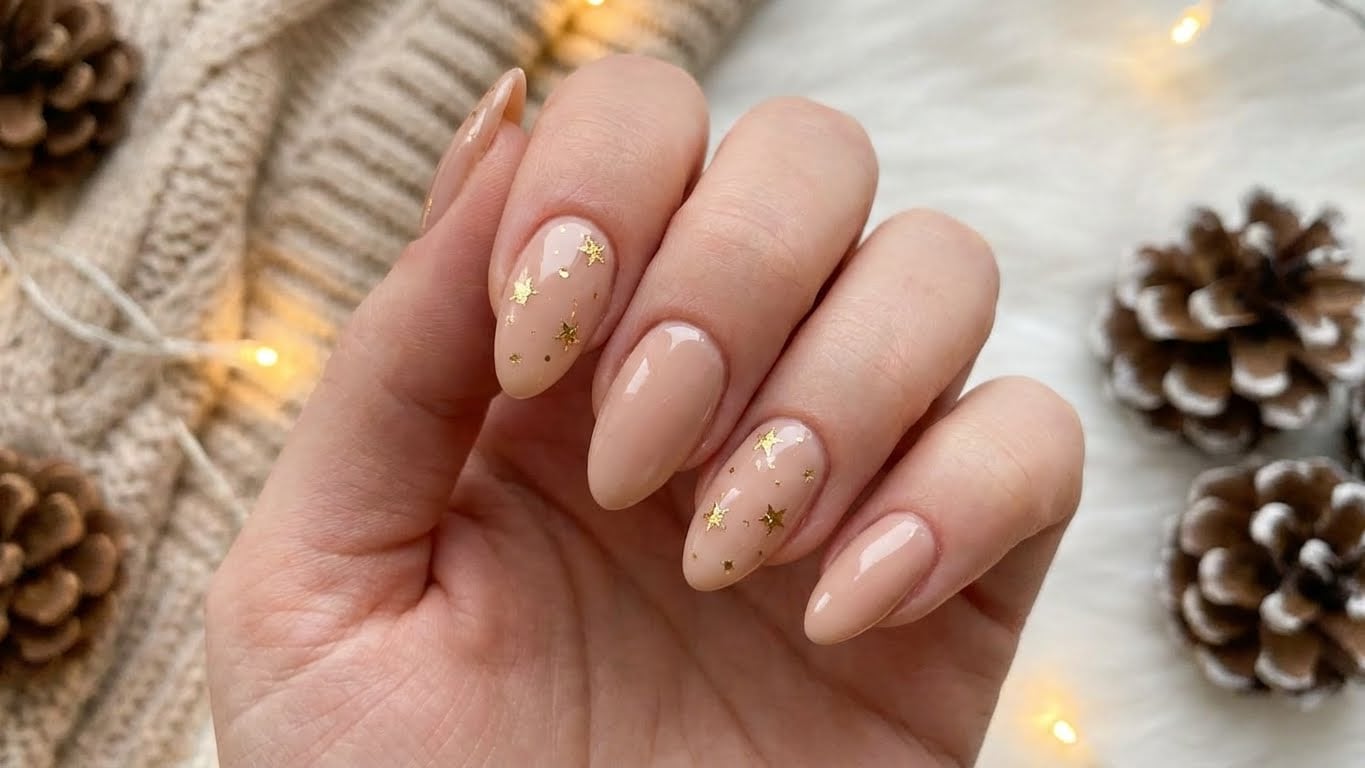
Step 6: Add a Touch of Glamour
Finally, add a touch of glamour to your look by applying a sparkly top coat or nail art. This can be a fun and creative way to add some extra sparkle to your nails.
Tips for Adding Nail Art
When adding nail art, make sure to use a steady hand and apply the design in thin layers. This will help prevent the design from getting smudged or uneven.
Conclusion
Creating a sparkly winter nail look is easier than you think. By following these simple steps, you can create a dazzling winter nail look that’s sure to turn heads. Remember to choose a nail polish that has a mix of fine and chunky glitter, apply a base coat and top coat, and add a touch of glamour with nail art.
FAQ
What is the best way to prepare my nails for a sparkly winter nail look?
To prepare your nails, remove any old nail polish and give them a good buff to smooth out ridges and imperfections.
What is the importance of a base coat in nail care?
A base coat helps to protect your nails from staining and damage caused by the nail polish, and also helps the polish to adhere better and last longer.
How do I achieve a smooth finish with nail polish?
To achieve a smooth finish, use a steady hand and apply the polish in thin layers, allowing each layer to dry completely before applying the next.
What is the purpose of a top coat in nail care?
A top coat helps to seal in the color and add shine to your nails, and also helps to protect your nails from chipping and fading.
Related Posts