Winter is the perfect time to get creative with your nail art and add some sparkle to your look. In this guide, we’ll show you how to achieve a stunning winter nail look that’s sure to turn heads.
Choosing the Right Nail Polish Colors
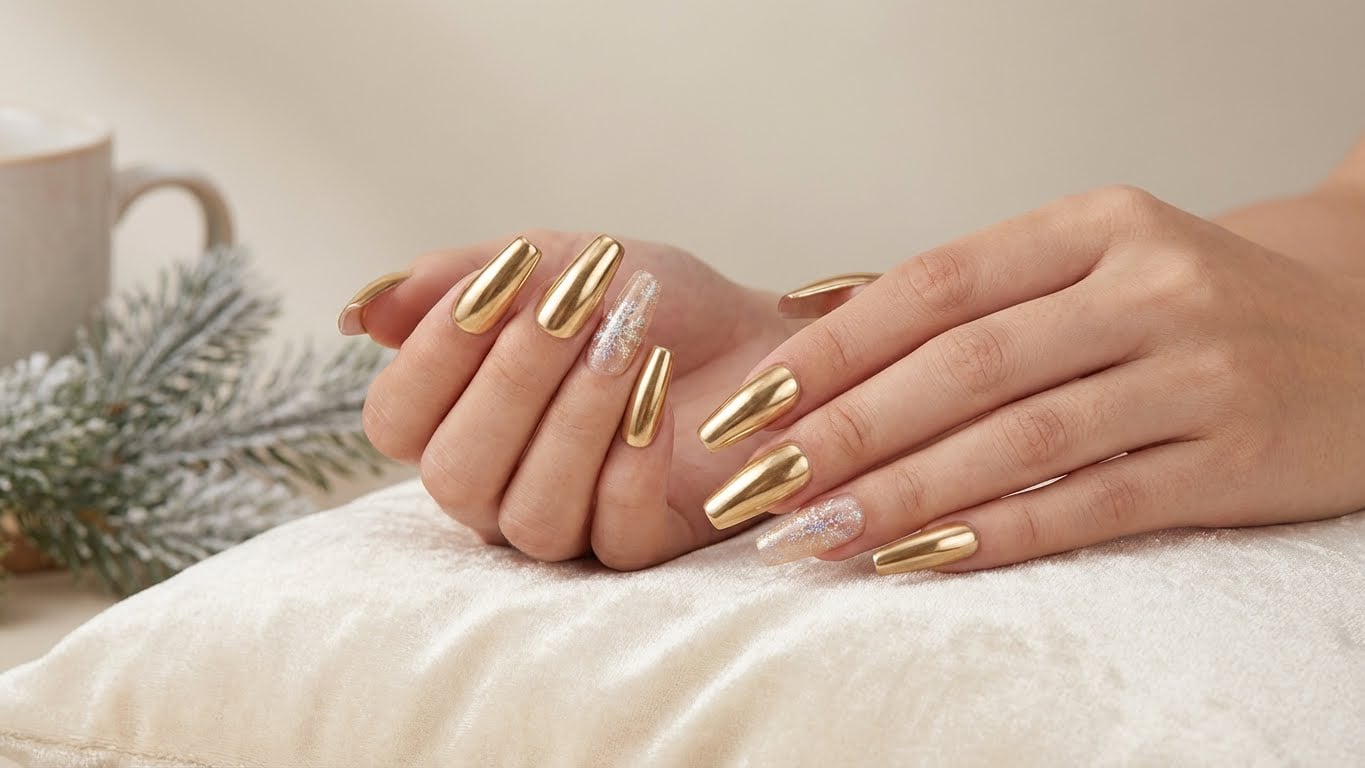
When it comes to winter nail colors, the options are endless. You can opt for classic reds, rich berry shades, or even metallic silvers and golds. If you want to add some sparkle to your look, consider using a glitter polish or a polish with iridescent flakes.
For a traditional winter look, try pairing a deep red or burgundy with a metallic gold or silver. This combination is perfect for the holiday season and will add a touch of sophistication to your look. If you want to try something a bit more modern, consider pairing a bright red with a metallic pink or purple.
Preparing Your Nails
Before you can start painting your nails, you need to prepare them. Remove any old nail polish and push back your cuticles. Use a nail file to shape your nails and smooth out any ridges.
Next, apply a base coat to protect your nails and promote healthy growth. You can also use a nail primer to help your polish adhere better.
How to Apply Nail Polish
Applying nail polish can be a bit tricky, but with a few simple steps, you can achieve a professional-looking finish.
First, apply a thin layer of polish to each nail, starting at the center and working your way out. Use a gentle, sweeping motion to coat the nail evenly. Don’t overload the brush, as this can lead to drips and uneven coverage.
Let the first layer dry completely before applying a second coat. Repeat this process until you achieve the desired color and finish.
Adding a Touch of Sparkle
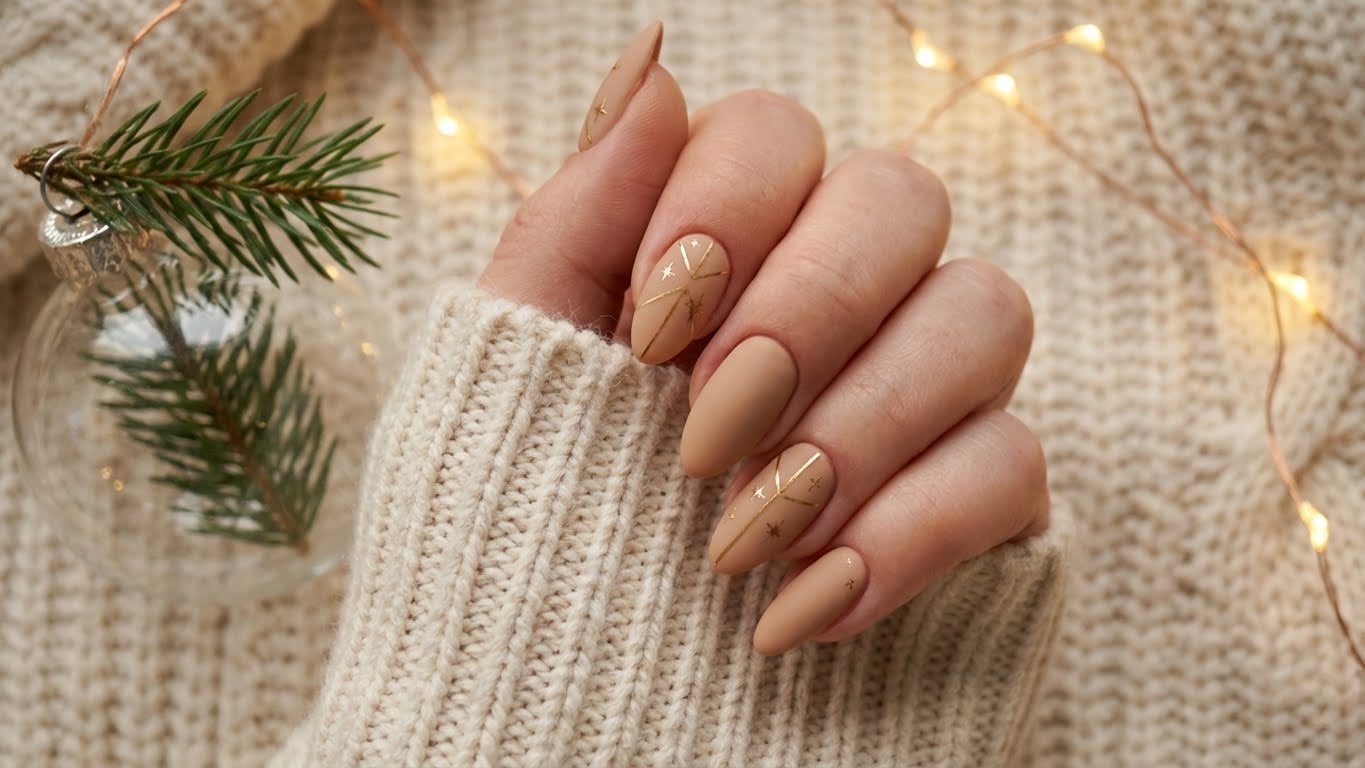
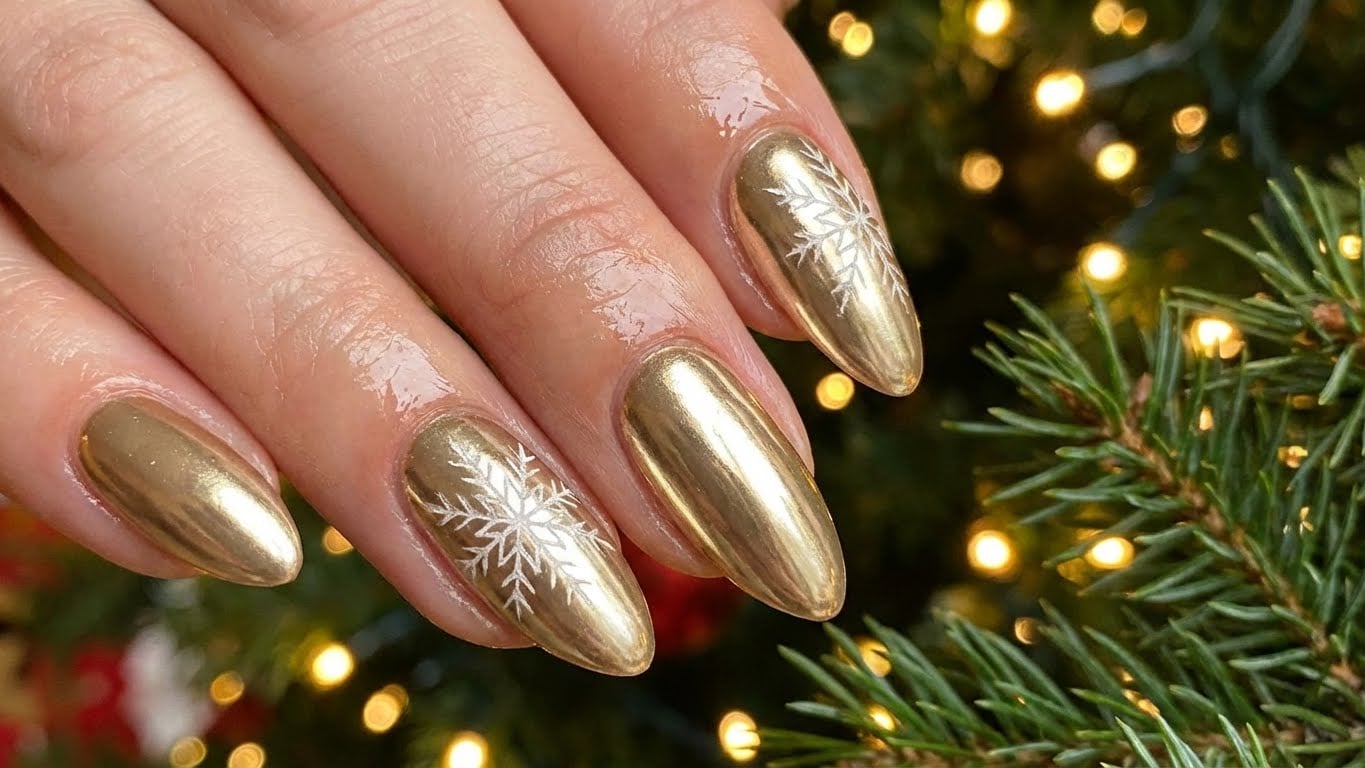
To add some sparkle to your winter nail look, try using a glitter polish or a polish with iridescent flakes. You can also use a nail stamp or a nail art brush to add intricate designs and patterns.
If you want to add a bit of shimmer to your look, try using a polish with a subtle shimmer finish. This will give your nails a warm, sun-kissed glow without overpowering the rest of your look.
Sealing Your Look
Once you’ve applied your polish and added any nail art or sparkles, it’s time to seal your look with a top coat. This will help extend the wear of your polish and prevent chipping.
Use a good-quality top coat that’s designed to last. Apply it to each nail, starting at the center and working your way out. Let it dry completely before handling your nails.
Finishing Touches
The final step in achieving a stunning winter nail look is to add some finishing touches. Use a cuticle oil to moisturize your cuticles and a nail file to smooth out any ridges.
You can also use a nail art brush to add a few final details, such as a small design or a delicate pattern.
Common Mistakes to Avoid
While creating a winter nail look can be fun and easy, there are a few common mistakes to avoid. Here are a few things to watch out for:
* Not preparing your nails properly before painting
* Applying too much polish, leading to drips and uneven coverage
* Not letting the polish dry completely before handling your nails
* Not using a good-quality top coat to seal your look
By following these simple steps and avoiding common mistakes, you can achieve a stunning winter nail look that’s perfect for the cold season.
Conclusion
With these easy-to-follow steps, you can create a sparkly winter nail look that’s sure to turn heads. Whether you’re looking for a classic red and gold combination or a more modern glitter finish, we’ve got you covered.
So why wait? Get creative and add some sparkle to your winter nail look today!
FAQs
Q: What are some popular winter nail colors?
A: Some popular winter nail colors include deep reds, rich berry shades, metallic silvers and golds, and glitter polishes.
Q: How do I prepare my nails for painting?
A: To prepare your nails for painting, remove any old nail polish, push back your cuticles, and use a nail file to shape your nails and smooth out any ridges.
Q: What’s the best way to apply nail polish?
A: The best way to apply nail polish is to apply a thin layer to each nail, starting at the center and working your way out. Use a gentle, sweeping motion to coat the nail evenly.
Q: Can I use a nail stamp to add intricate designs to my nails?
A: Yes, you can use a nail stamp to add intricate designs to your nails. To do this, apply a thin layer of polish to each nail, then use a nail stamp to add the design.

Related Posts