How to Get Sparkly Winter Nails: A Step-by-Step Guide
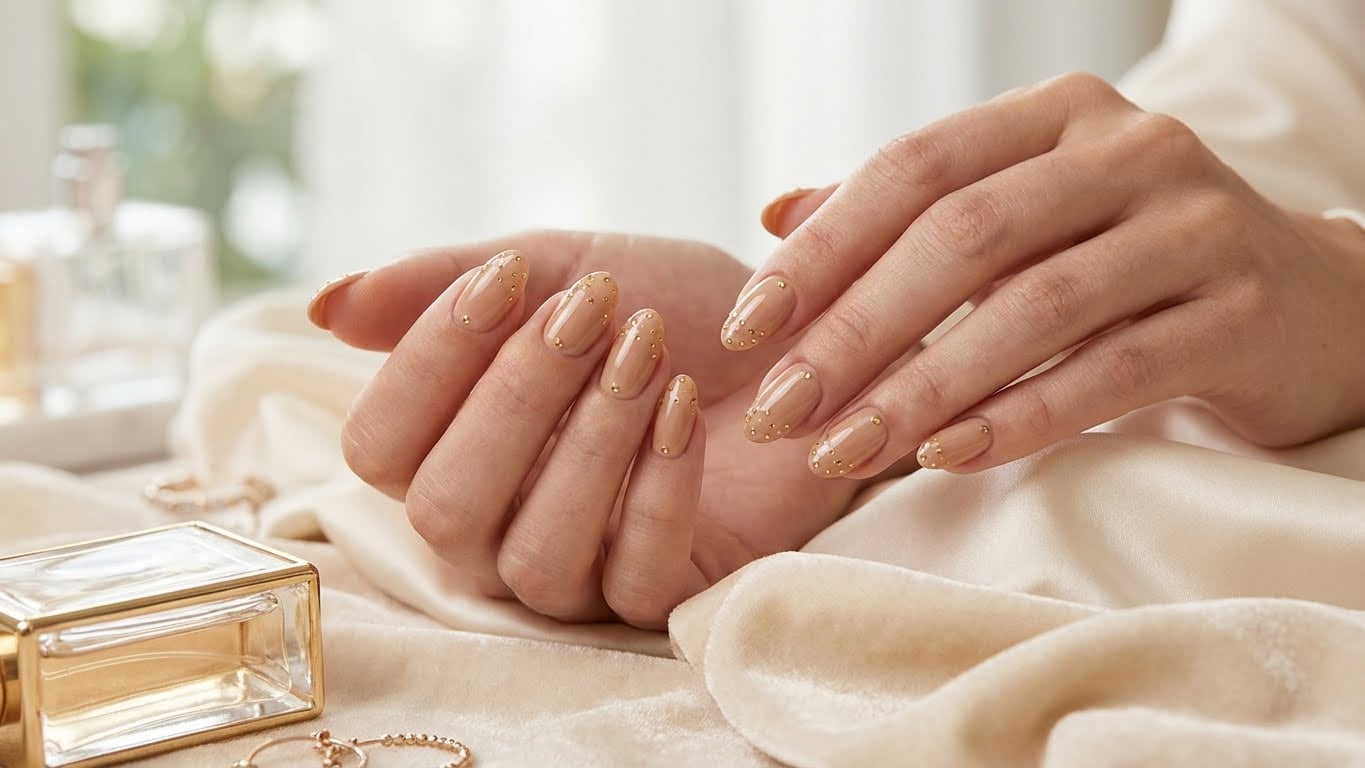
Winter is here, and with it comes the perfect excuse to get creative with your nail art. Sparkly winter nails are a great way to add some festive flair to your look, and with our easy-to-follow guide, you can achieve this stunning look at home.

Materials Needed
To get started, you’ll need a few basic materials:
- Nail polish remover
- Cuticle oil
- Nail polish base coat
- Nail polish top coat
- Glitter nail polish (various colors)
- Nail glue
- Nail jewels or rhinestones (optional)
Step 1: Prep Your Nails
The first step in getting sparkly winter nails is to prep your nails. Start by removing any old nail polish and pushing back your cuticles. Apply a thin layer of cuticle oil to keep your nails and cuticles hydrated and healthy.
Why Prep Your Nails?
Prepping your nails is an essential step in any nail art tutorial. It helps to create a smooth surface for painting and prevents any imperfections from showing through. Plus, it’s a great way to give your nails some extra TLC during the winter months.
Step 2: Apply a Base Coat
Once your nails are prepped, it’s time to apply a base coat. This will help to protect your nails and create a smooth surface for painting. Look for a base coat that contains ingredients like keratin or calcium to help strengthen your nails.
The Importance of a Base Coat
A base coat is an often-overlooked step in nail art, but it’s actually a crucial one. It helps to prevent staining, creates a smooth surface for painting, and can even help to strengthen your nails. So, don’t skip this step!
Step 3: Apply Glitter Nail Polish
Now it’s time to get creative with your glitter nail polish. Apply a thin layer of glitter polish to each nail, starting at the center and working your way out. Make sure to let each layer dry completely before applying the next one.
Choosing the Right Glitter Polish
When it comes to choosing a glitter polish, the options can be overwhelming. Look for a polish that contains a mix of small and large glitters for a more dimensional look. You can also experiment with different colors to create a unique look.
Step 4: Add Nail Jewels or Rhinestones (Optional)
If you want to add an extra touch of sparkle to your nails, now’s the time to do it. Apply a small amount of nail glue to the back of a nail jewel or rhinestone and attach it to your nail. Make sure to let the glue dry completely before applying a top coat.
Why Add Nail Jewels or Rhinestones?
Add nail jewels or rhinestones for an extra touch of sparkle and glamour. They’re perfect for special occasions or just to add some extra flair to your everyday look.
Step 5: Apply a Top Coat
Finally, it’s time to apply a top coat. This will help to seal in your glitter polish and give your nails a glossy finish. Look for a top coat that contains ingredients like UV or LED light for an extra-long wear.
The Importance of a Top Coat
A top coat is the final step in getting sparkly winter nails. It helps to seal in your glitter polish and give your nails a glossy finish. Plus, it can help to extend the wear of your nail polish.
Conclusion
And that’s it! With these easy steps, you can achieve sparkly winter nails at home. Remember to prep your nails, apply a base coat, glitter polish, and top coat, and don’t forget to add nail jewels or rhinestones for an extra touch of sparkle.
FAQs
-
Q: How do I remove glitter nail polish?
A: To remove glitter nail polish, start by soaking a cotton ball in nail polish remover and placing it on your nail. Let it sit for a few minutes before gently wiping away the polish with a nail file or buffer.
-
Q: Can I use nail glue to attach nail jewels or rhinestones to my nails?
A: Yes, you can use nail glue to attach nail jewels or rhinestones to your nails. Make sure to let the glue dry completely before applying a top coat.
-
Q: How do I prevent glitter polish from getting all over my fingers?
A: To prevent glitter polish from getting all over your fingers, try using a nail polish brush with a long handle or a dotting tool to apply the polish.
-
Q: Can I use nail polish remover to clean my nails after removing old polish?
A: Yes, you can use nail polish remover to clean your nails after removing old polish. Just make sure to wipe away any excess remover with a lint-free wipe or cotton ball.
FAQ
How do I remove glitter nail polish?
To remove glitter nail polish, start by soaking a cotton ball in nail polish remover and placing it on your nail. Let it sit for a few minutes before gently wiping away the polish with a nail file or buffer.
Can I use nail glue to attach nail jewels or rhinestones to my nails?
Yes, you can use nail glue to attach nail jewels or rhinestones to your nails. Make sure to let the glue dry completely before applying a top coat.
How do I prevent glitter polish from getting all over my fingers?
To prevent glitter polish from getting all over your fingers, try using a nail polish brush with a long handle or a dotting tool to apply the polish.
Can I use nail polish remover to clean my nails after removing old polish?
Yes, you can use nail polish remover to clean your nails after removing old polish. Just make sure to wipe away any excess remover with a lint-free wipe or cotton ball.
Related Posts