A Step-by-Step Guide to Sparkly Winter Nails
As the temperatures drop and the snowflakes start to fall, it’s the perfect time to get creative with your nail art. This season, we’re all about sparkly winter nails, and we’ve got the ultimate guide to help you achieve the look at home.
Choosing the Right Nail Polish
The first step in creating a sparkly winter nail look is to choose the right polish. You’ll want a shade that’s both festive and on-trend. Some popular options include:
- MAC Pro Longwear Nail Polish in ‘Twinkling’ – a gorgeous, shimmery silver shade
- Chanel Nail Polish in ‘Rouge Noir’ – a bold, glittery red
- Nails Inc. in ‘Baker Street’ – a beautiful, metallic gold
Prepping Your Nails
Before you start painting, make sure your nails are prepped and ready for the job. This includes:
- Removing old nail polish
- Trimming and shaping your nails
- Buffing your nails for a smooth finish
Step 1: Base Coat
Start by applying a base coat to protect your nails and promote even polish adhesion. Look for a formula that’s been designed for winter weather, such as:
- Sally Hansen Insta-Dri Base Coat
- Essie First Base Coat
Apply a thin layer and let it dry completely before moving on to the next step.
Step 2: Polish
Now it’s time to apply your sparkly winter nail polish. Start at the center of your nail and work your way out in smooth, even strokes. Make sure to cover the entire nail surface for a flawless finish.
Step 3: Top Coat
Finish off your look with a top coat that’s been designed to add shine and protect your polish. Look for a formula that’s been infused with nourishing ingredients, such as:
- Sally Hansen Miracle Gel Top Coat
- Essie Good to Go Top Coat
Apply a thin layer and let it dry completely to seal in your sparkly winter nail look.
Adding the Finishing Touches
The final step in creating a sparkly winter nail look is to add some finishing touches. This could include:
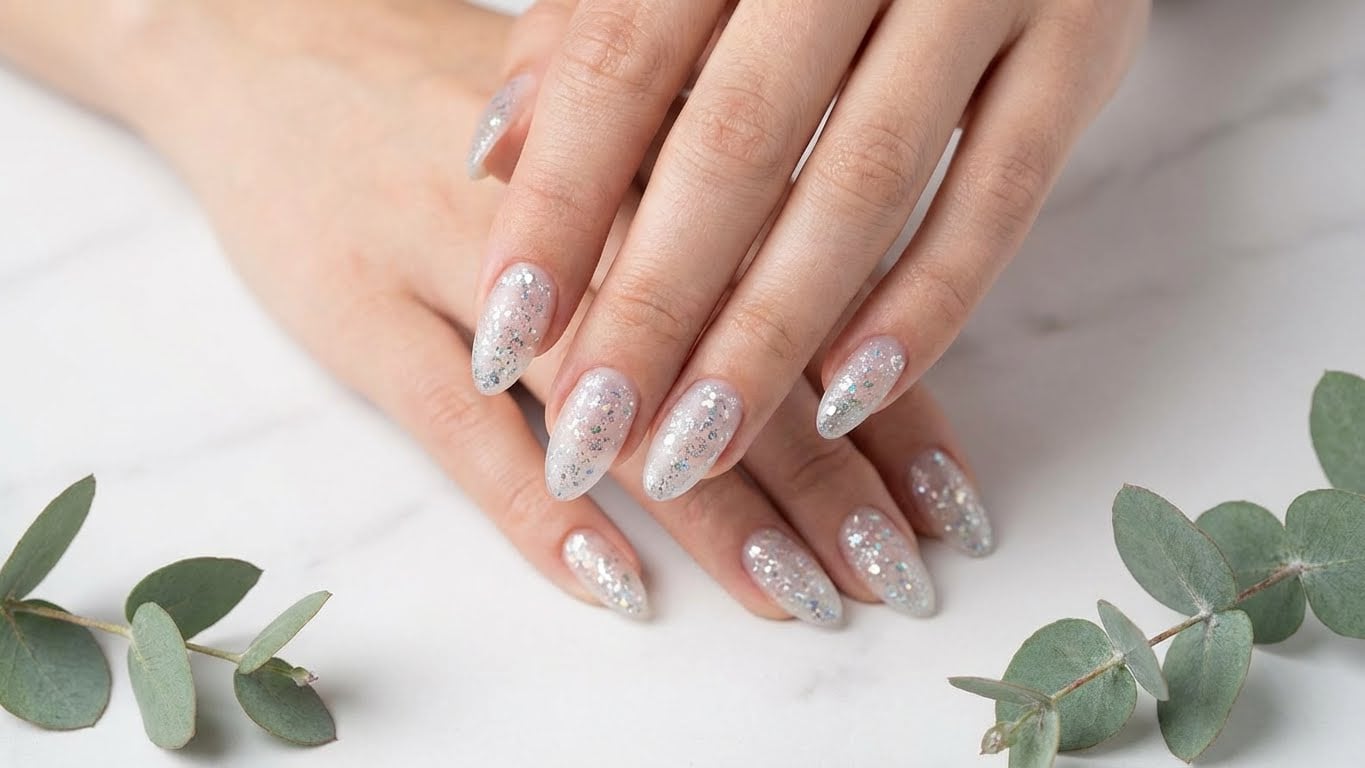
- Adding a coat of glitter polish for extra sparkle
- Using a nail art brush to create intricate designs
- Adding a few drops of nail oil to moisturize and protect your nails
Winter Nail Trends to Try
This season, we’re seeing a few key winter nail trends that are perfect for the holiday season. These include:
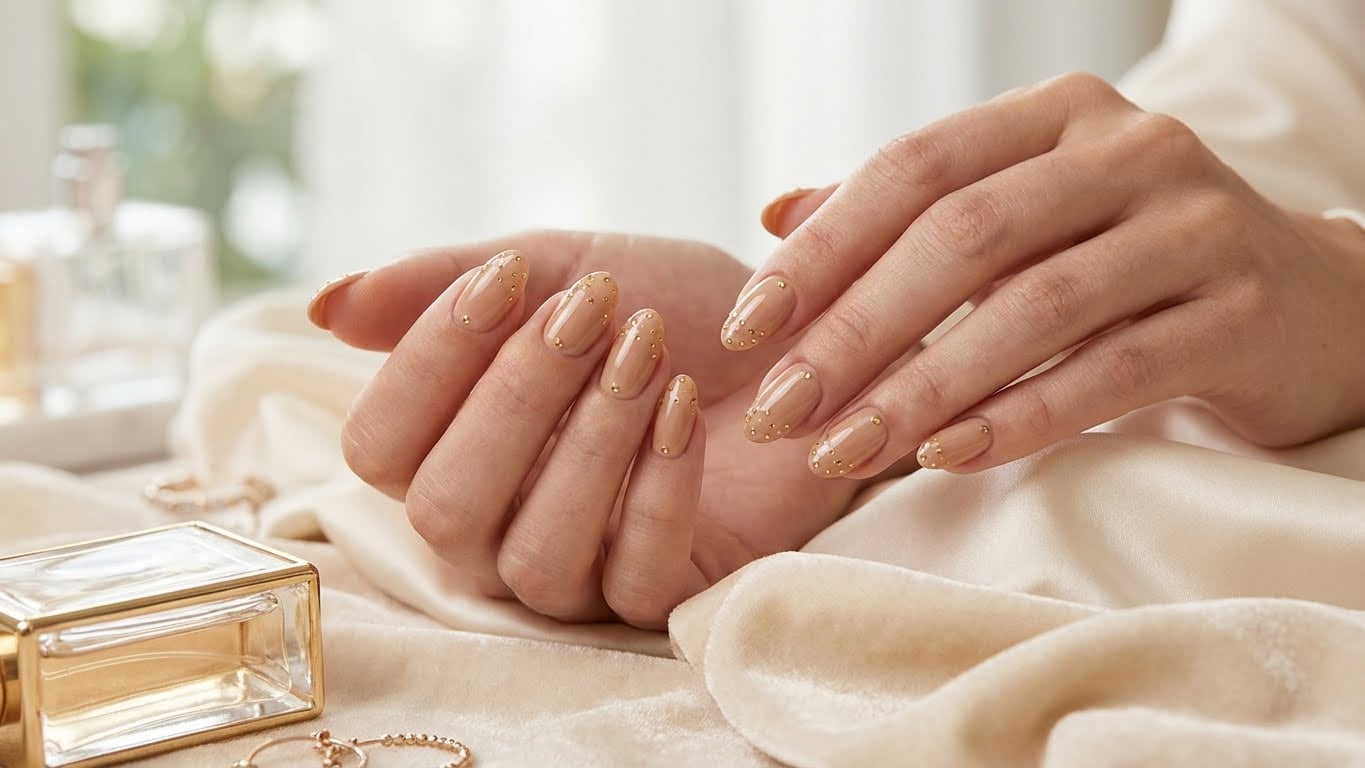
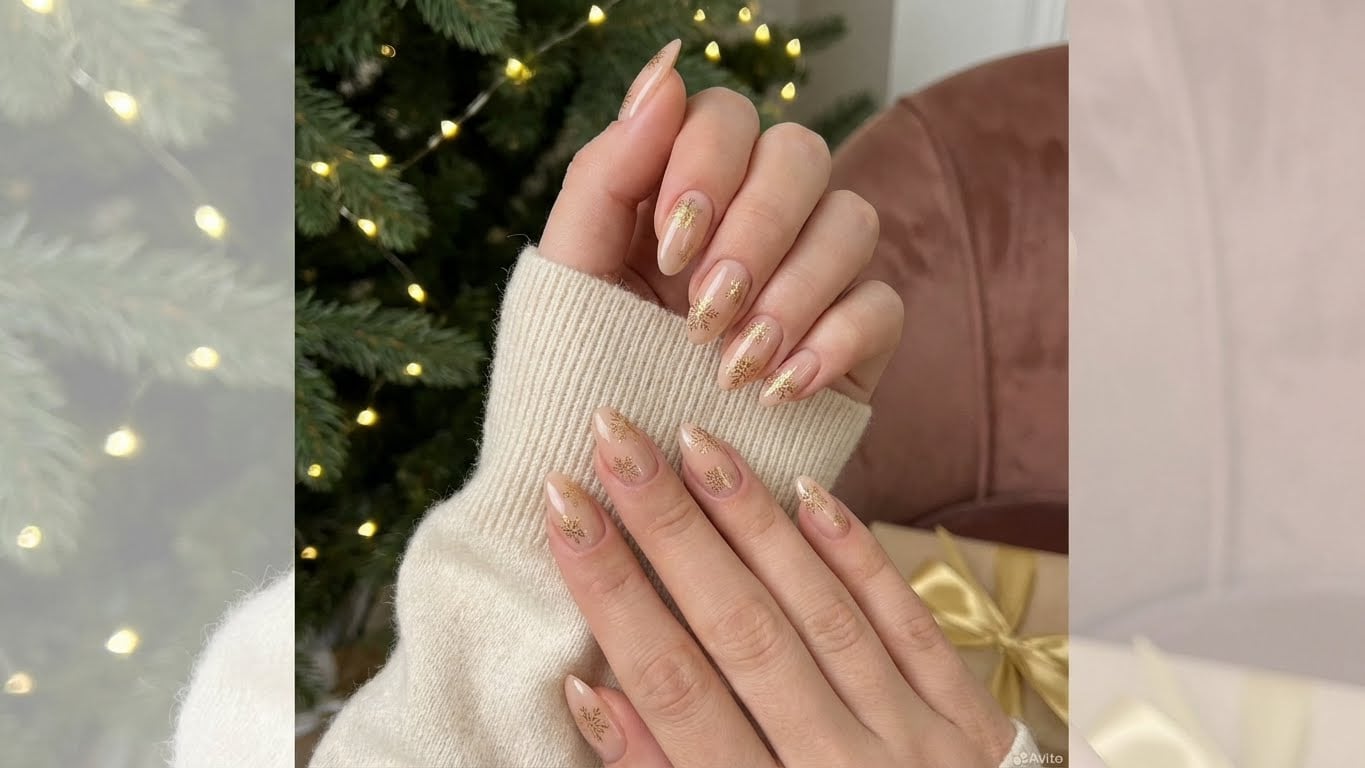
- Glitter polish in shades of red, gold, and silver
- Nail art featuring snowflakes, pinecones, and other winter-inspired designs
- Chrome and holographic polishes for a futuristic finish
Conclusion
With these simple steps and a few key tips and tricks, you’ll be well on your way to creating a sparkly winter nail look that’s sure to turn heads. Whether you’re looking for a quick and easy at-home solution or a more elaborate nail art design, we’ve got you covered. Happy polishing!
FAQs
Here are a few frequently asked questions about sparkly winter nails:
-
Q: What’s the best way to remove glitter polish?
A: To remove glitter polish, try using a gentle nail polish remover and a cotton swab. Be sure to apply the remover carefully to avoid damaging your nails.
-
Q: Can I use a nail polish with a built-in top coat?
A: Yes, you can use a nail polish with a built-in top coat. However, be sure to follow the instructions carefully and apply a thin layer to avoid a thick, gloopy finish.
-
Q: How do I prevent chipping and fading?
A: To prevent chipping and fading, be sure to apply a base coat and top coat, and avoid using your nails as tools.
-
Q: Can I use a nail art brush to create intricate designs?
A: Yes, you can use a nail art brush to create intricate designs. Look for a brush with synthetic fibers and a fine tip for the best results.
FAQ
What's the best way to remove glitter polish?
To remove glitter polish, try using a gentle nail polish remover and a cotton swab. Be sure to apply the remover carefully to avoid damaging your nails.
Can I use a nail polish with a built-in top coat?
Yes, you can use a nail polish with a built-in top coat. However, be sure to follow the instructions carefully and apply a thin layer to avoid a thick, gloopy finish.
How do I prevent chipping and fading?
To prevent chipping and fading, be sure to apply a base coat and top coat, and avoid using your nails as tools.
Can I use a nail art brush to create intricate designs?
Yes, you can use a nail art brush to create intricate designs. Look for a brush with synthetic fibers and a fine tip for the best results.
Related Posts