Introduction to Sparkly Winter Nails
Winter is a great time to get creative with your nail art and try out new sparkly looks that will add a touch of glamour to your everyday style. Whether you’re looking for a subtle shine or a bold, eye-catching design, we’ve got you covered. In this guide, we’ll show you how to achieve stunning sparkly winter nails, from preparing your nails to applying the perfect top coat.
Choosing the Right Base Coat
Before you start getting creative with your nail art, it’s essential to choose the right base coat. A good base coat will help protect your nails and create a smooth surface for your polish to adhere to. Look for a base coat that’s formulated with nourishing ingredients like keratin, calcium, or vitamins. Some popular options include the Sally Hansen Miracle Nail Thickener Base Coat or the Orly Bonder Base Coat.
Preparing Your Nails
Before you start painting, make sure your nails are clean and dry. Remove any old nail polish and push back your cuticles. Use a nail file to shape your nails to your desired shape. If you have any ridges or imperfections, use a nail buffer to smooth them out.
Applying Nail Polish
Now it’s time to get creative with your nail polish. Choose a color that complements your skin tone and personal style. If you’re new to nail art, start with a simple color like a metallic or glitter polish. Some popular options include the Chanel Nailing the Impossible or the Nails Inc. Candy Apple Red.
Adding a Top Coat
The final step in achieving sparkly winter nails is to apply a top coat. Look for a top coat that’s formulated with ingredients like keratin, calcium, or vitamins. Some popular options include the Sally Hansen Miracle Nail Thickener Top Coat or the Orly Glosser Top Coat. Apply a thin layer of top coat to seal in your polish and add a glossy finish.
DIY Nail Art Ideas
If you’re feeling adventurous, try out some DIY nail art ideas to add an extra touch of sparkle to your winter nails. Some popular ideas include:
* Using a nail art brush to paint on tiny dots or stripes
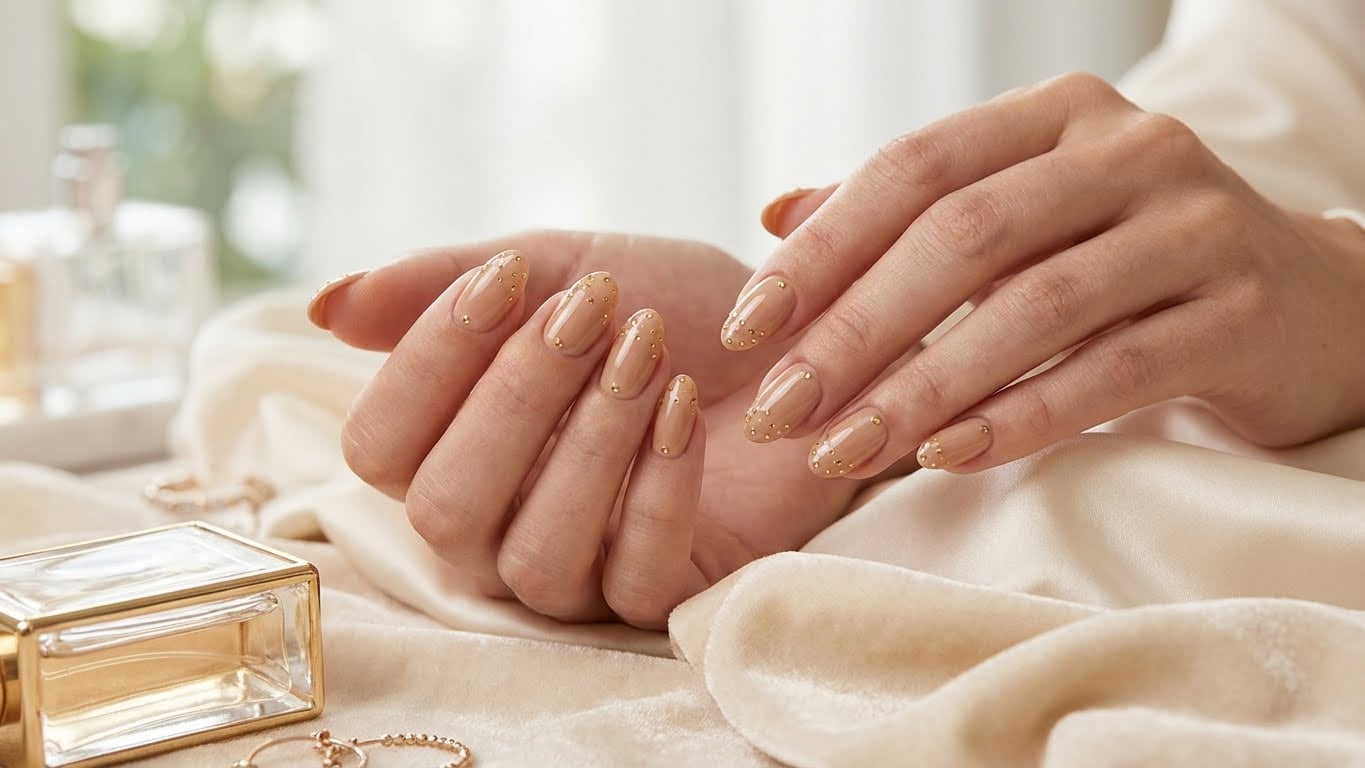
* Adding a few strategically placed rhinestones or gems
* Creating a ombre effect with different shades of polish
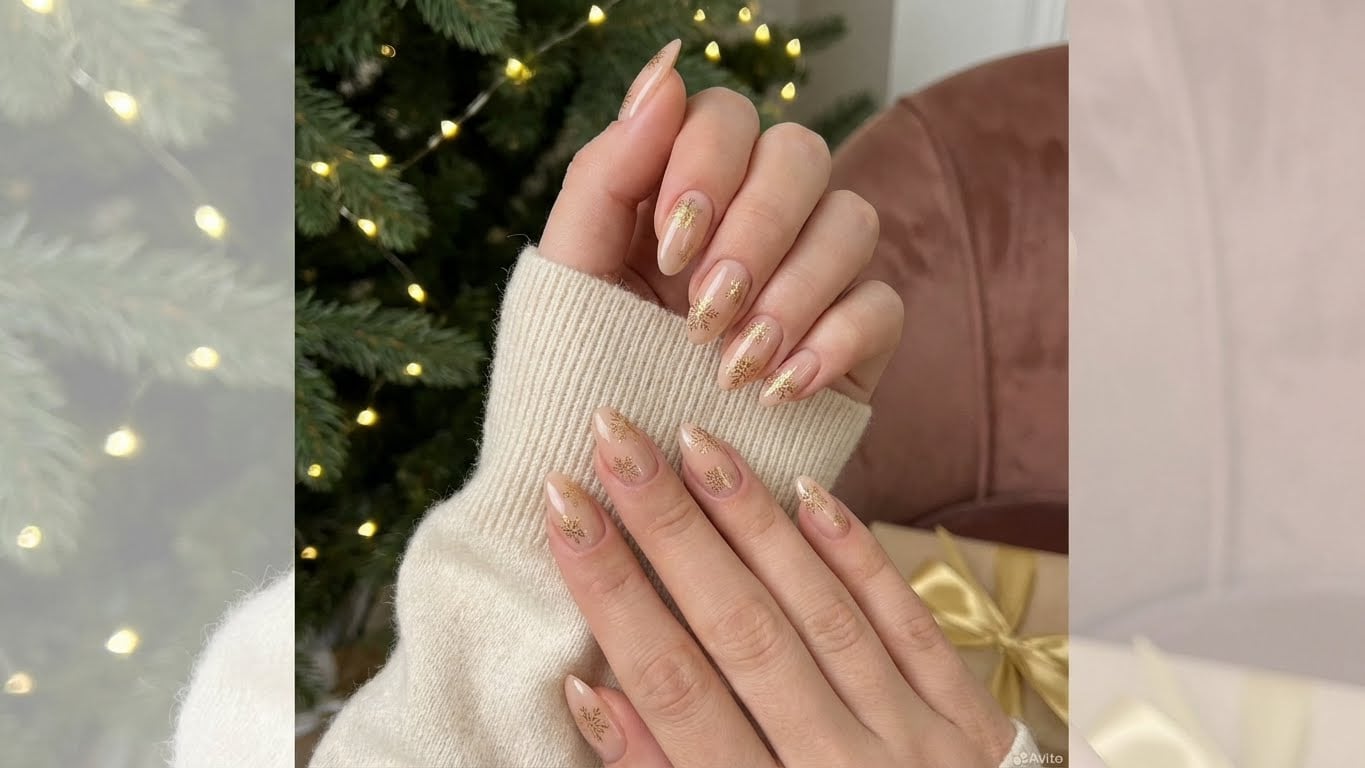
* Using a nail stamp to add a fun design
Expert Tips and Tricks
Here are a few expert tips and tricks to help you achieve stunning sparkly winter nails:
* Use a base coat that’s formulated with nourishing ingredients to help protect your nails.
* Choose a polish that complements your skin tone and personal style.
* Apply a thin layer of top coat to seal in your polish and add a glossy finish.
* Don’t be afraid to experiment with different DIY nail art ideas to add an extra touch of sparkle to your winter nails.
Conclusion
With these easy steps and expert tips, you’ll be on your way to achieving stunning sparkly winter nails that will add a touch of glamour to your everyday style. Whether you’re looking for a subtle shine or a bold, eye-catching design, we’ve got you covered. So go ahead, get creative, and show off your sparkly winter nails with confidence!
FAQ
What is the best base coat to use for sparkly winter nails?
A good base coat should be formulated with nourishing ingredients like keratin, calcium, or vitamins. Some popular options include the Sally Hansen Miracle Nail Thickener Base Coat or the Orly Bonder Base Coat.

How do I prepare my nails for sparkly winter nails?
Before you start painting, make sure your nails are clean and dry. Remove any old nail polish and push back your cuticles. Use a nail file to shape your nails to your desired shape.
What is the best top coat to use for sparkly winter nails?
A good top coat should be formulated with ingredients like keratin, calcium, or vitamins. Some popular options include the Sally Hansen Miracle Nail Thickener Top Coat or the Orly Glosser Top Coat.
How do I achieve a glossy finish on my sparkly winter nails?
Apply a thin layer of top coat to seal in your polish and add a glossy finish.
Related Posts