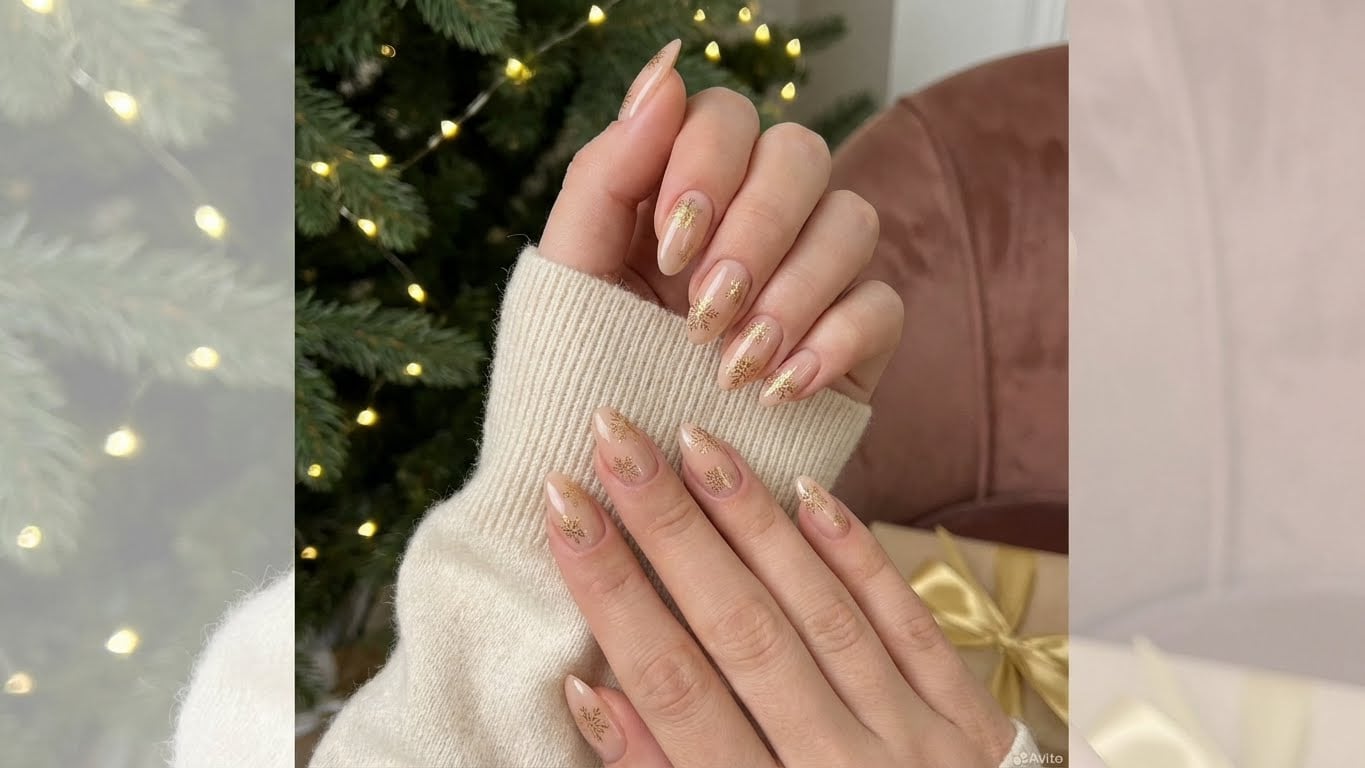
Winter is here, and with it comes the perfect opportunity to get creative with your nail art. Whether you’re a seasoned pro or a beginner, achieving a sparkly, frosty finish is easier than you think. In this guide, we’ll walk you through the steps to create a show-stopping winter wonderland look on your nails.

Materials You’ll Need
To get started, you’ll need a few basic materials. Here’s a list of what you’ll need:
- Nail polish in a range of colors (we recommend a mix of icy blues and silvers)
- Nail glue (optional)
- Nail stickers or guides (optional)
- Glitter polish (for an extra sparkly finish)
- Top coat
Step 1: Prep Your Nails
Before you start creating your sparkly winter wonderland look, you’ll need to prep your nails. This involves shaping and buffing your nails to create a smooth surface.
To shape your nails, use nail clippers to trim them to the desired length. Then, use a nail file to shape and smooth out any rough edges. Finally, use a buffer to buff your nails and create a smooth surface.
Step 2: Apply a Base Coat
Once your nails are prepped, it’s time to apply a base coat. This will help protect your nails and create a smooth surface for your polish.
Apply a thin layer of clear base coat to each of your nails, making sure to cover the entire nail surface. Let it dry completely before moving on to the next step.
Step 3: Apply a Frosty Finish
Now it’s time to create your frosty finish. You can use either a single coat of pale blue or silver polish, or layer multiple coats to achieve a more intense color.
Apply a thin layer of pale blue or silver polish to each of your nails, making sure to cover the entire nail surface. Let it dry completely before moving on to the next step.
Step 4: Add Glitter
For an extra sparkly finish, add a layer of glitter polish on top of your frosty finish. You can use a single coat or layer multiple coats for a more intense sparkle.
Apply a thin layer of glitter polish to each of your nails, making sure to cover the entire nail surface. Let it dry completely before moving on to the next step.
Step 5: Seal with Top Coat
Finally, seal your sparkly winter wonderland look with a layer of top coat. This will help protect your nails and create a long-lasting finish.
Apply a thin layer of clear top coat to each of your nails, making sure to cover the entire nail surface. Let it dry completely before finishing off your look.
Tips and Tricks
Here are a few tips and tricks to help you achieve the perfect sparkly winter wonderland look:
- Use a mix of icy blues and silvers for a unique and eye-catching look.
- Experiment with different glitter polish colors for a unique and personalized finish.
- Use nail stickers or guides to create a more intricate design.
- Don’t be afraid to get creative and try new things!
Common Issues and Solutions
Here are a few common issues you may encounter when trying to achieve a sparkly winter wonderland look, along with some solutions:
- Issue: Glitter polish is too thick
- Solution: Thin out the glitter polish with a little bit of clear polish.
- Issue: Frosty finish is too patchy
- Solution: Try using a nail guide or sticker to create a more even finish.
FAQs
Here are a few frequently asked questions about sparkly winter nails:
-
Q: What kind of polish should I use for a frosty finish?
A: Look for a polish that is specifically labeled as “frosty” or “icy blue”. You can also use a pale silver polish for a more subtle look.
-
Q: How do I achieve a sparkly finish?
A: To achieve a sparkly finish, apply a layer of glitter polish on top of your frosty finish. You can use a single coat or layer multiple coats for a more intense sparkle.
-
Q: Can I use nail stickers or guides to create a more intricate design?
A: Yes, you can use nail stickers or guides to create a more intricate design. Simply apply the sticker or guide to your nail and then paint over it with your polish.
-
Q: How do I prevent my glitter polish from getting too thick?
A: To prevent your glitter polish from getting too thick, try thinning it out with a little bit of clear polish. This will help create a more even and smooth finish.
Related Posts