Introduction to Glitter Holiday Nails
The holiday season is upon us, and what better way to get into the festive spirit than with some sparkly, glittery nails? In this guide, we’ll show you how to create a show-stopping glitter holiday nail look at home, with minimal fuss and maximum glamour. Whether you’re a seasoned nail artist or a complete beginner, these easy-to-follow steps will have you looking like a pro in no time.
The Essential Tools and Materials
Before we dive in, let’s take a look at the essential tools and materials you’ll need to create your glitter holiday nails:
* Nail polish remover
* Nail clippers
* Nail file
* Cuticle pusher
* Cuticle oil
* Base coat
* Glitter top coat
* Nail glue
* Glitter stickers or glue-on glitter
* Nail polish (optional)
Step 1: Prep Your Nails
The first step in creating your glitter holiday nails is to prep your nails. This involves removing any old nail polish, pushing back your cuticles, and shaping your nails to your desired shape.
* Remove any old nail polish using a nail polish remover.
* Use nail clippers to trim and shape your nails.
* Use a nail file to smooth out any ridges or imperfections.
* Use a cuticle pusher to gently push back your cuticles.
* Apply cuticle oil to hydrate your cuticles.
Step 2: Apply a Base Coat
Next, you’ll need to apply a base coat to protect your nails and create a smooth surface for your glitter top coat.
* Apply a thin layer of base coat to each nail.
* Make sure to cover the entire nail surface.
Step 3: Add Glitter
Now it’s time to add the glitter! You can use either glitter stickers or glue-on glitter, depending on your preference.
* Apply a thin layer of nail glue to the back of the glitter sticker.
* Place the glitter sticker onto the nail, smoothing out any air bubbles.
* Alternatively, apply a thin layer of nail glue to the back of the glue-on glitter.
* Place the glue-on glitter onto the nail, smoothing out any air bubbles.
Step 4: Apply a Top Coat
Finally, you’ll need to apply a top coat to seal in your glitter and add a glossy finish.
* Apply a thin layer of top coat to each nail.
* Make sure to cover the entire nail surface.
Tips and Variations
Here are a few tips and variations to take your glitter holiday nails to the next level:
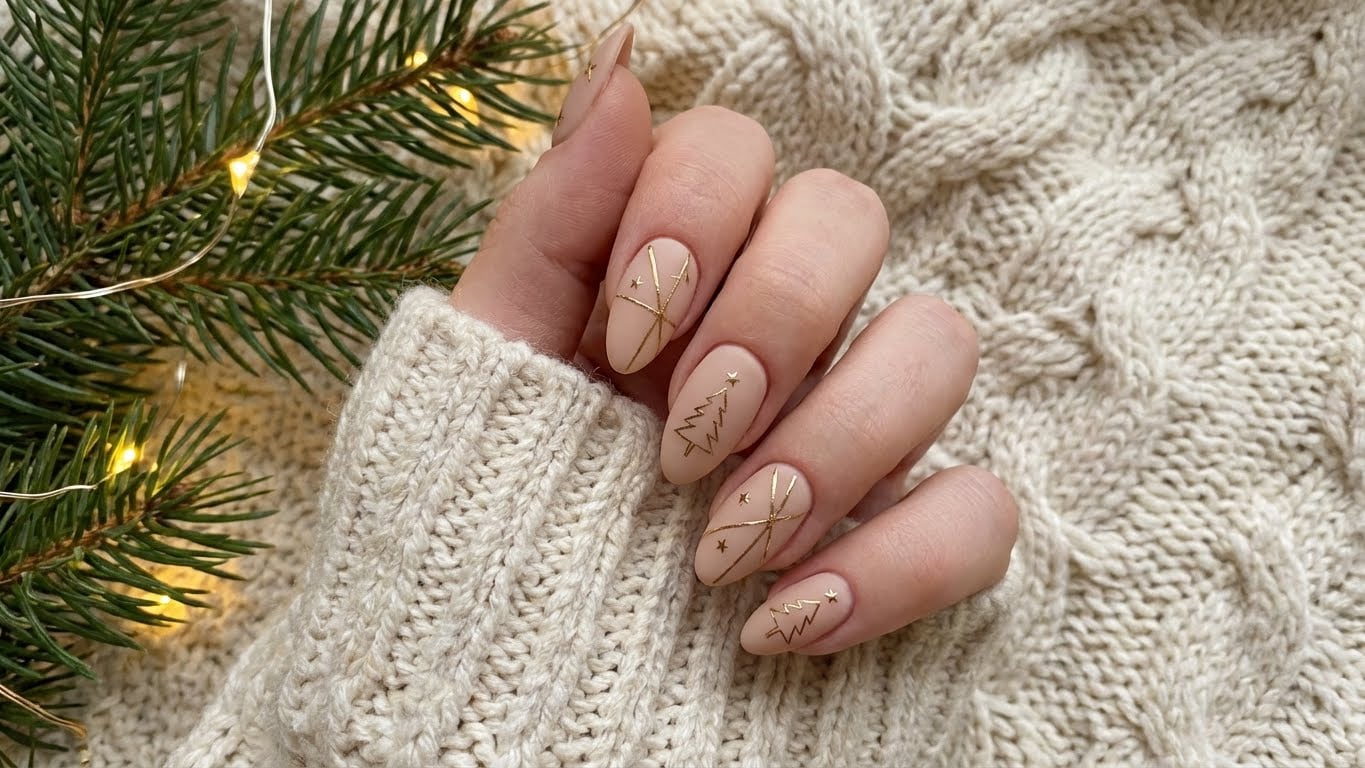
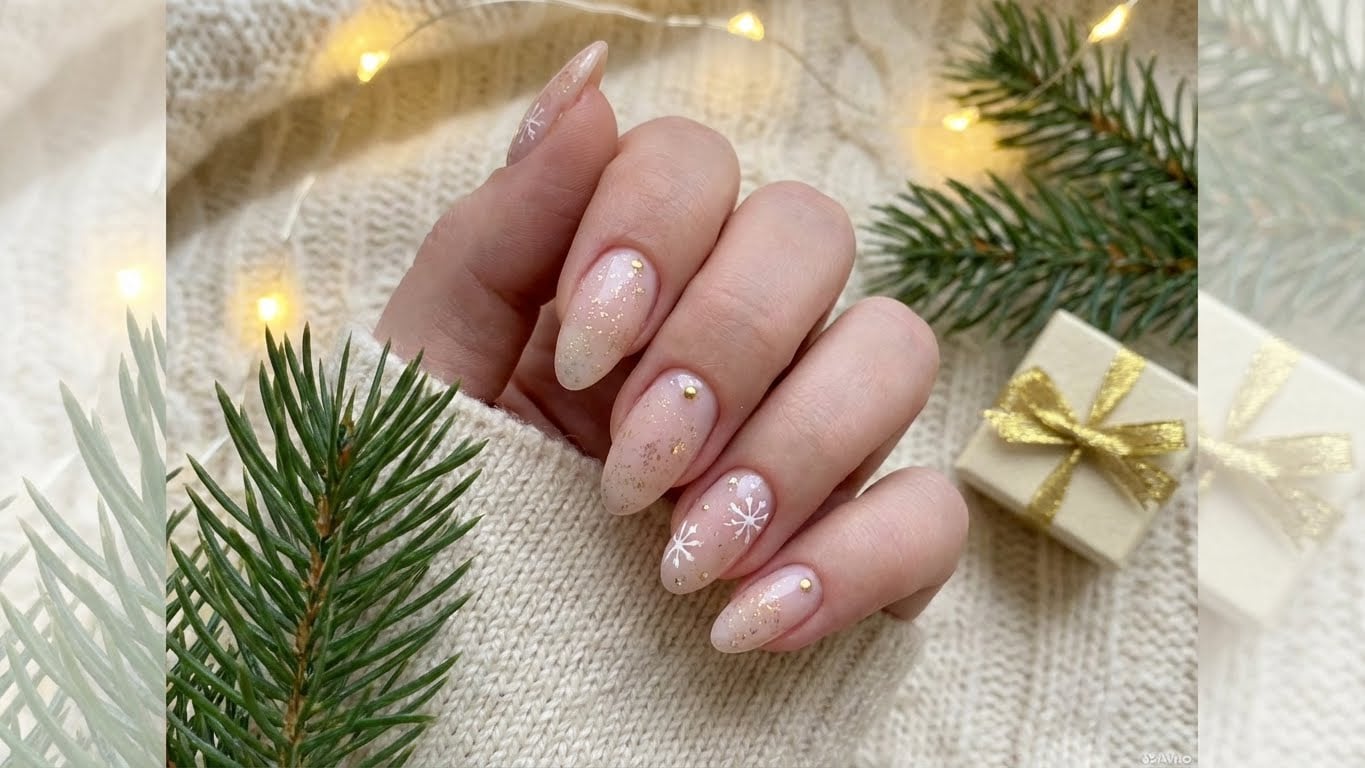
* Use a different color of glitter top coat to match your holiday theme.
* Add a few drops of nail polish to your glitter top coat to create a unique color combination.
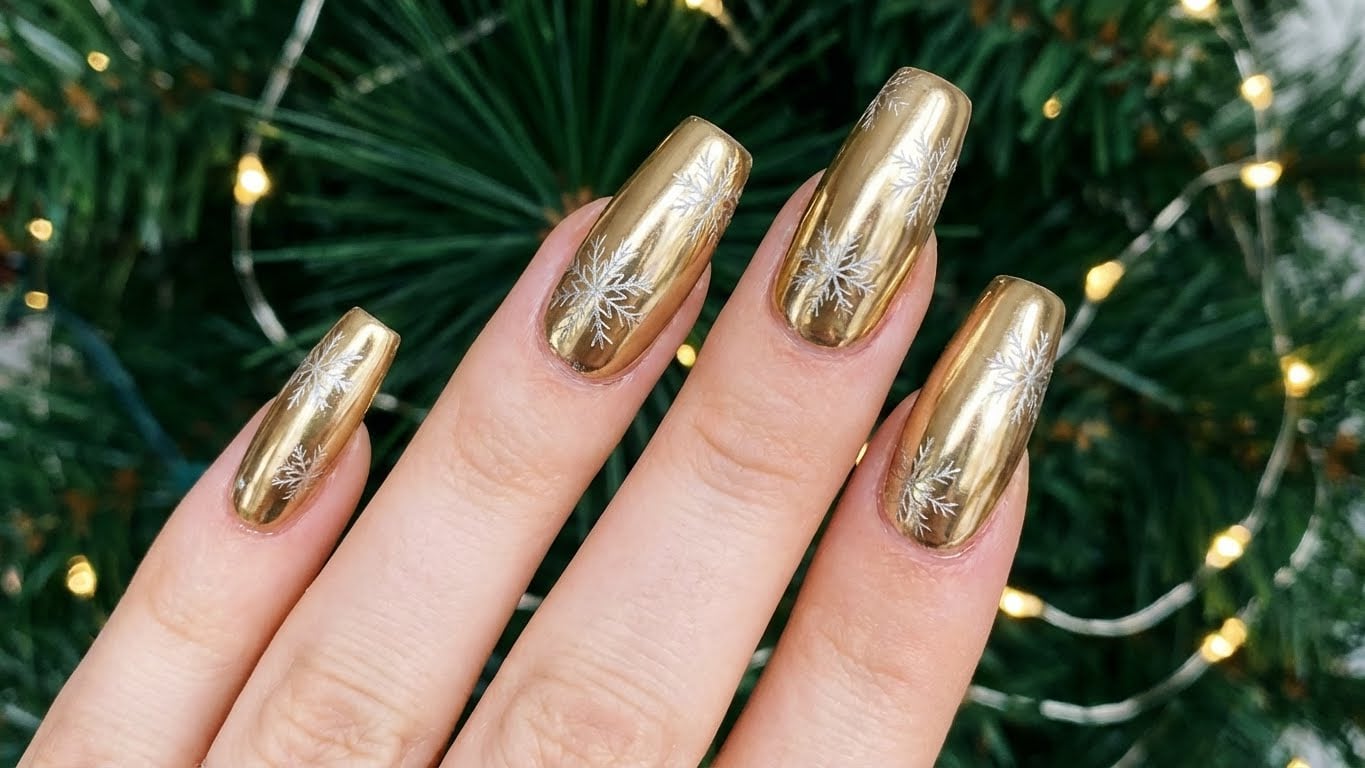
* Use a nail art brush to paint on glitter details, such as snowflakes or holly leaves.
Conclusion
And there you have it – a step-by-step guide to creating glitter holiday nails at home. With these easy-to-follow steps and a few simple tools, you’ll be well on your way to creating a show-stopping holiday nail look that’s sure to impress.
Frequently Asked Questions
Q: Can I use any type of glitter for my holiday nails?
A: While you can use any type of glitter, some types may be more suitable for nail art than others. Fine, sparkling glitters tend to work best, while larger, chunkier glitters may be more difficult to work with.
Keywords:
holiday nails, glitter nails, nail art, holiday nail art, nail decorations
FAQ
Can I use any type of glitter for my holiday nails?
While you can use any type of glitter, some types may be more suitable for nail art than others. Fine, sparkling glitters tend to work best, while larger, chunkier glitters may be more difficult to work with.

Related Posts