Why Gold Christmas Nails are a Must-Try This Holiday Season
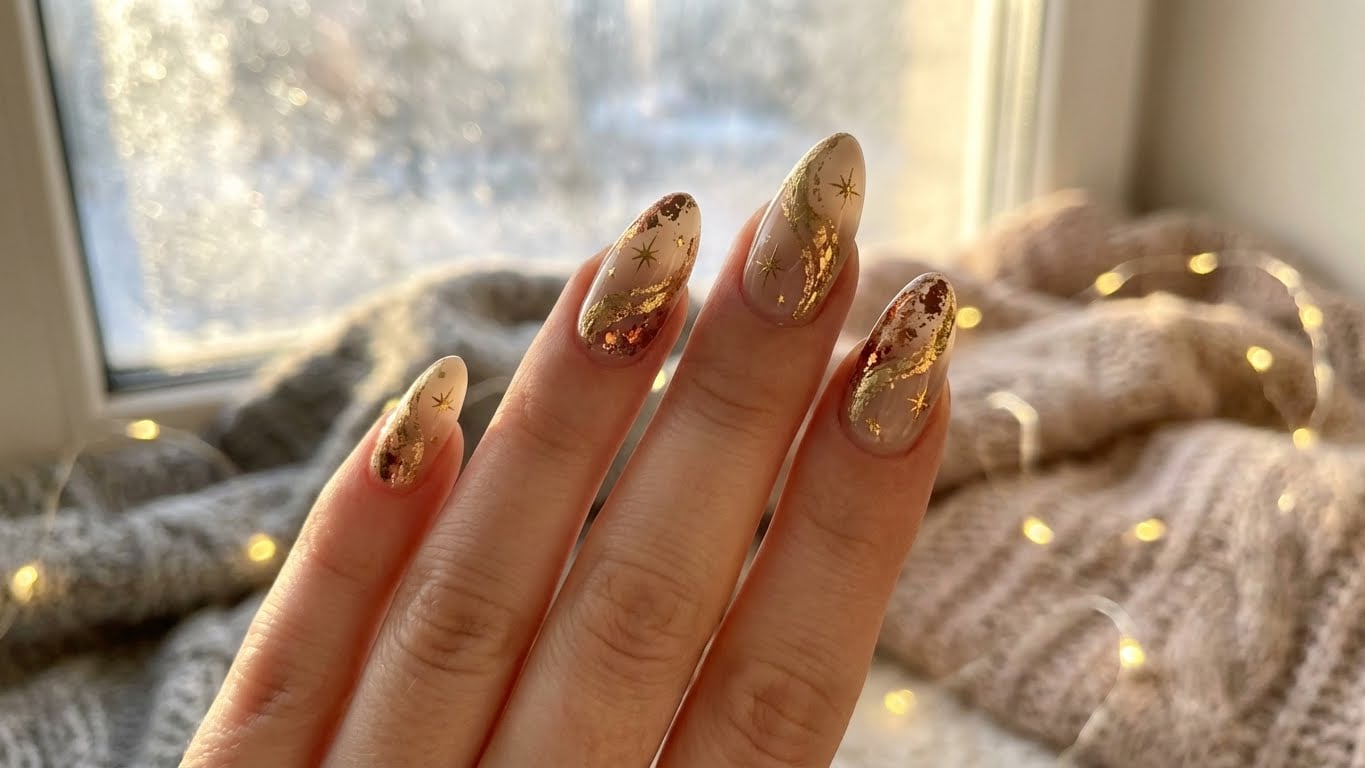
Gold Christmas nails are a timeless and elegant way to get into the holiday spirit. Not only do they add a touch of luxury to your festive look, but they’re also a great way to express your creativity and personality. Whether you’re hosting a holiday party or just want to add some sparkle to your everyday look, gold Christmas nails are a must-try this season.
Materials Needed
Before we dive into the step-by-step guide, make sure you have the following materials:
* Nail polish remover
* Base coat
* Gold nail polish (choose a shade that suits your skin tone)
* Top coat
* Nail art brushes
* Nail dotting tool
* Glitter or rhinestones (optional)
Step 1: Prep Your Nails
To achieve a flawless gold Christmas nail design, you need to start with clean and prepped nails. Remove any old nail polish and push back your cuticles. Apply a base coat to protect your nails and promote healthy growth.
Step 1.1: Apply a Base Coat
Apply a thin layer of clear base coat to each nail, making sure to cover the entire surface. This will help prevent staining and ensure a smooth finish.
Step 2: Apply Gold Nail Polish
Now it’s time to apply the gold nail polish. Choose a shade that complements your skin tone and applies evenly. Apply a thin layer of polish to each nail, starting at the center and working your way out towards the tips.
Step 2.1: Apply Multiple Coats for a Rich Finish
To achieve a rich, luxurious finish, apply multiple thin coats of gold nail polish, allowing each coat to dry before applying the next. This will help prevent the polish from becoming too thick and uneven.
Step 3: Add a Touch of Sparkle (Optional)
If you want to add an extra touch of sparkle to your gold Christmas nails, now’s the time to do it. Use a nail art brush to apply a small amount of clear top coat to the center of each nail, then sprinkle some glitter or rhinestones onto the wet polish.
Step 3.1: Seal with a Top Coat
Once you’ve added your glitter or rhinestones, seal the design with a thin layer of clear top coat. This will help prevent the glitter from falling off and ensure a long-lasting finish.
Step 4: Finishing Touches
The final step is to add any finishing touches to your gold Christmas nails. Use a nail dotting tool to create intricate designs or patterns, or simply apply a thin layer of clear top coat to seal the deal.
Step 4.1: Inspect and Touch Up
Finally, inspect your nails to make sure everything is in place. If you notice any imperfections or uneveness, use a nail art brush to touch up the design.
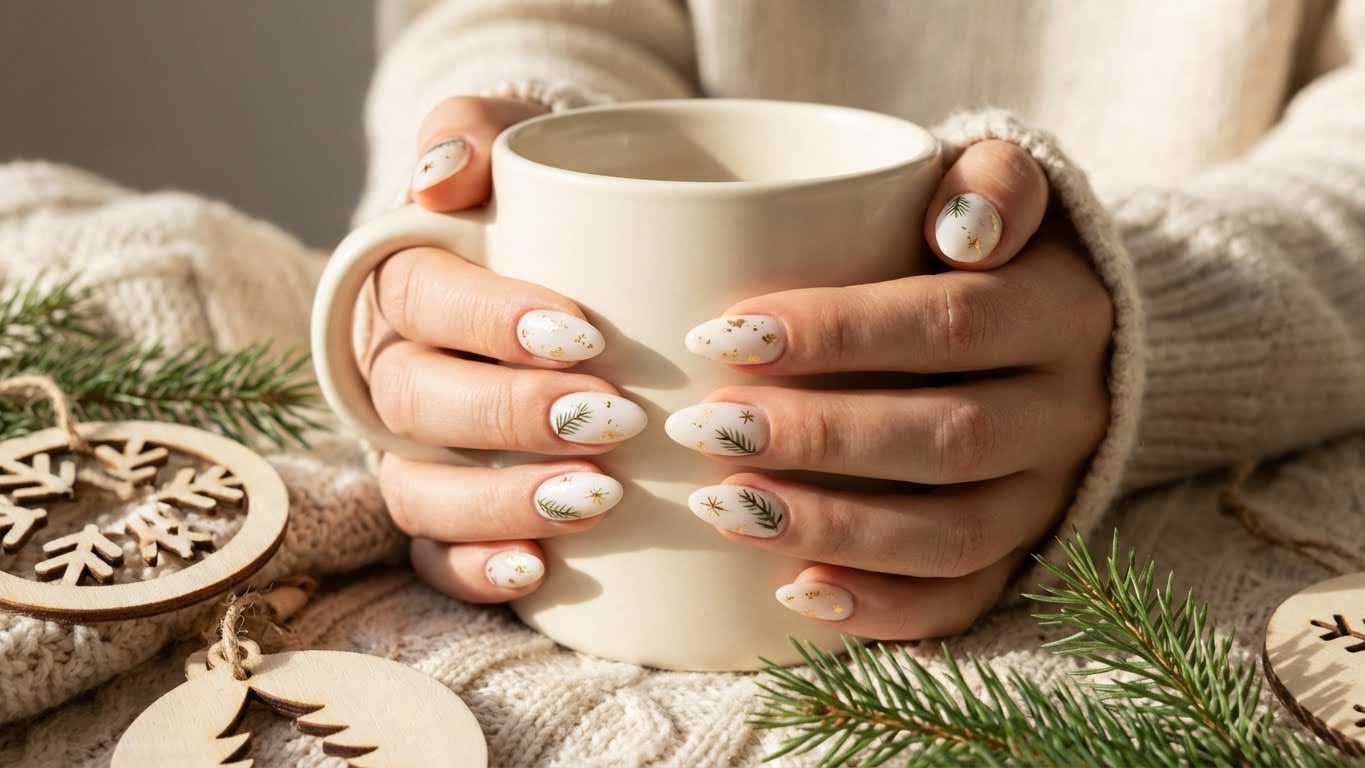
Gold Christmas Nail Design Ideas
Want to take your gold Christmas nails to the next level? Here are some design ideas to inspire you:
* Create a snowflake design using a nail dotting tool and white nail polish
* Add a festive holly leaf pattern using green nail polish and a nail art brush
* Use glitter or rhinestones to create a sparkly snowman design
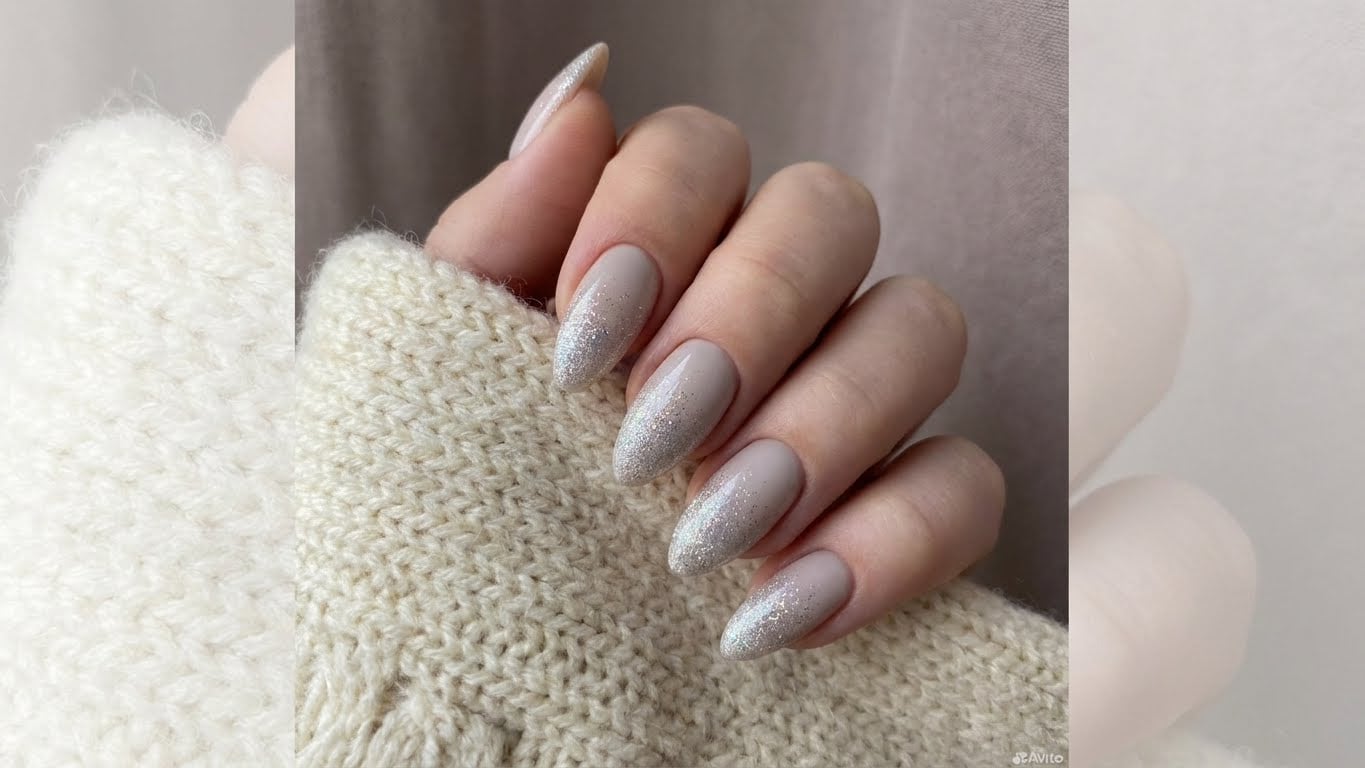
* Add a touch of glamour with a gold glitter ombre effect
FAQs
Q: What is the best gold nail polish for Christmas?
A: The best gold nail polish for Christmas depends on your skin tone and personal preference. Look for a shade that complements your skin tone and applies evenly.
Q: How do I prevent my gold nail polish from chipping?
A: To prevent your gold nail polish from chipping, make sure to apply a thin layer of clear top coat to seal the deal. You can also use a nail strengthener to help prevent chipping.
Q: Can I use a gold glitter polish instead of regular gold polish?
A: Yes, you can use a gold glitter polish instead of regular gold polish. Simply apply a thin layer of clear top coat to seal the glitter in place.
Q: How do I remove gold nail polish?
A: To remove gold nail polish, use a nail polish remover and gently scrape off the polish with a cuticle pusher. Be careful not to scrape too hard, as this can damage your nails.
Conclusion
With these simple steps and design ideas, you’re ready to create stunning gold Christmas nails that will make you shine this holiday season. Remember to have fun and be creative with your design, and don’t be afraid to experiment with different materials and techniques. Happy nail-ing!
Keywords:
* Gold Christmas nails
* Nail art
* Holiday nail design
* Sparkly nails
* Luxurious nails

Related Posts