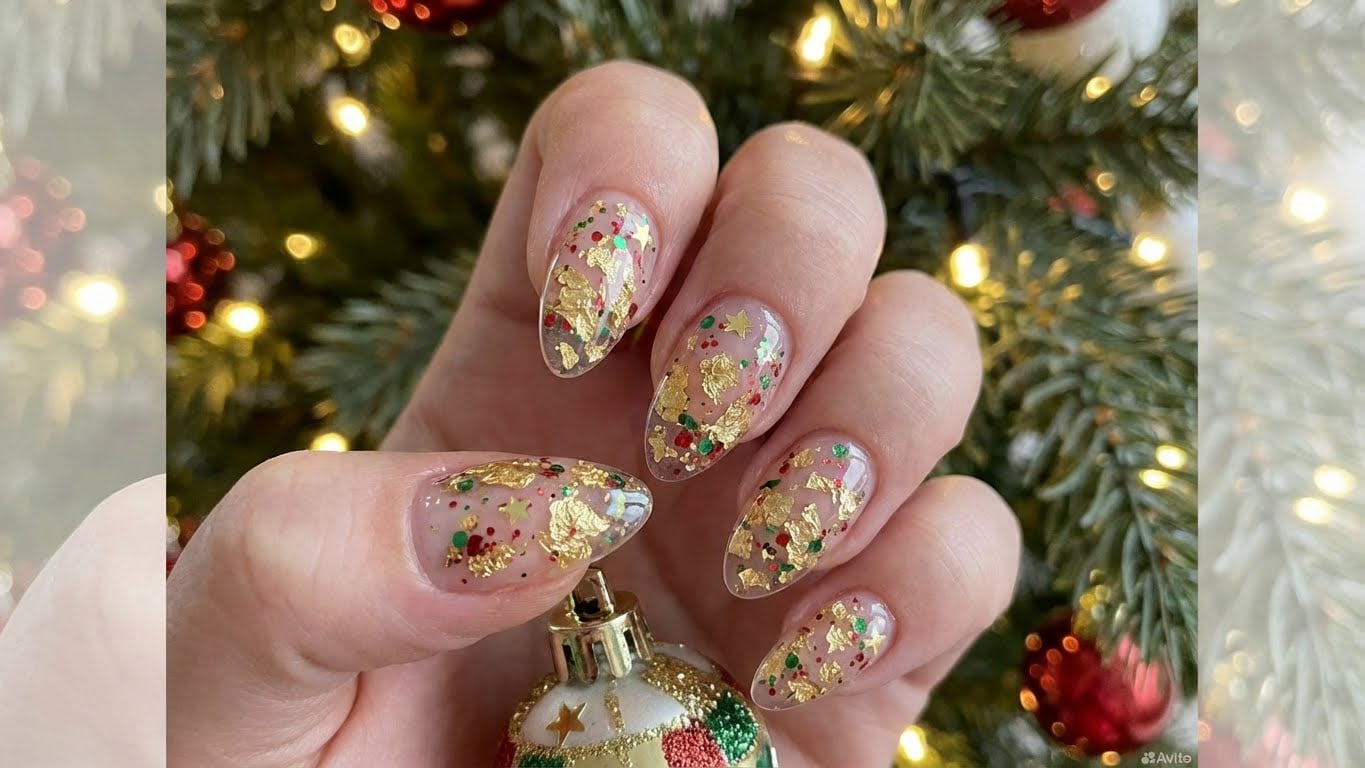
As the holiday season approaches, it’s time to think about festive nail art that will make your friends and family go green with envy. One of the most iconic and eye-catching designs is the glitter holiday nail, and today we’re going to show you how to create this stunning look at home.

Materials Needed
- Base coat
- Nail polish in your choice of color
- Glitter polish in your choice of color
- Nail glue
- Glitter nail stickers or strips
- Top coat
- Cotton balls or swabs
Step 1: Prep Your Nails
Before you start creating your glitter holiday nails, you need to prep your nails. This involves shaping and filing your nails to your desired shape, and then applying a base coat to protect your nails and promote even polish adhesion.
For a more durable finish, apply a thin layer of clear nail glue to the edge of each nail, making sure to clean up any excess glue as you go. This will help prevent chipping and peeling.
Step 2: Apply Your Base Coat
Now it’s time to apply your base coat. Apply a thin layer to each nail, making sure to cover the entire surface. Let it dry completely before moving on to the next step.
Step 3: Apply Your Nail Polish
Once your base coat is dry, it’s time to apply your nail polish. Apply a thin layer to each nail, making sure to cover the entire surface. Let it dry completely before moving on to the next step.
Step 4: Apply Your Glitter Polish
Now it’s time to add some sparkle to your nails with your glitter polish. Apply a thin layer to each nail, making sure to cover the entire surface. Let it dry completely before moving on to the next step.
Step 5: Add Glitter Nail Stickers or Strips
If you want to add an extra layer of sparkle to your nails, now is the time to apply glitter nail stickers or strips. Simply apply the stickers or strips to each nail, making sure to follow the manufacturer’s instructions.
Step 6: Seal With Top Coat
The final step is to apply a top coat to seal your glitter holiday nails. Apply a thin layer to each nail, making sure to cover the entire surface. Let it dry completely before finishing.
Finishing Touches
Once your top coat is dry, it’s time to add some finishing touches to your glitter holiday nails. You can use a cotton ball or swab to gently remove any excess glitter or polish from around the cuticles, and then apply a cuticle oil to keep your nails hydrated and healthy.
Common Mistakes to Avoid
When creating glitter holiday nails, there are a few common mistakes to avoid. These include applying too much polish or glitter, which can cause the polish to pool and the glitter to clump. To avoid this, make sure to apply thin layers and let each layer dry completely before moving on to the next step.
Q&A: Can I Use Glitter Nail Polish on My Toes?
Yes, you can use glitter nail polish on your toes. However, keep in mind that glitter polish can be more prone to chipping and peeling on toes than on fingers, so make sure to apply a good base coat and top coat to help extend the life of your polish.
Related Posts