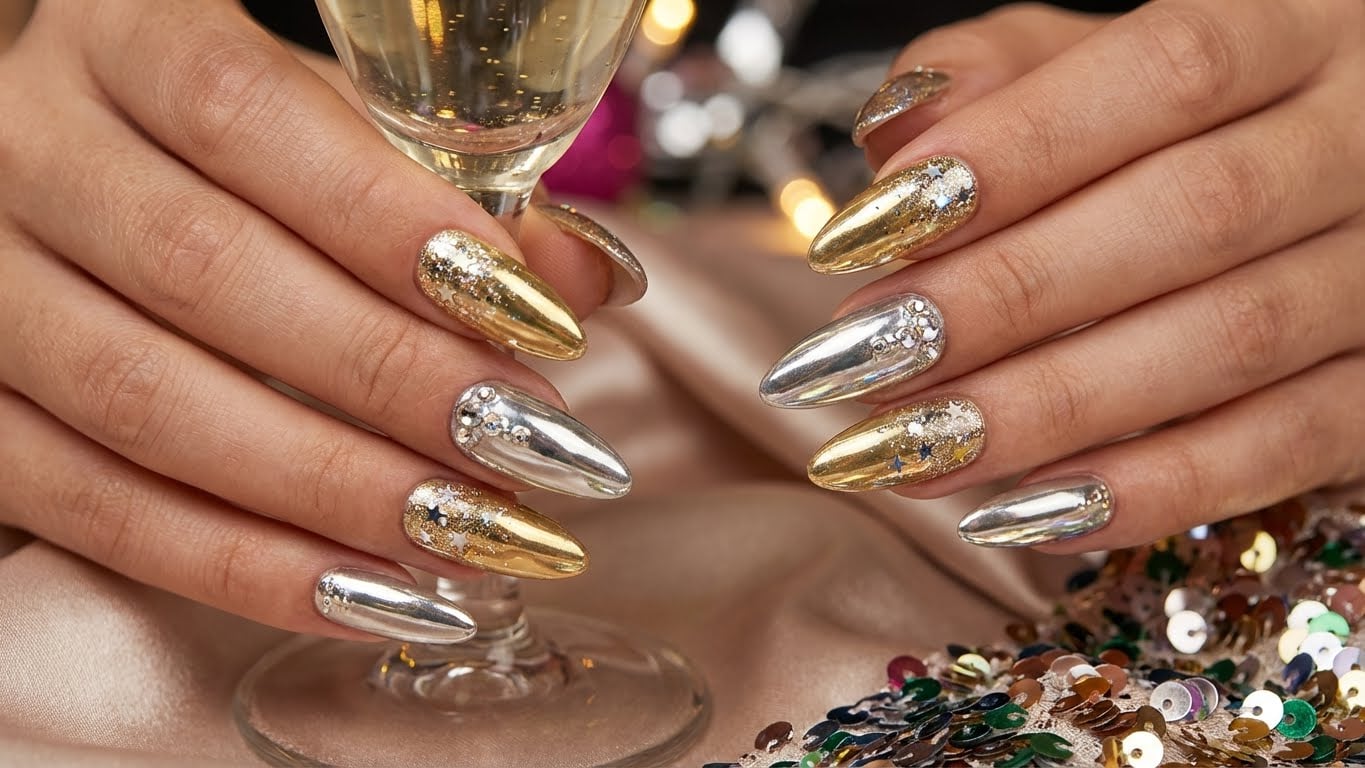
As the holiday season approaches, it’s time to get creative with your nail game. Gold Christmas nails are a timeless and elegant way to add some festive flair to your look. In this guide, we’ll take you through a step-by-step process to achieve salon-quality gold nails from the comfort of your own home.
### Step 1: Prep Those Nails
Before you start painting, make sure your nails are ready for the festive season. Remove any old nail polish and push back your cuticles. Use a gentle exfoliant to soften your nail beds and remove any dead skin cells. Apply a base coat to protect your nails and promote an even finish.
### Step 2: Choose Your Gold
With so many shades of gold to choose from, selecting the perfect one can be overwhelming. Consider your skin tone and personal style when picking a shade. For a classic look, opt for a warm, honey-gold shade. For a bold statement, try a bright, metallic gold.
#### Gold Nail Polish Options
* Essie’s ‘Gold Rush’ is a timeless choice for a warm, sun-kissed look.
* OPI’s ‘GoldenEye’ is a metallic gold that’s perfect for making a statement.
* Deborah Lippmann’s ‘Brick House’ is a deep, rich gold that’s ideal for the holiday season.
### Step 3: Apply the Base Coat
Apply a thin layer of clear base coat to each nail, making sure to cover the entire surface. This will help the polish adhere and prevent staining. Allow the base coat to dry completely before moving on to the next step.
### Step 4: Paint On the Gold
Using a steady hand, paint a thin layer of gold polish onto each nail. Start at the center and work your way outwards, using smooth, even strokes. Make sure to cover the entire nail surface, but avoid getting polish on your cuticles or skin.
### Step 5: Add a Top Coat
Finish off your look with a thin layer of clear top coat. This will help seal in the polish and add shine. Allow the top coat to dry completely before handling your nails.
### Step 6: Add Some Festive Flair
Take your gold nails to the next level by adding some festive flair. Use a nail art brush to paint on some holly leaves or berries. You can also add some glitter or rhinestones for extra sparkle.
### Step 7: Finishing Touches
Once you’ve completed your gold nails, take some time to add some finishing touches. Apply cuticle oil to keep your cuticles hydrated and healthy. Use a nail file to smooth out any ridges or imperfections.
### Common Issues and Solutions
* **Nail polish streaks**: Use a nail polish with a built-in primer to help smooth out the polish and prevent streaks.
* **Nail polish chips**: Use a top coat with a built-in chip-resistant formula to help extend the life of your polish.
* **Nail polish smudges**: Use a lint-free wipe to gently remove any smudges or streaks.
### Frequently Asked Questions
{ “q”: “What is the best way to remove gold nail polish?”, “a”: “To remove gold nail polish, use a nail polish remover that’s specifically designed for gold or metallic polishes. Soak a cotton ball in the remover and place it on your nail for a few minutes before gently wiping it off with a lint-free wipe.” }
{ “q”: “Can I use gold nail polish on my natural nails?”, “a”: “Yes, you can use gold nail polish on your natural nails. However, make sure to choose a polish that’s specifically designed for natural nails and follow the instructions carefully to avoid any damage.” }
{ “q”: “How long does gold nail polish last?”, “a”: “Gold nail polish can last anywhere from 5 to 7 days, depending on the quality of the polish and how well you take care of your nails.” }
{ “q”: “Can I use gold nail polish on my acrylic nails?”, “a”: “Yes, you can use gold nail polish on your acrylic nails. However, make sure to choose a polish that’s specifically designed for acrylic nails and follow the instructions carefully to avoid any damage.” }
### Conclusion
Creating stunning gold Christmas nails is easier than you think. With these simple steps and pro tips, you’ll be rocking a salon-quality look in no time. Remember to take your time, be patient, and have fun with it. Happy painting!
### Recommended Tools and Products
* Nail polish remover
* Nail polish
* Base coat
* Top coat
* Cuticle oil
* Nail art brush
* Glitter or rhinestones
* Nail file
* Lint-free wipes

Related Posts


