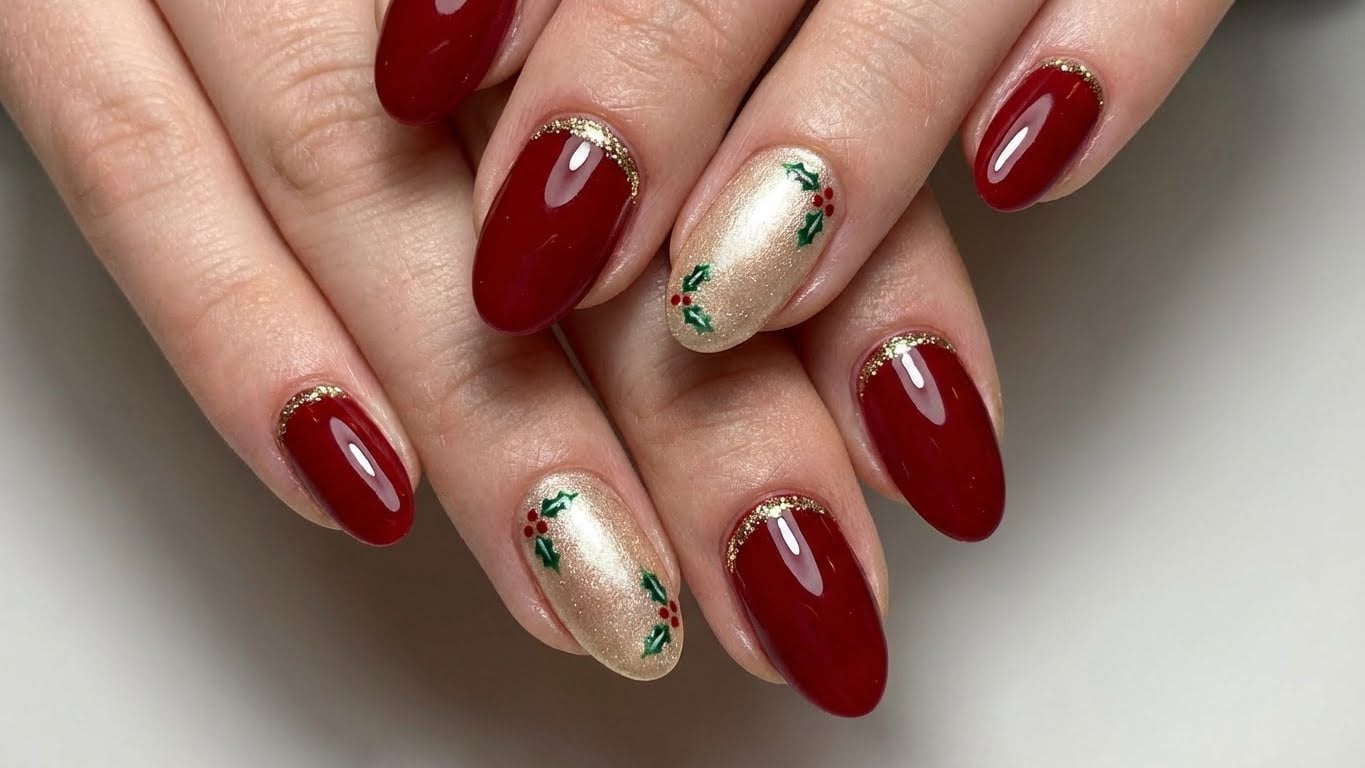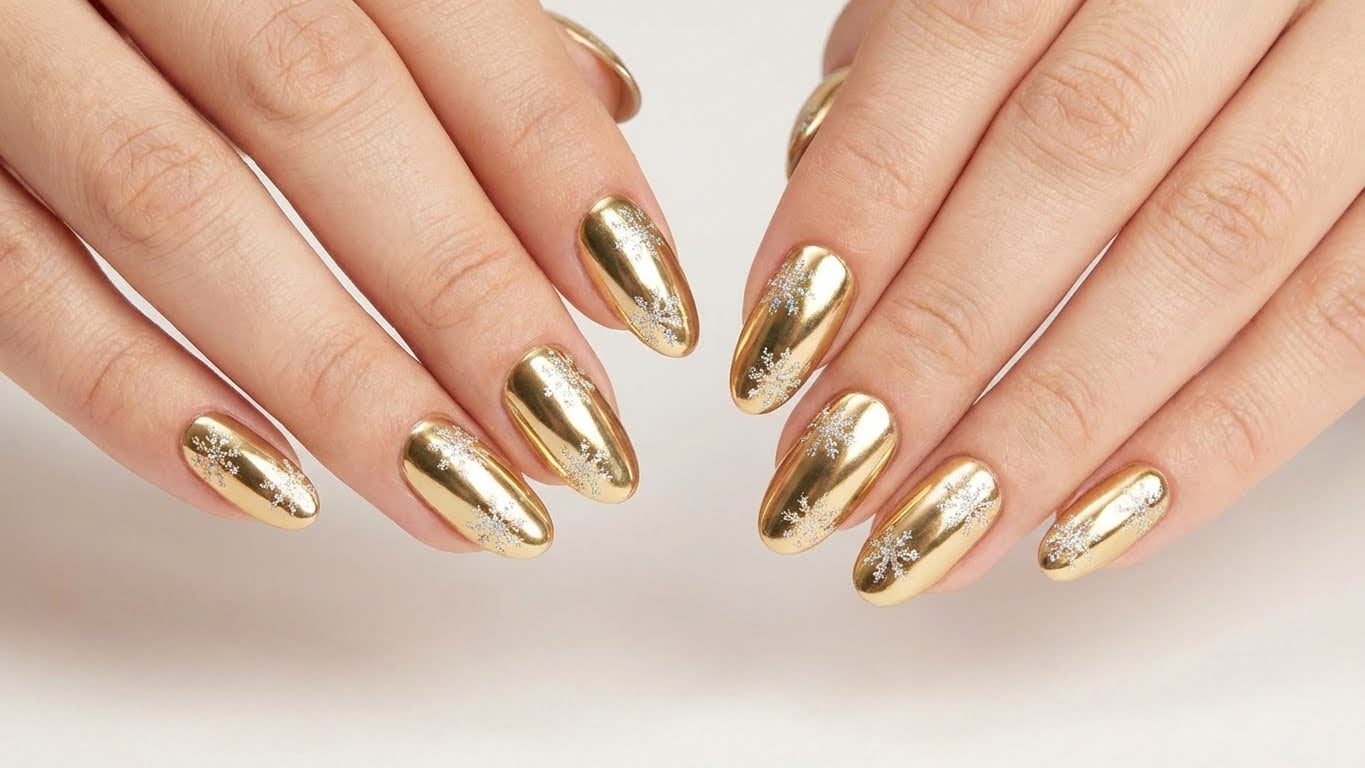
A Guide to Glitter Holiday Nails
Are you looking to add some sparkle to your holiday look? Glitter holiday nails are the perfect way to do so! Not only are they a great conversation starter, but they can also add a touch of elegance to any outfit. In this article, we’ll take you through a step-by-step guide on how to create your very own glitter holiday nails.
Materials Needed
Before we dive into the steps, let’s go over the materials you’ll need:
* A nail polish remover
* Nail clippers
* A nail file
* A base coat
* A glitter polish
* A top coat
* A nail glue (optional)
* Glitter nail stickers or nail guides (optional)
* A nail art brush
* Glitter (loose or in a bottle)
Step 1: Prep Your Nails
To start, you’ll need to prepare your nails for the glitter application. Begin by removing any old nail polish and trimming and shaping your nails to your desired shape.
Step 2: Apply a Base Coat
Next, apply a base coat to protect your nails and create a smooth surface for the glitter polish. This will help the glitter adhere to your nails and prevent it from getting stuck in your cuticles.
Step 3: Apply Glitter Polish
Now it’s time for the fun part – applying the glitter polish! You can use a traditional glitter polish or a glitter polish with a built-in top coat. Shake the bottle well before applying, and use a steady hand to paint a thin layer onto your nail. Make sure to cover the entire nail surface, but avoid getting polish on your cuticles or skin.
Step 4: Add a Second Coat (Optional)
If the first coat of glitter polish isn’t enough to achieve the desired effect, you can add a second coat. Be careful not to over-apply, as this can lead to a messy finish.
Step 5: Seal with a Top Coat
Once you’ve achieved the desired level of glitter, seal it in with a top coat. This will help extend the wear of your nail polish and prevent chipping.
Step 6: Add a Finishing Touch
Finally, add a finishing touch to your glitter holiday nails by applying a clear coat of nail glue or using a nail art brush to add a few extra touches of glitter.
Glitter Nail Stickers or Guides (Optional)
If you want to add a more intricate design to your glitter holiday nails, consider using glitter nail stickers or guides. These can be placed onto your nail to create a pattern or design, and can be used in combination with glitter polish or other nail art techniques.
Tips and Tricks
Here are a few tips and tricks to help you achieve the perfect glitter holiday nails:
* Use a nail polish with a built-in top coat to simplify the process and reduce cleanup.
* Apply a thin layer of glitter polish to avoid a messy finish.
* Use a nail art brush to add a few extra touches of glitter or to create a design.
* Experiment with different glitter polishes and techniques to create a unique look.
* Consider using a glitter nail sticker or guide to add a more intricate design.
Frequently Asked Questions
Q: Can I use regular nail polish instead of glitter polish?
A: While it’s possible to use regular nail polish, glitter polish is specifically designed to hold glitter particles, making it the best choice for creating glitter holiday nails.
FAQ
Can I use regular nail polish instead of glitter polish?
While it's possible to use regular nail polish, glitter polish is specifically designed to hold glitter particles, making it the best choice for creating glitter holiday nails.

Related Posts