Winter is here, and with it comes a desire to add some extra sparkle to our lives. One way to do this is by trying out the latest nail trends, and right now, sparkly winter nails are all the rage. In this guide, we’ll show you how to achieve this season’s hottest trend with ease.
### Step 1: Prep Your Nails
Before you can start getting sparkly, you need to make sure your nails are in good condition. This means removing any old nail polish, pushing back your cuticles, and trimming any excess nail growth.
#### Tools You’ll Need
* Nail polish remover
* Cuticle pusher
* Nail clippers
* Buffer
* Nail file
#### Tips and Tricks
* Make sure to use a good quality nail polish remover to avoid damaging your nails.
* Use a buffer to gently smooth out any ridges or imperfections in your nails.
* Don’t forget to moisturize your cuticles after pushing them back.
### Step 2: Choose Your Base Color
The base color is the foundation of your sparkly winter nails, so choose a shade that complements your skin tone. If you’re unsure, you can always ask for advice at a salon or try out a few different shades at home.
#### Popular Base Colors for Winter
* Deep berry shades
* Rich jewel tones
* Metallic silvers and golds
#### Tips and Tricks
* Choose a base color that complements your skin tone to make your sparkles stand out.
* Consider using a nail polish with a built-in topcoat to save time.
* Don’t be afraid to experiment with different shades and combinations.
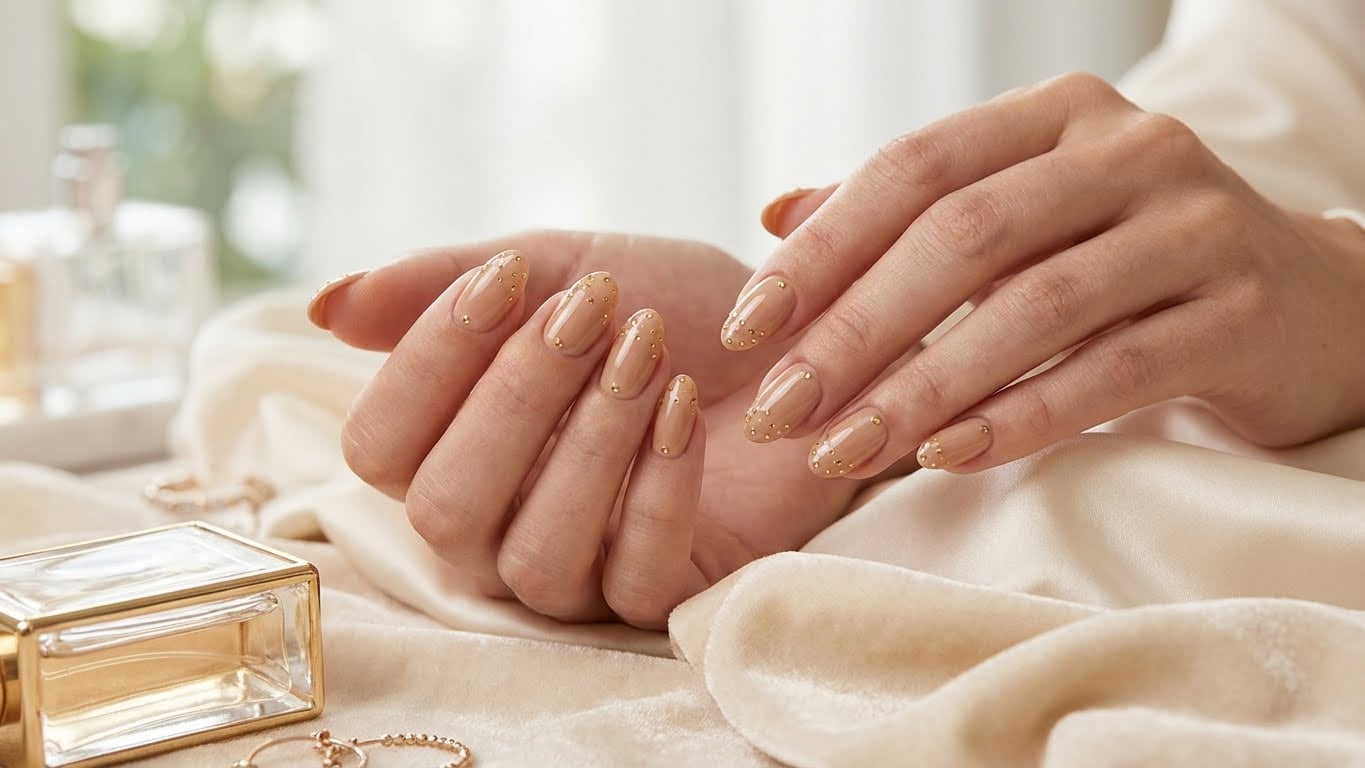
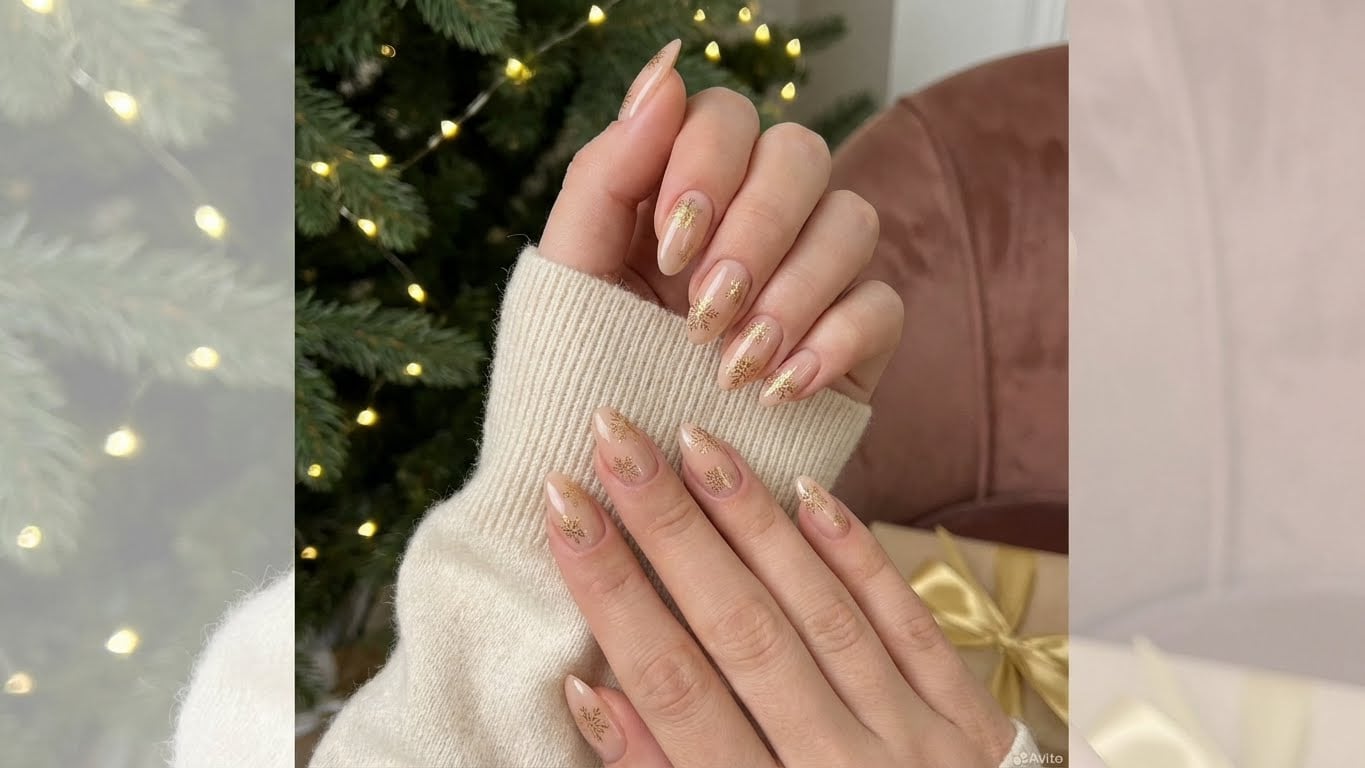
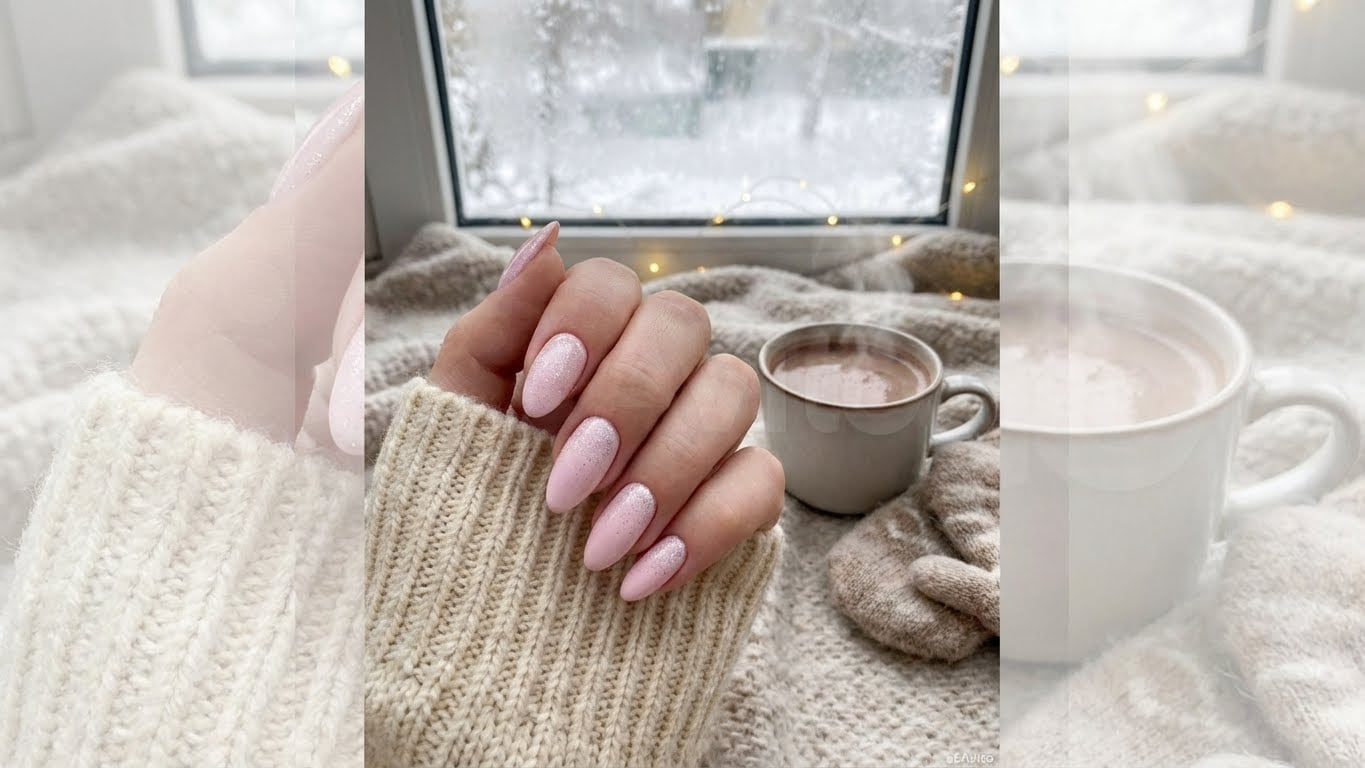
### Step 3: Add Your Sparkles
This is the fun part! Use a nail art brush or a dotting tool to apply your sparkles. You can use loose sparkles, nail art glitter, or even a sparkly topcoat.
#### Types of Sparkles to Try
* Loose sparkles
* Nail art glitter
* Sparkly topcoat
* Glitter polish
#### Tips and Tricks
* Use a nail art brush to apply your sparkles for a more precise look.
* Experiment with different shapes and sizes of sparkles to create a unique design.
* Don’t overdo it – too many sparkles can be overwhelming.
### Step 4: Seal It All In
Once you’ve added your sparkles, it’s time to seal them in with a topcoat. This will help your sparkles last longer and prevent them from chipping.
#### Tips and Tricks
* Use a good quality topcoat to ensure your sparkles last.
* Apply a thin layer of topcoat to avoid pooling or unevenness.
* Don’t skip this step – it’s essential for extending the life of your sparkles.
### Step 5: Finishing Touches
The final step is to add any finishing touches to your sparkly winter nails. This could include applying a cuticle oil, moisturizing your hands, or simply admiring your handiwork.
#### Tips and Tricks
* Use a cuticle oil to keep your cuticles hydrated and healthy.
* Moisturize your hands to prevent dry, cracked skin.
* Take a step back and admire your handiwork – you did it!
### Common Questions
#### Q: How long do sparkly winter nails last?
A: The lifespan of your sparkly winter nails depends on how well you care for them. With a good quality topcoat and regular maintenance, they can last up to two weeks.
#### Q: Can I use loose sparkles with a regular nail polish?
A: Yes, you can use loose sparkles with a regular nail polish. Simply apply a thin layer of clear polish, then sprinkle on your sparkles and seal with another layer of clear polish.
#### Q: How do I remove sparkly nail polish?
A: To remove sparkly nail polish, use a good quality nail polish remover and gently scrub the nail with a cotton swab. Be careful not to scrub too hard, as this can damage your nails.
#### Q: Can I use sparkly nail polish on my natural nails?
A: Yes, you can use sparkly nail polish on your natural nails. However, be sure to choose a shade that complements your natural nail color and avoid using too much polish, as this can be damaging.
Related Posts