It’s the most wonderful time of the year, and your nails should reflect that! Gold Christmas nails are a popular trend that can add a touch of luxury and glamour to your holiday look. But, if you’re new to nail art or haven’t tried a gold nail design before, it can be intimidating. Don’t worry, we’ve got you covered with our step-by-step guide on how to create a stunning gold Christmas nails look.

Materials Needed
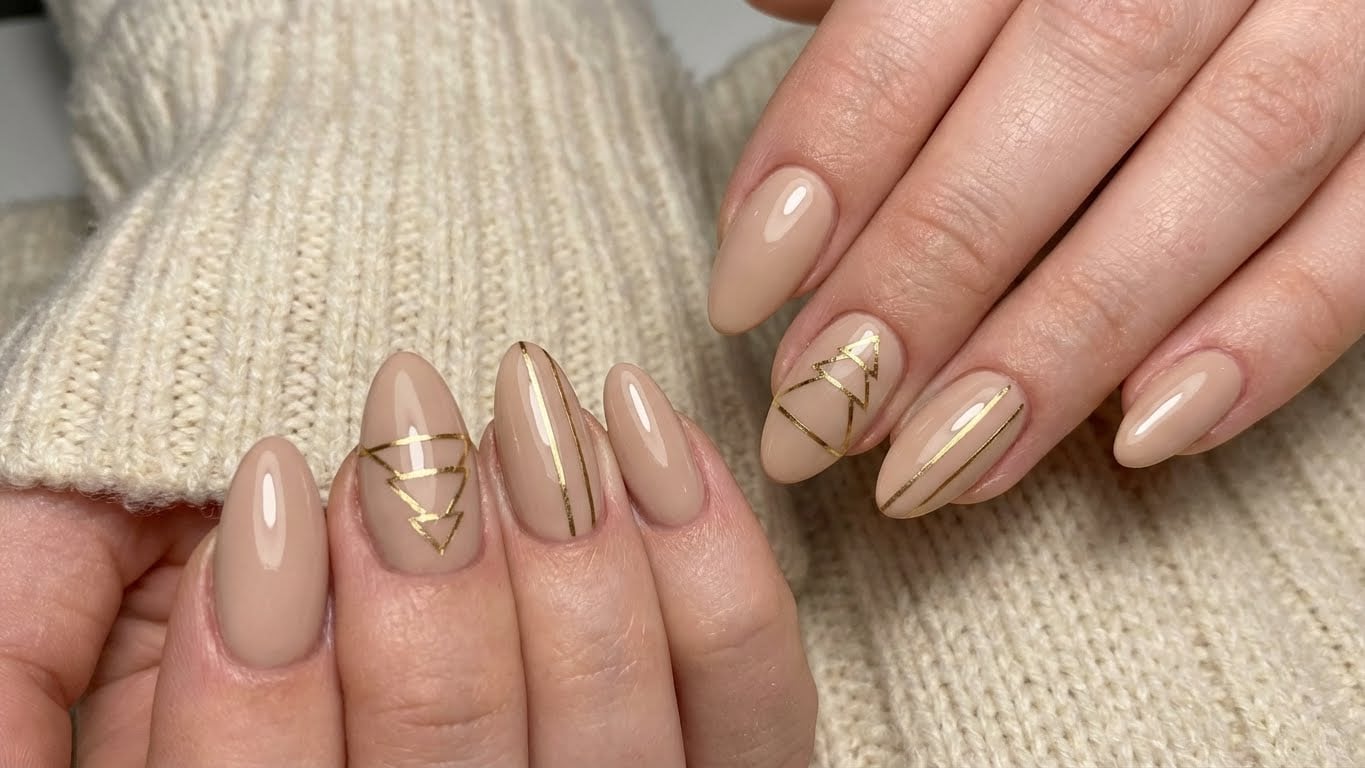
To get started, you’ll need the following materials:
- Nail polish remover
- Nail clippers
- Nail file
- Base coat
- Gold nail polish (choose your desired shade)
- Black nail polish (for the tree and details)
- Red nail polish (for the berries)
- Nail art brushes
- Nail dotting tool
- Nail art glue (optional)
Preparation
Before you start, make sure your nails are clean and dry. Remove any old nail polish and push back your cuticles. Use a nail file to shape your nails to your desired shape.
Step 1: Apply Base Coat
Apply a thin layer of clear base coat to each of your nails. This will help protect your nails and create a smooth surface for your gold polish to adhere to.
Step 2: Apply Gold Polish
Apply a thin layer of gold polish to each of your nails. You can use one color or layer multiple shades for a more intricate look. Make sure to let each layer dry completely before moving on to the next step.
Step 3: Create the Tree
Use a nail art brush to paint a small tree shape on each of your nails. You can use black polish for this step. Start by painting a small triangle shape at the base of your nail, then add more triangles to create the tree shape.
Step 4: Add Berries
Use a nail dotting tool to create small red dots on your nails. These will represent the berries on your tree. You can also use a small brush to paint a few red dots for a more detailed look.
Step 5: Add Details
Use a small brush to add details to your tree, such as branches or leaves. You can also use nail art glue to attach small gems or rhinestones to your nails for extra sparkle.
Finishing Touches
Once you’ve completed all the steps, apply a top coat to seal in your design and add shine. Make sure to let it dry completely before handling your nails.
Tips and Variations
Here are a few tips and variations to help you take your gold Christmas nails to the next level:
- Use different shades of gold polish to create a multi-tonal look.
- Add glitter or holographic polish to your design for extra sparkle.
- Use a nail stamp or nail art plate to create intricate designs.
- Experiment with different nail shapes and sizes to create a unique look.
FAQs
-
Q: What type of gold polish should I use?
A: You can use any type of gold polish you like, but make sure it’s a high-quality polish that will adhere well to your nails.
-
Q: How do I remove gold polish from my nails?
A: To remove gold polish, use a nail polish remover and gently scrape off the polish with a cuticle pusher.
-
Q: Can I use a different color for the tree and berries?
A: Yes, you can use any color you like for the tree and berries. Just make sure it complements the gold polish and doesn’t clash with it.
-
Q: How long does it take to complete this design?
A: This design should take around 30 minutes to an hour to complete, depending on your skill level and the complexity of your design.
FAQ
What type of gold polish should I use?
You can use any type of gold polish you like, but make sure it's a high-quality polish that will adhere well to your nails.
How do I remove gold polish from my nails?
To remove gold polish, use a nail polish remover and gently scrape off the polish with a cuticle pusher.
Can I use a different color for the tree and berries?
Yes, you can use any color you like for the tree and berries. Just make sure it complements the gold polish and doesn't clash with it.
How long does it take to complete this design?
This design should take around 30 minutes to an hour to complete, depending on your skill level and the complexity of your design.
Related Posts


