The holiday season is upon us, and what better way to get into the festive spirit than with a show-stopping glitter holiday nail design? Whether you’re a seasoned nail artist or a DIY novice, we’ve got the inside scoop on the latest glitter trends and how to incorporate them into your holiday look.
### The Magic of Glitter Nails
Glitter nails have been a staple of the beauty world for years, and this holiday season is no exception. With a plethora of glitters to choose from, from classic metallics to holographic finishes, there’s a glitter out there to suit every style and preference.
#### Top Glitter Trends for the Holiday Season
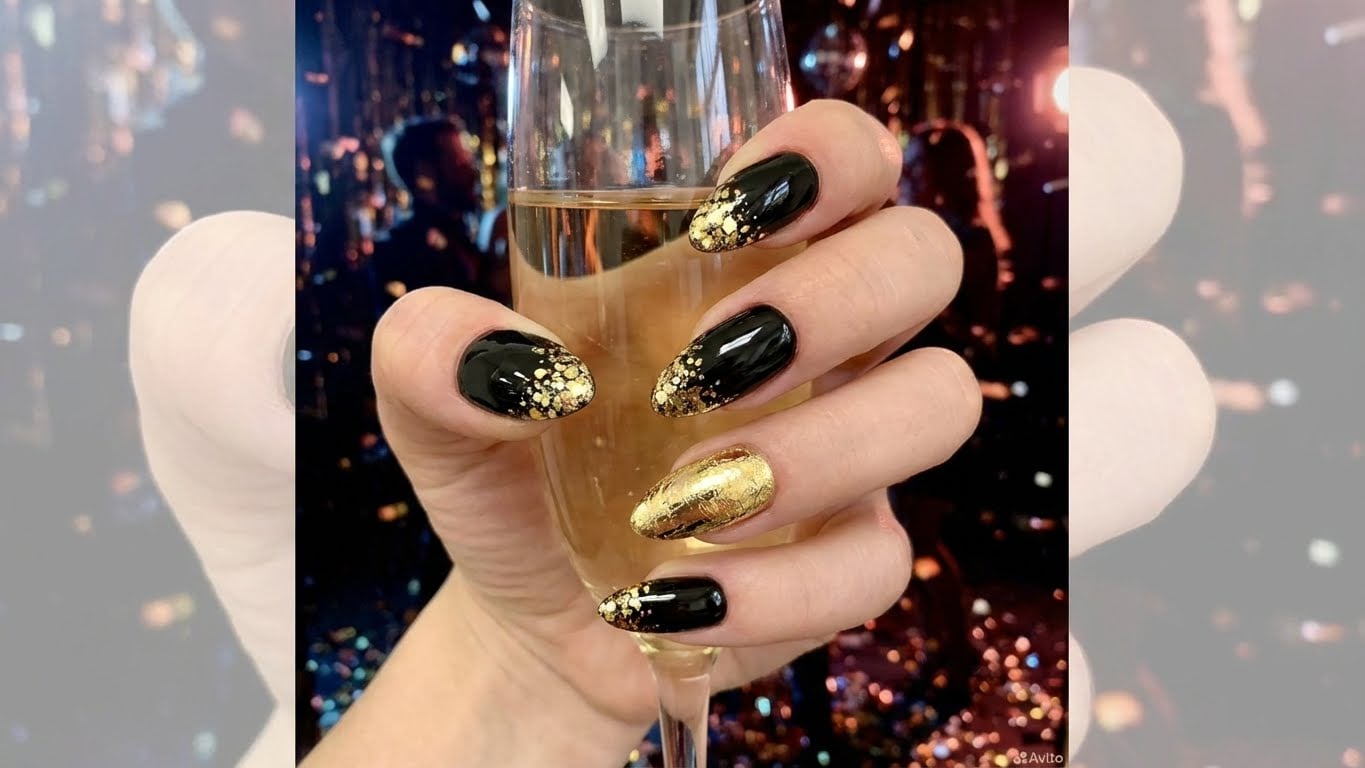
* **Metallic Glitters**: Metallic glitters are a timeless favorite, and for good reason. They add a touch of sophistication and luxury to any holiday look. From rose gold to silver, metallic glitters are a must-have for any glitter lover.
* **Holographic Glitters**: Holographic glitters are having a major moment this season, and for good reason. They add a touch of futuristic flair to any holiday look, and are sure to turn heads.
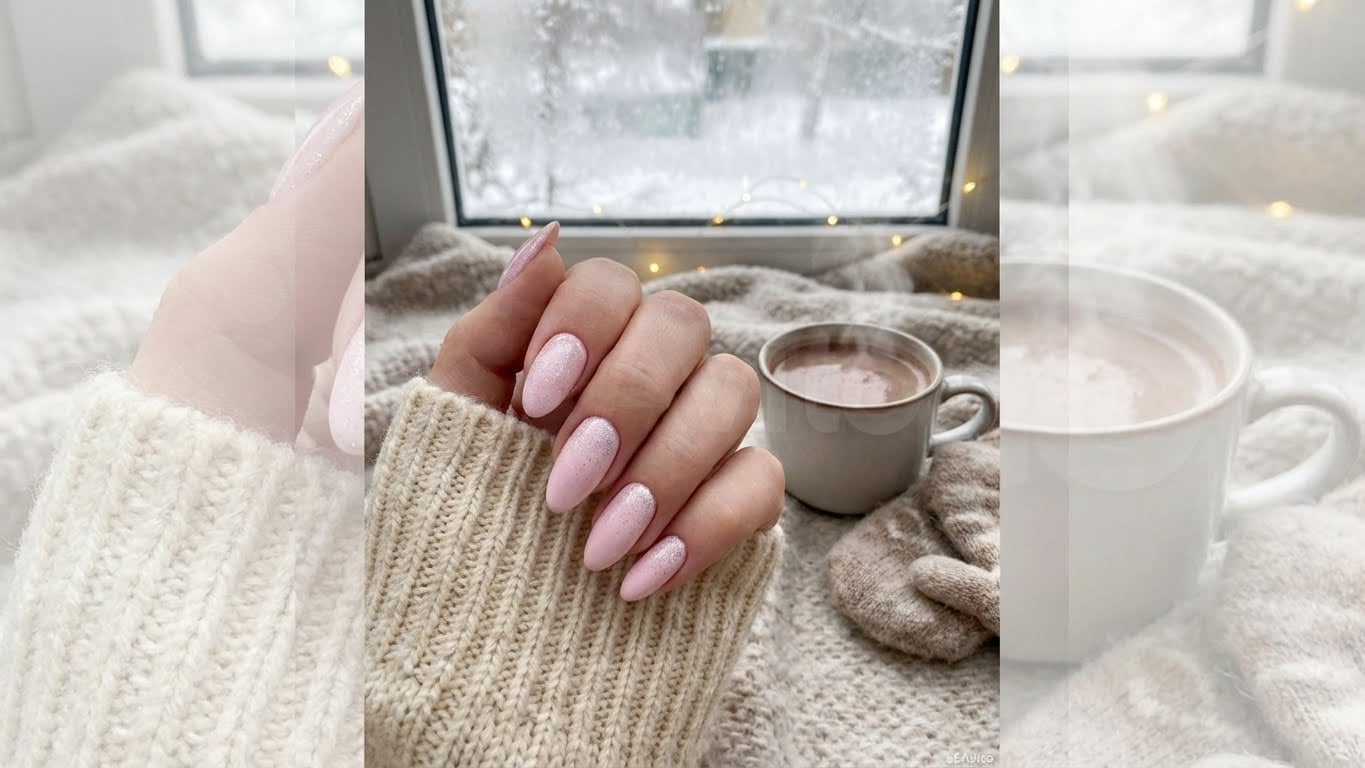
* **Glitter Accents**: For a more subtle take on glitter nails, try incorporating glitter accents into your design. This can be as simple as adding a few strategically placed glitter dots or stripes, or as elaborate as creating a full-on glitter ombre effect.
### How to Create Stunning Glitter Holiday Nails
Creating stunning glitter holiday nails is easier than you think. With a few simple tips and tricks, you can achieve a salon-quality look from the comfort of your own home.
#### Essential Tools for Glitter Nails
* **Nail Glue**: Nail glue is a must-have for any glitter nail design. It helps to secure your glitter in place and prevent it from coming loose over time.
* **Glitter Polish**: A good quality glitter polish is essential for creating a smooth, even finish. Look for polishes with a high concentration of glitter for the best results.
* **Nail Polish Remover**: A good quality nail polish remover is essential for removing old nail polish and prepping your nails for glitter.
#### Step-by-Step Guide to Creating Glitter Holiday Nails
1. **Prep Your Nails**: Before you start creating your glitter design, make sure to prep your nails by removing any old nail polish and pushing back your cuticles.
2. **Apply Base Coat**: Apply a base coat to protect your nails and help your glitter polish adhere.
3. **Apply Glitter Polish**: Apply a thin layer of glitter polish to each nail, making sure to cover the entire surface.
4. **Add Glitter Accents**: Use nail glue to secure any glitter accents in place.
5. **Finish with Top Coat**: Finish off your look with a top coat to seal in your glitter and add shine.
### Tips and Tricks for Glitter Nails
* **Use a Nail Glue that Dries Clear**: A nail glue that dries clear is essential for avoiding any unsightly lumps or bumps in your glitter design.
* **Use a Light Hand When Applying Glitter Polish**: Too much glitter polish can lead to a messy, uneven finish. Use a light hand and build up your coverage gradually.
* **Don’t Overdo It with the Glitter**: While glitter nails can be a lot of fun, too much of a good thing can be overwhelming. Balance your glitter design with some neutral colors to avoid overwhelming the senses.
### Frequently Asked Questions
* **Q: Can I use glitter nail polish on its own, or do I need to add glitter accents?**
A: Both! Glitter nail polish can be used on its own for a simple, elegant look, or paired with glitter accents for a more elaborate design.
#### Affiliate Links
FAQ
Can I use glitter nail polish on its own, or do I need to add glitter accents?
Both! Glitter nail polish can be used on its own for a simple, elegant look, or paired with glitter accents for a more elaborate design.

Related Posts