Eager to add some extra sparkle to your holiday season? Look no further than gold Christmas nails! This festive and glamorous trend is perfect for the holiday season, and with a few simple tips and tricks, you can create stunning nail art designs that are sure to turn heads.
Why Go for Gold Christmas Nails?
Gold Christmas nails are a great way to add some luxury and glamour to your holiday look. Not only are they a perfect way to get into the festive spirit, but they’re also a great way to show off your personal style. Whether you’re heading to a holiday party or just want to add some extra sparkle to your everyday look, gold Christmas nails are a surefire way to make a statement.
The Benefits of Gold Christmas Nails
So, why are gold Christmas nails so popular? Here are just a few benefits of adding some gold to your holiday nail art:
- Easy to create: Gold Christmas nails are relatively easy to create, even for beginners. With a few simple tools and some practice, you can create stunning nail art designs that are sure to impress.
- Customizable: One of the best things about gold Christmas nails is that they can be customized to fit your personal style. Want a bold and bright look? Go for it! Want a more subtle and understated look? That’s okay too.
- Long-lasting: Gold Christmas nails can be long-lasting, especially if you use a high-quality topcoat. This means you can enjoy your festive nail art for weeks to come, rather than just a few days.
- Festive: Let’s face it – gold Christmas nails are just plain festive! They’re a great way to get into the holiday spirit and show off your love of the season.
How to Create Gold Christmas Nails
So, how do you create stunning gold Christmas nails? Here are some simple steps to follow:
- Prep your nails: Before you start creating your gold Christmas nails, make sure your nails are prepped and ready. This means cleaning your nails, pushing back your cuticles, and applying a base coat.
- Apply a gold base coat: Next, apply a gold base coat to your nails. This will help your gold nail polish adhere and give your nails a smooth, even finish.
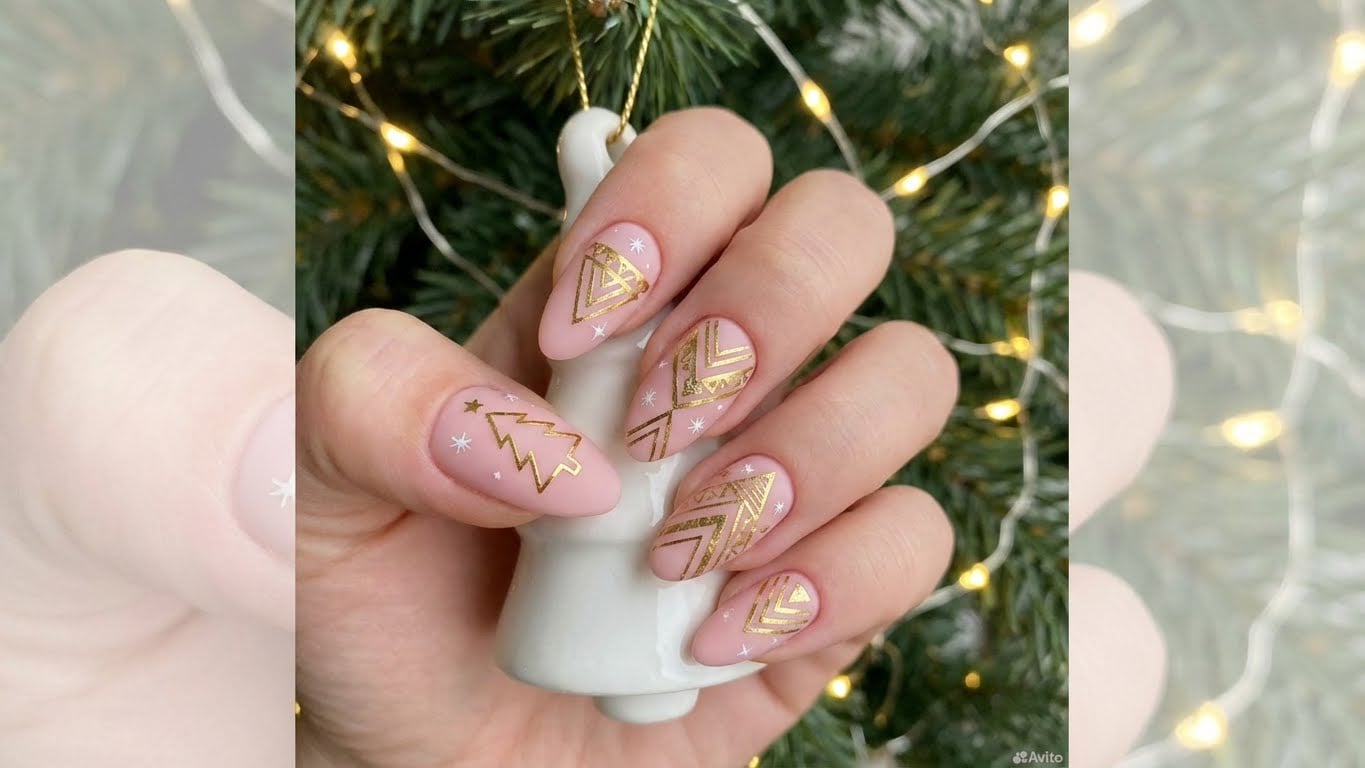
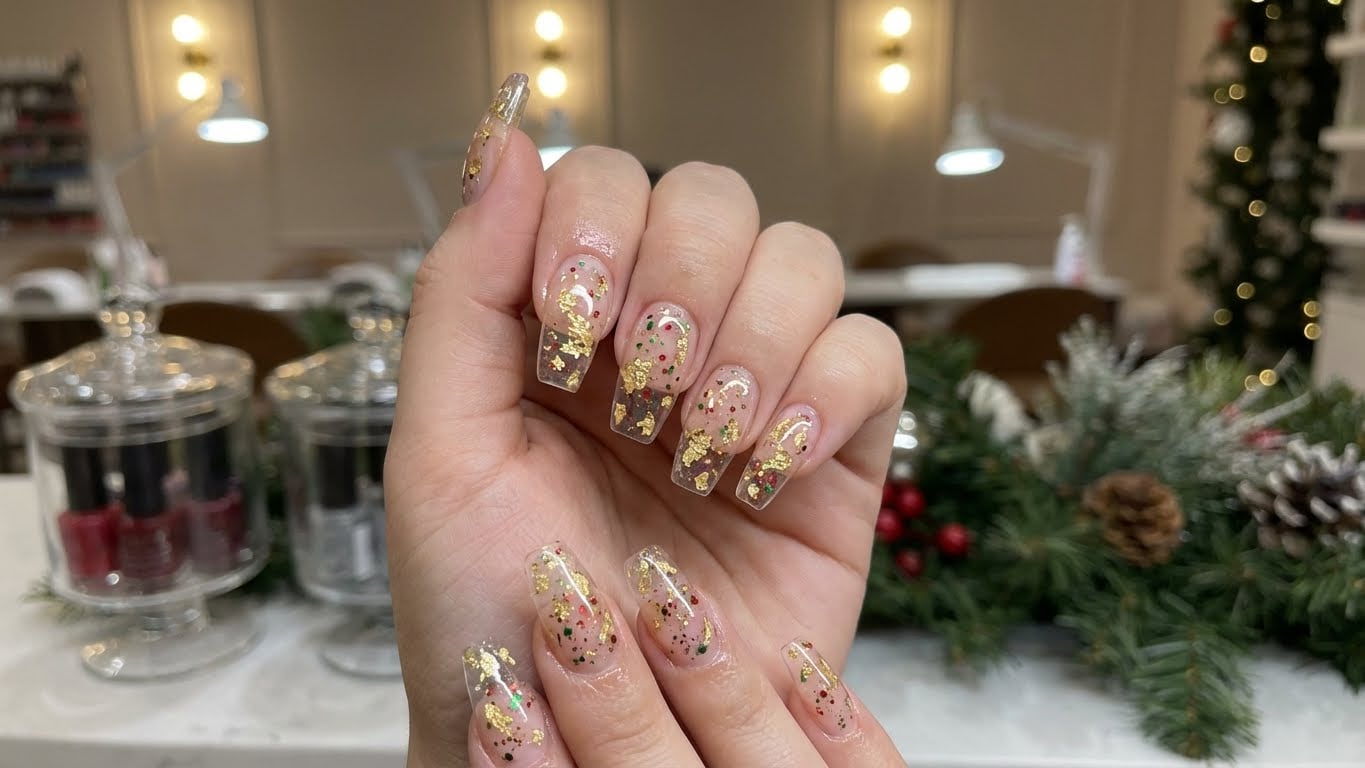
- Add some festive flair: Now it’s time to add some festive flair to your nails. This could be anything from a simple gold glitter accent nail to a more elaborate design featuring holly, snowflakes, or other holiday-themed images.
- Finish with a topcoat: Finally, finish your gold Christmas nails with a high-quality topcoat. This will help your nail polish last longer and give your nails a sleek, glossy finish.
Gold Christmas Nails for Beginners
Don’t worry if you’re a beginner – creating gold Christmas nails is easier than you think! Here are some simple tips to get you started:
- Start with a simple design: If you’re new to nail art, start with a simple design. This could be a single gold accent nail or a simple gold glitter design.
- Practice, practice, practice: The more you practice, the better you’ll get at creating gold Christmas nails. Don’t be discouraged if your first attempts don’t turn out as well as you’d like – keep trying and you’ll soon get the hang of it!
- Use high-quality tools and supplies: Finally, make sure you’re using high-quality tools and supplies. This will help your gold Christmas nails look their best and last longer.
Gold Christmas Nails for the Advanced Nail Artist
Already a pro at creating nail art? Take your skills to the next level with some more advanced gold Christmas nail designs!
- Try a gold ombre effect: Create a stunning gold ombre effect by gradating your gold nail polish from light to dark. This is a great way to add some extra dimension and interest to your nail art.
- Use holiday-themed nail stickers: Add some festive flair to your nail art with holiday-themed nail stickers. These can be found in a variety of shapes and sizes, from holly leaves to snowflakes.
- Get creative with nail art brushes: Finally, don’t be afraid to get creative with nail art brushes! These can be used to create a variety of different designs, from intricate patterns to bold, sweeping strokes.
Gold Christmas Nails FAQs
Still got questions about gold Christmas nails? Check out our FAQs below:
Q: How do I remove gold Christmas nail polish?
A: To remove gold Christmas nail polish, simply use a nail polish remover and follow the instructions on the packaging.
Q: Can I create gold Christmas nails at home?
A: Yes, you can create gold Christmas nails at home! Just make sure you have the right tools and supplies, and follow the steps outlined above.
Q: How long do gold Christmas nails last?
A: Gold Christmas nails can last anywhere from a few days to several weeks, depending on the quality of the nail polish and the care you give your nails.
Q: Can I use gold nail polish for other occasions?</hassistant
{
“title”: “Add a Touch of Luxury with Gold Christmas Nails: A Guide to Festive Nail Art
Related Posts