Christmas is just around the corner, and what better way to get into the holiday spirit than with some festive nail art? Gold Christmas nails are a classic choice for the season, and for good reason. Not only do they add a touch of glamour to your holiday look, but they’re also surprisingly easy to create.

Why Gold Christmas Nails are a Must-Try
So, why should you try gold Christmas nails this season? For starters, they’re a timeless choice that never goes out of style. Whether you’re going for a classic look or something more bold and daring, gold nails are the perfect way to add a touch of festive flair to your holiday look. Plus, they’re incredibly versatile – you can pair them with just about any outfit or accessory.
Classic Gold Christmas Nails
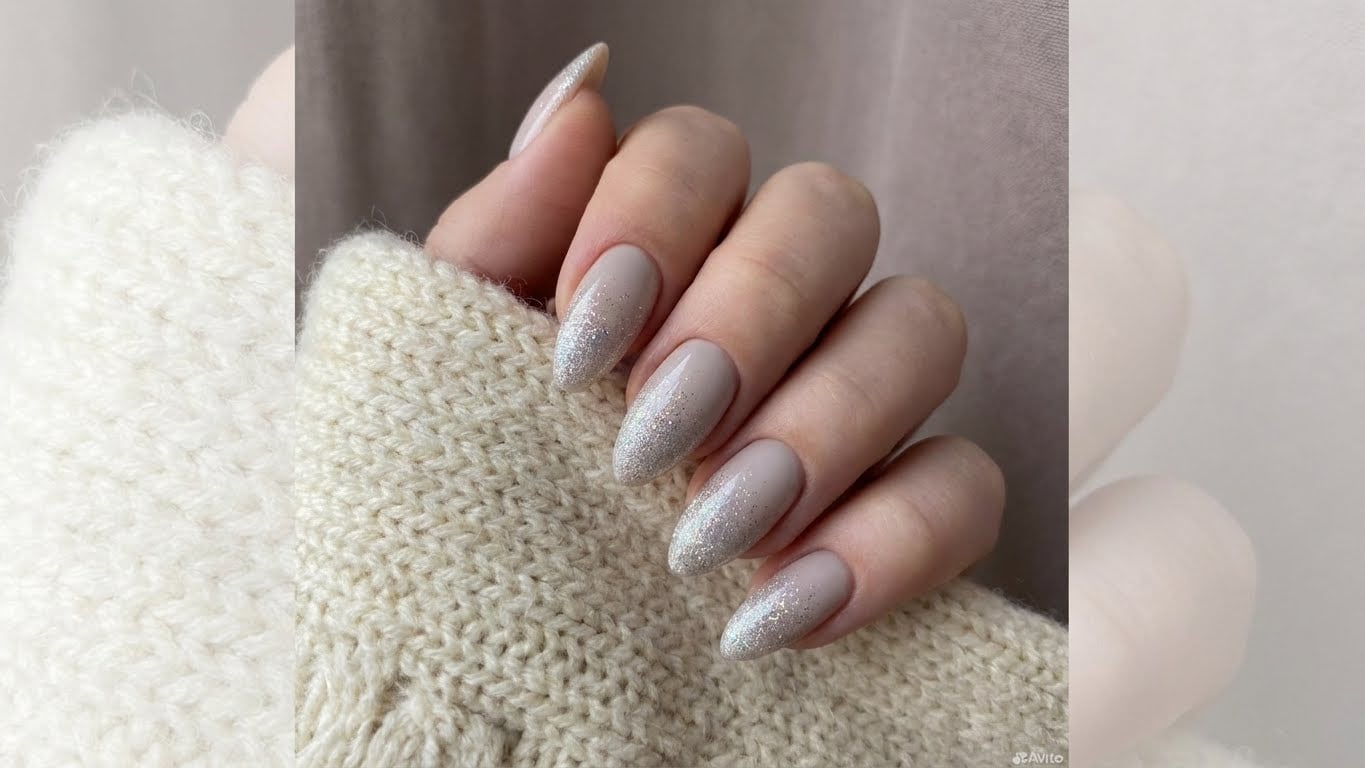
If you’re looking for a classic take on gold Christmas nails, consider going for a simple, champagne-colored gold finish. This look is perfect for those who want to add a touch of elegance to their holiday look without going over the top. To achieve this look, start by applying a base coat to protect your nails. Next, apply a thin layer of gold polish and finish with a top coat.
Bold Gold Christmas Nails
If you’re feeling bold and daring, consider trying a more dramatic gold Christmas nail look. This can be achieved by pairing a metallic gold polish with a bold, bright red or green accent nail. To take your look to the next level, consider adding some holiday-themed nail art, such as snowflakes or holly berries.
How to Create Gold Christmas Nails at Home
While gold Christmas nails may seem like a luxury reserved for salons, the truth is that you can easily create this look at home with a few simple supplies. Here’s what you’ll need:
- Gold polish
- Base coat
- Top coat
- Nail art brushes (optional)
- Holiday-themed nail art stickers or stamps (optional)
To get started, apply a base coat to protect your nails. Next, apply a thin layer of gold polish and finish with a top coat. If you’re feeling adventurous, consider adding some holiday-themed nail art to take your look to the next level.
Gold Christmas Nail Tips and Tricks
Looking to take your gold Christmas nail look to the next level? Here are a few tips and tricks to keep in mind:
- Use a high-quality gold polish that’s specifically designed for nails.
- Apply a base coat to protect your nails and prevent staining.
- Use a thin layer of gold polish for a more subtle look.
- Consider adding a top coat to seal in your look and add shine.
- Don’t be afraid to get creative with holiday-themed nail art!
Conclusion
Gold Christmas nails are a timeless choice that’s perfect for the holiday season. Whether you’re going for a classic look or something more bold and daring, gold nails are the perfect way to add a touch of festive flair to your holiday look. With these tips and tricks, you’ll be well on your way to creating stunning gold Christmas nails that will impress friends and family alike.
FAQs
Q: What’s the best way to apply gold polish to my nails?
A: To apply gold polish to your nails, start by applying a base coat to protect your nails. Next, apply a thin layer of gold polish and finish with a top coat.
Q: Can I use any type of gold polish?
A: While you can use any type of gold polish, it’s best to use a high-quality polish that’s specifically designed for nails. This will help ensure a smooth, even finish that lasts all season long.
Q: How do I remove gold polish from my nails?
A: To remove gold polish from your nails, use a gentle nail polish remover and follow up with a moisturizing cuticle oil to keep your nails and cuticles hydrated.
Q: Can I add holiday-themed nail art to my gold Christmas nails?
A: Absolutely! Consider adding some holiday-themed nail art, such as snowflakes or holly berries, to take your look to the next level.
Affiliate Links
Related Posts