As the holiday season approaches, many of us are thinking about ways to elevate our style and get into the festive spirit. One of the easiest and most effective ways to do this is with a bold, eye-catching manicure – specifically, gold Christmas nails. Whether you’re attending a holiday party, meeting up with friends, or simply want to add some sparkle to your daily routine, a well-executed gold nail design can make all the difference.
Why Gold Christmas Nails are a Holiday Must-Have
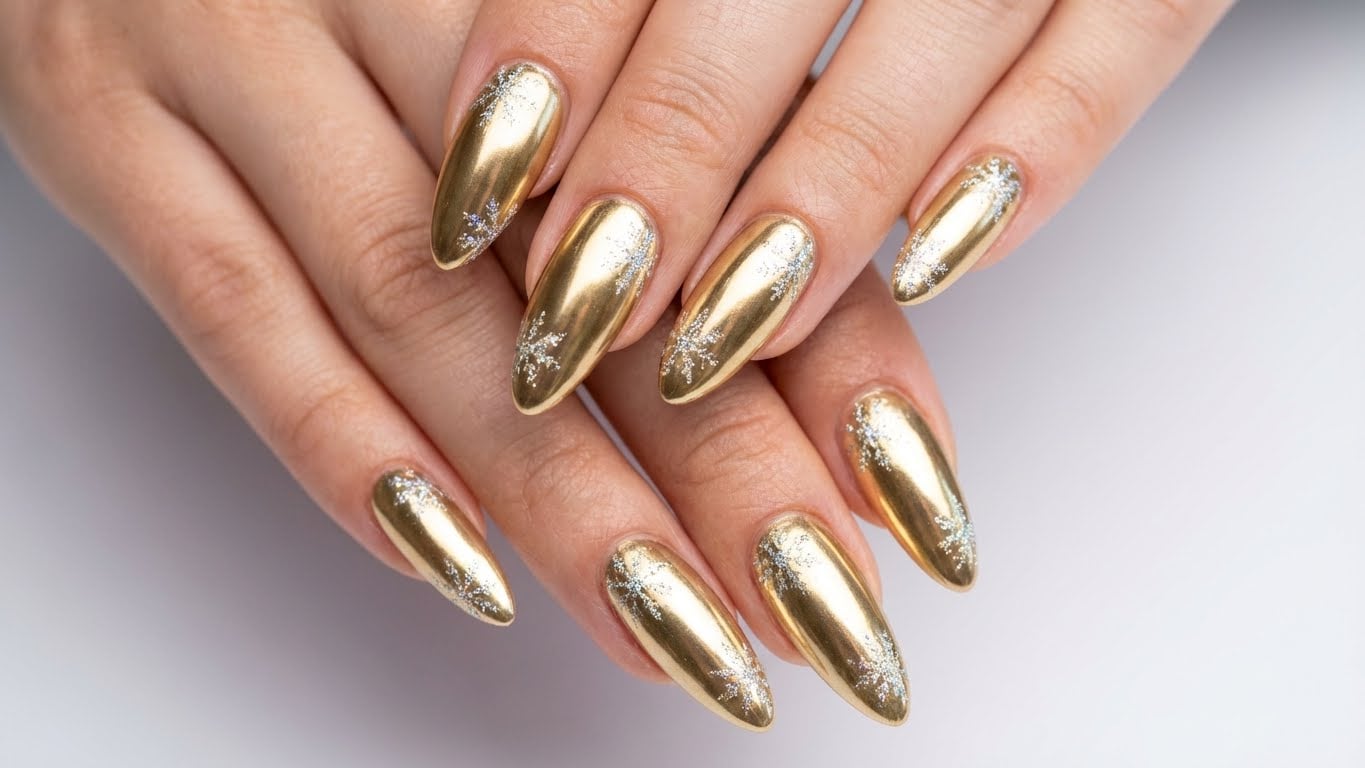
Gold is a timeless and versatile color that complements a wide range of skin tones and personal styles. It’s also incredibly festive, making it the perfect choice for the holiday season. Plus, with the right techniques and tools, a gold nail design can be achieved in a variety of styles, from classic and elegant to bold and playful.
Choosing the Perfect Shade of Gold
With so many different shades of gold to choose from, it can be tricky to decide which one is right for you. Here are a few popular options to consider:
- Warm Gold: A classic, sun-kissed shade that’s perfect for those with cool skin tones.
- Cool Gold: A brighter, more icy shade that’s ideal for those with warm skin tones.
- Rose Gold: A soft, romantic shade that’s perfect for those who want a more subtle look.
Getting the Perfect Finish
While the shade of gold you choose is important, the finish is equally crucial. A smooth, glossy finish is key to creating a look that’s both elegant and eye-catching. Here are a few tips to help you achieve the perfect finish:
- Prep your nails: Before applying any polish, make sure your nails are clean and dry.
- Apply a base coat: This will help protect your nails and create a smooth surface for your polish to adhere to.
- Apply thin coats: To avoid streaks and unevenness, apply thin coats of polish, allowing each coat to dry completely before applying the next.
- Finish with a top coat: This will help lock in your design and add an extra layer of shine.
Creating a Gold Christmas Nail Design
Now that you’ve chosen your shade of gold and mastered the perfect finish, it’s time to get creative with your design. Here are a few ideas to get you started:
- Stripes: Thin stripes of gold and clear polish create a classic, elegant look.
- Florals: Use gold polish to paint delicate flowers or leaves on each nail.
- Glitter accents: Add a touch of sparkle with glitter polish accents on each nail.
FAQs
- Q:** How long do gold Christmas nails last?
A: With proper care and maintenance, gold Christmas nails can last up to two weeks. - Q:** Can I use gold polish on my natural nails?
A: Yes, but make sure to choose a polish that’s free of harsh chemicals and is suitable for your nail type. - Q:** How do I remove gold polish?
A: Use a gentle nail polish remover and follow up with a moisturizing cream to hydrate your nails. - Q:** Can I create a gold Christmas nail design at home?
A: Yes, but make sure to follow proper sanitation and safety precautions to avoid infection or damage to your nails.
Conclusion
Elevating your holiday style has never been easier than with a bold, eye-catching manicure – specifically, gold Christmas nails. Whether you’re a seasoned nail artist or a DIY novice, with these tips and techniques, you’ll be well on your way to creating a look that’s sure to turn heads. So why wait? Get creative, have fun, and shine bright this holiday season!
FAQ
How long do gold Christmas nails last?
With proper care and maintenance, gold Christmas nails can last up to two weeks.
Can I use gold polish on my natural nails?
Yes, but make sure to choose a polish that's free of harsh chemicals and is suitable for your nail type.
How do I remove gold polish?
Use a gentle nail polish remover and follow up with a moisturizing cream to hydrate your nails.
Can I create a gold Christmas nail design at home?
Yes, but make sure to follow proper sanitation and safety precautions to avoid infection or damage to your nails.
Related Posts