
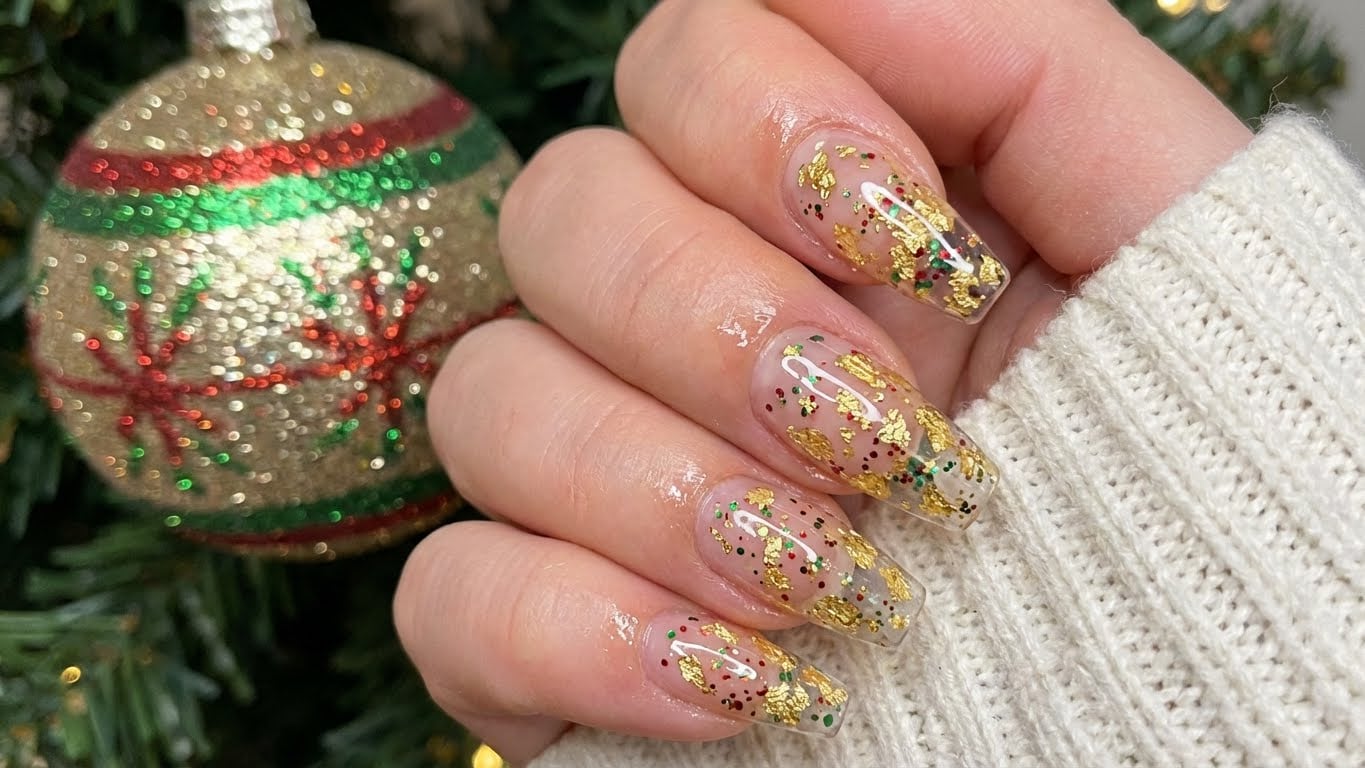
A gold Christmas nail design is a versatile and elegant look that can elevate any holiday outfit. Whether you’re attending a festive party or simply want to get into the holiday spirit, gold nails are sure to make a statement.
While it’s easy to get a professional nail treatment, many people enjoy the creative process and challenge of trying new DIY nail techniques. In this article, we’ll take you through the steps to create a stunning gold Christmas nail design at home.
Materials Needed
To get started, you’ll need a few basic nail care tools and some gold nail polish. Here’s a list of the materials you’ll need:
- Nail polish remover
- Base coat
- Gold nail polish (choose your desired shade)
- Top coat
- Nail art brush (optional)
- Nail dotting tool (optional)
Step 1: Prepare Your Nails
Before applying your gold nail polish, make sure your nails are clean and moisturized. Remove any old nail polish and push back your cuticles. Apply a base coat to protect your nails and promote even polish adhesion.
Step 2: Apply Gold Nail Polish
Choose your desired gold nail polish shade and apply a thin layer to each nail. Use a gentle, smooth motion to cover the entire nail surface. Make sure to let the first layer dry completely before applying a second coat for maximum shine.
Step 3: Add a Touch of Luxury (Optional)
If you want to add an extra layer of elegance to your gold Christmas nail design, now’s the time to get creative. Use a nail art brush to add intricate designs or patterns to your nails. You can also use a nail dotting tool to create small dots or accents.
Step 4: Finish with a Top Coat
Once you’ve completed your gold nail polish and added any optional designs, apply a top coat to seal in the color and add a glossy finish.
Common Mistakes to Avoid
While DIY nail designs can be a fun and rewarding experience, there are a few common mistakes to avoid when creating a gold Christmas nail design:
- Applying too much polish at once, leading to a messy or uneven finish
- Failing to let the first layer dry completely before applying a second coat
- Not using a base coat or top coat, leading to uneven polish adhesion or a dull finish
FAQs
Q: Can I use a different type of polish, such as gel or acrylic?
A: While you can use gel or acrylic polish, we recommend using traditional nail polish for a more festive and temporary look.
Q: How do I remove gold nail polish?
A: To remove gold nail polish, use a nail polish remover and gently scrub the nail surface with a cotton swab.
Q: Can I add glitter or other embellishments to my gold nail design?
A: Yes, you can add glitter or other embellishments to your gold nail design using a nail art brush or dotting tool.
Q: How long does gold nail polish last?
A: Gold nail polish can last anywhere from 3-7 days, depending on the quality of the polish and your nail care routine.
Conclusion
Creating a gold Christmas nail design at home is a fun and rewarding experience that can add a touch of luxury to your holiday look. By following these easy steps and avoiding common mistakes, you can achieve a stunning and elegant gold manicure that’s sure to impress.
FAQ
Can I use a different type of polish, such as gel or acrylic?
While you can use gel or acrylic polish, we recommend using traditional nail polish for a more festive and temporary look.
How do I remove gold nail polish?
To remove gold nail polish, use a nail polish remover and gently scrub the nail surface with a cotton swab.
Can I add glitter or other embellishments to my gold nail design?
Yes, you can add glitter or other embellishments to your gold nail design using a nail art brush or dotting tool.
How long does gold nail polish last?
Gold nail polish can last anywhere from 3-7 days, depending on the quality of the polish and your nail care routine.
Related Posts


