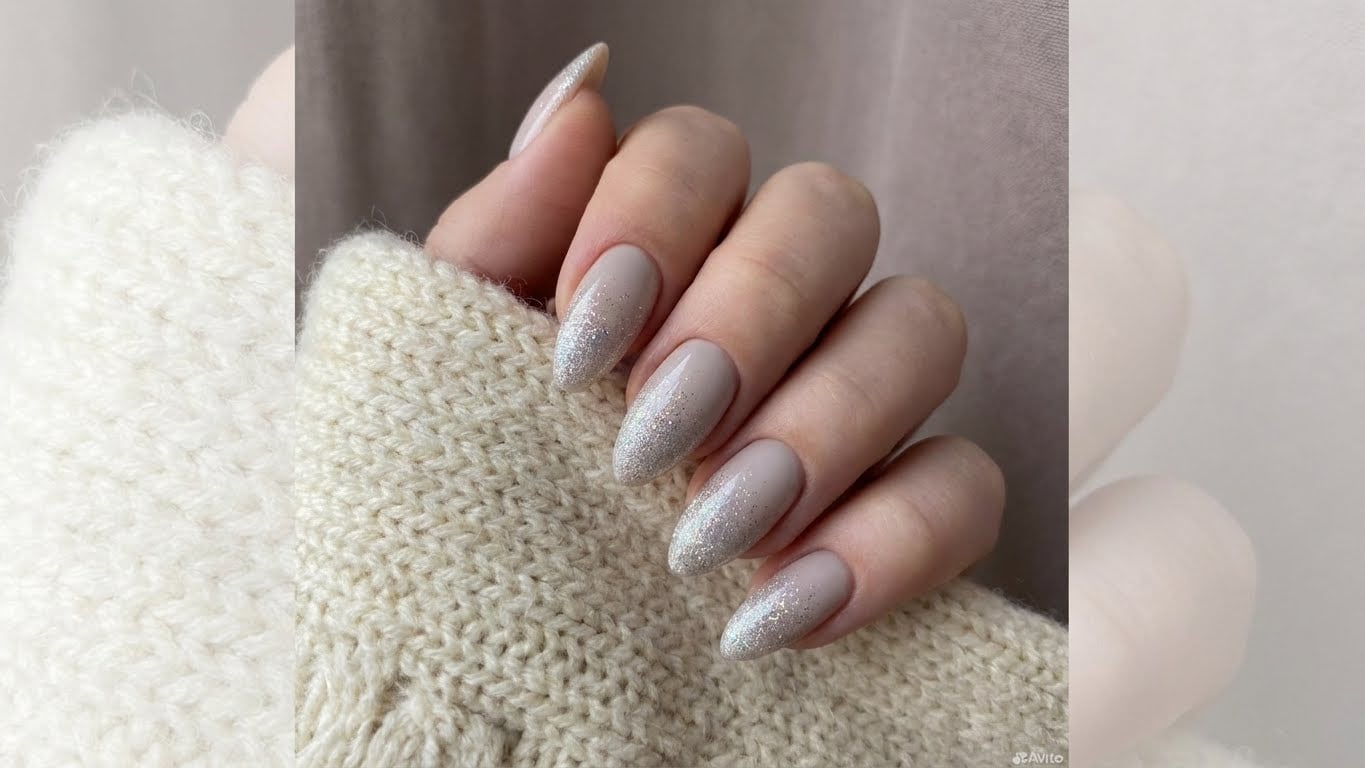
Introduction to Gold Christmas Nails
Are you tired of the same old holiday nail art? Look no further! This year, why not try something new and glamorous with gold Christmas nails? This festive look is perfect for the holiday season, and with our step-by-step guide, you’ll be able to achieve a stunning finish at home.
Materials Needed
Before we dive into the tutorial, make sure you have the following materials:
– Nail polish remover
– Nail clippers
– Nail file
– Cuticle pusher
– Cuticle oil
– Base coat
– Gold polish (choose your desired shade)
– Top coat
– Nail art brushes (optional)
– Nail art tools (optional)
Step 1: Prep Your Nails
To ensure a smooth and even finish, it’s essential to prep your nails before starting. Remove any old nail polish using a nail polish remover, and then trim and shape your nails to your desired shape using nail clippers.
Next, use a nail file to gently buff the surface of your nails, removing any ridges or imperfections. Apply a small amount of cuticle oil to soften your cuticles, and then use a cuticle pusher to gently push them back.
Step 2: Apply Base Coat
Apply a thin layer of clear base coat to each nail, making sure to cover the entire surface. This will help protect your nails and create a smooth surface for your gold polish to adhere to.
Step 3: Apply Gold Polish
This is the fun part! Apply a thin layer of gold polish to each nail, starting at the center and working your way out towards the tips. Use a nail art brush to create a smooth, even finish, and make sure to let each layer dry completely before applying the next.
If you want to add some extra sparkle to your design, now’s the time to use a nail art tool to create intricate patterns or designs. You can also use a nail art brush to add some subtle shading or texture to your gold polish.
Step 4: Apply Top Coat
Once you’ve achieved the desired level of gold polish, apply a thin layer of clear top coat to seal everything in. This will help extend the wear of your polish and prevent chipping or fading.
Step 5: Finishing Touches
The final step is to add any finishing touches to your design. You can use a nail art brush to add some subtle shading or texture to your gold polish, or you can use a nail art tool to create intricate patterns or designs.
Adding a Festive Touch
To give your gold Christmas nails an extra festive touch, why not try adding some red or green accents? You can use a nail art brush to add some subtle shading or texture to your gold polish, or you can use a nail art tool to create intricate patterns or designs.
Conclusion
With our step-by-step guide, you should now be able to achieve stunning gold Christmas nails at home. Remember to take your time and be patient, as this look does require a bit of practice to get right.
Tips and Tricks
Here are a few tips and tricks to help you achieve the perfect gold Christmas nails:
– Make sure to use a high-quality gold polish that’s specifically designed for nail art.
– Use a nail art brush to create a smooth, even finish.
– Don’t be afraid to experiment and try out new designs and patterns.
– Use a top coat to seal everything in and extend the wear of your polish.
FAQs
Q: What kind of gold polish should I use?
A: We recommend using a high-quality gold polish that’s specifically designed for nail art. Look for a polish that’s formulated with long-wearing ingredients and has a smooth, even finish.
Q: How do I achieve a metallic finish?
A: To achieve a metallic finish, make sure to use a high-quality gold polish that’s specifically designed for nail art. Apply a thin layer of polish to each nail, and then use a nail art brush to create a smooth, even finish.
Q: Can I use nail stickers or nail guides?
A: Yes, you can use nail stickers or nail guides to help create intricate patterns or designs. Simply apply the sticker or guide to your nail, and then use a nail art brush to paint over it.
Q: How do I remove gold polish from my nails?
A: To remove gold polish from your nails, use a nail polish remover specifically designed for nail art. Apply the remover to a cotton ball or swab, and then gently rub it onto your nail to remove the polish.
[
{
“label”: “Nail polish remover”,
“url”: “https://www.amazon.com/Nail-Polish-Remover-Removers-10-Pack/dp/B07BQ4G4G4/”,
“anchor”: “Nail Polish Remover”
},
{
“label”: “Nail clippers”,
“url”: “https://www.amazon.com/Nail-Clippers-Manicure-Clippers-Sterile/dp/B07D9D9D9D/”,
“anchor”: “Nail Clippers”
}
]

Related Posts