Introduction
New Year’s Eve is just around the corner, and you know what that means – it’s time to get creative with your nails! Whether you’re hosting a party or attending one, you’ll want to make a statement with your manicure. In this guide, we’ll show you how to create stunning New Year’s Eve nails ideas that will sparkle and shine.

Step 1: Choose Your Base Color
The first step in creating your New Year’s Eve nails is to choose a base color. You can opt for a classic red, a bold black, or even a metallic silver or gold. The key is to choose a color that complements your skin tone and personal style. If you’re feeling adventurous, you can also try a bold, bright color like electric blue or hot pink.
Consider Your Skin Tone
If you have a cool skin tone, you’ll look great in blue-based colors like pink, purple, or red. If you have a warm skin tone, you’ll look great in yellow-based colors like orange, yellow, or gold.
Step 2: Add Some Glitter
Glitter is a must-have for any New Year’s Eve nails look. You can add it to your base color using a glitter polish, or you can use a glitter topcoat to give your nails an extra sparkle. If you want to get really creative, you can even use a glitter nail polish with a built-in gel topcoat for a long-lasting finish.
Types of Glitter
There are many types of glitter to choose from, including fine, medium, and chunky glitter. Fine glitter is great for creating a subtle, sparkly effect, while medium glitter adds a bit more drama. Chunky glitter, on the other hand, is perfect for making a statement.
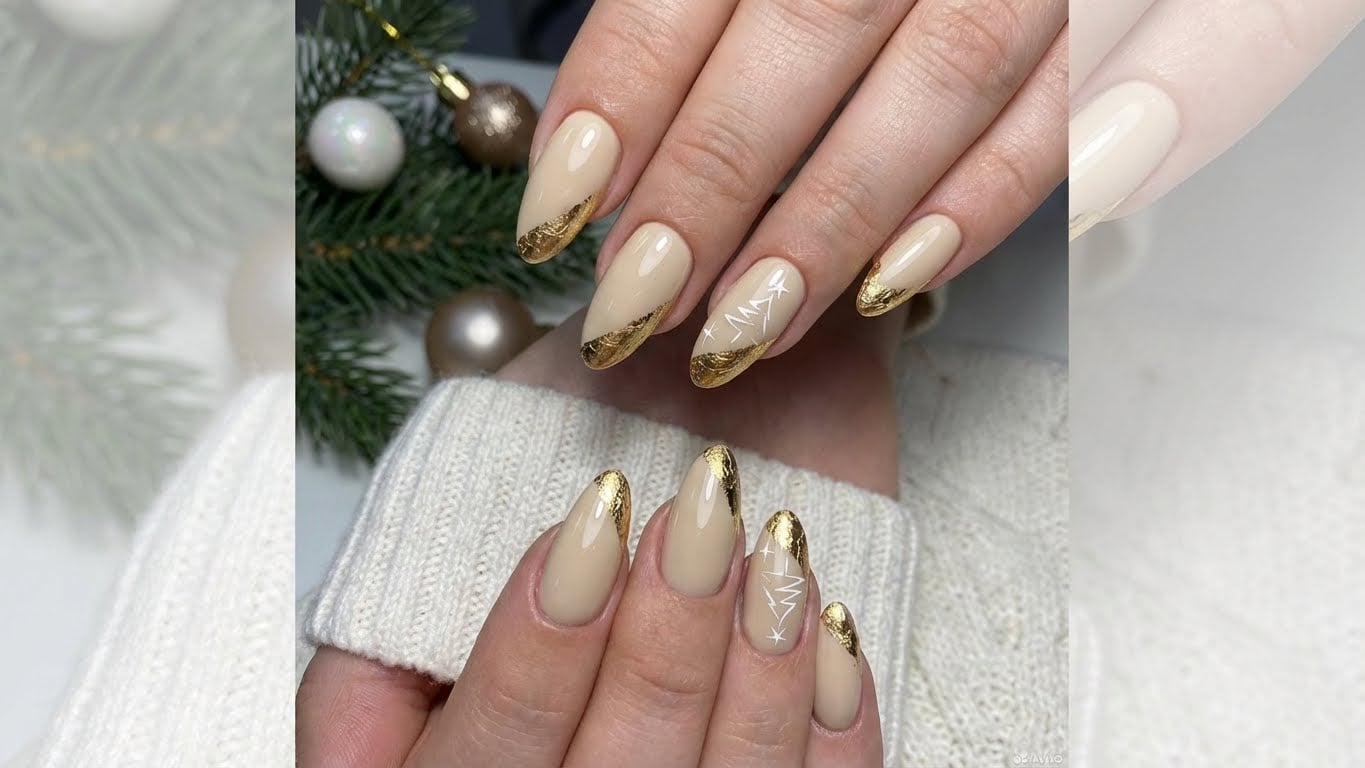
Step 3: Add Some Metallic Hues
Metallic hues are perfect for New Year’s Eve nails, as they add a sophisticated, glamorous touch. You can use a metallic polish in a color like silver, gold, or rose gold, or you can use a metallic topcoat to give your nails an extra shine.
How to Use Metallic Hues
To use metallic hues, simply apply a base coat and then apply a metallic polish or topcoat. You can also use a metallic nail art brush to add metallic details to your design.
Step 4: Add Some Nail Art
Nail art is a great way to add some extra flair to your New Year’s Eve nails. You can use nail polish to create designs, or you can use nail art supplies like stickers, rhinestones, or even 3D nail art to add some extra dimension.
Nail Art Ideas
Here are a few nail art ideas to get you started:
- Glitter stripes: Use a glitter polish to create stripes on your nails.
- Metallic dots: Use a metallic polish to create dots on your nails.
- Nail art stickers: Use nail art stickers to create fun designs like cats, dogs, or even New Year’s Eve-themed designs.
- Rhinestones: Use rhinestones to add some extra sparkle to your nails.
- 3D nail art: Use 3D nail art supplies to create raised designs on your nails.
Step 5: Seal It All In
The final step in creating your New Year’s Eve nails is to seal it all in with a topcoat. This will help your design last longer and prevent chipping. Look for a topcoat that is specifically designed for glitter or metallic finishes, as these will help to prevent the glitter or metallic particles from getting scratched off.
Topcoat Tips
Here are a few topcoat tips to keep in mind:
- Apply a thin layer: Apply a thin layer of topcoat to your nails to prevent the glitter or metallic particles from getting scratched off.
- Use a fast-drying topcoat: Use a fast-drying topcoat to prevent smudging or smearing.
- Choose a topcoat that is specifically designed for glitter or metallic finishes: This will help to prevent the glitter or metallic particles from getting scratched off.
Conclusion
And there you have it – a guide to creating stunning New Year’s Eve nails ideas that will sparkle and shine. With these steps and tips, you’ll be able to create a look that is perfect for any New Year’s Eve celebration.
FAQ
What is the best way to remove glitter polish?
The best way to remove glitter polish is to use a nail polish remover that is specifically designed for removing glitter polish. This will help to prevent the glitter particles from getting stuck in your nails.
Related Posts