Introduction
As the clock ticks down to midnight on New Year’s Eve, there’s no better way to celebrate than with a stunning nail design. From classic glitter to intricate designs, the possibilities are endless. In this guide, we’ll show you how to create a show-stopping sparkling New Year’s Eve nail look at home.
Choosing the Right Colors
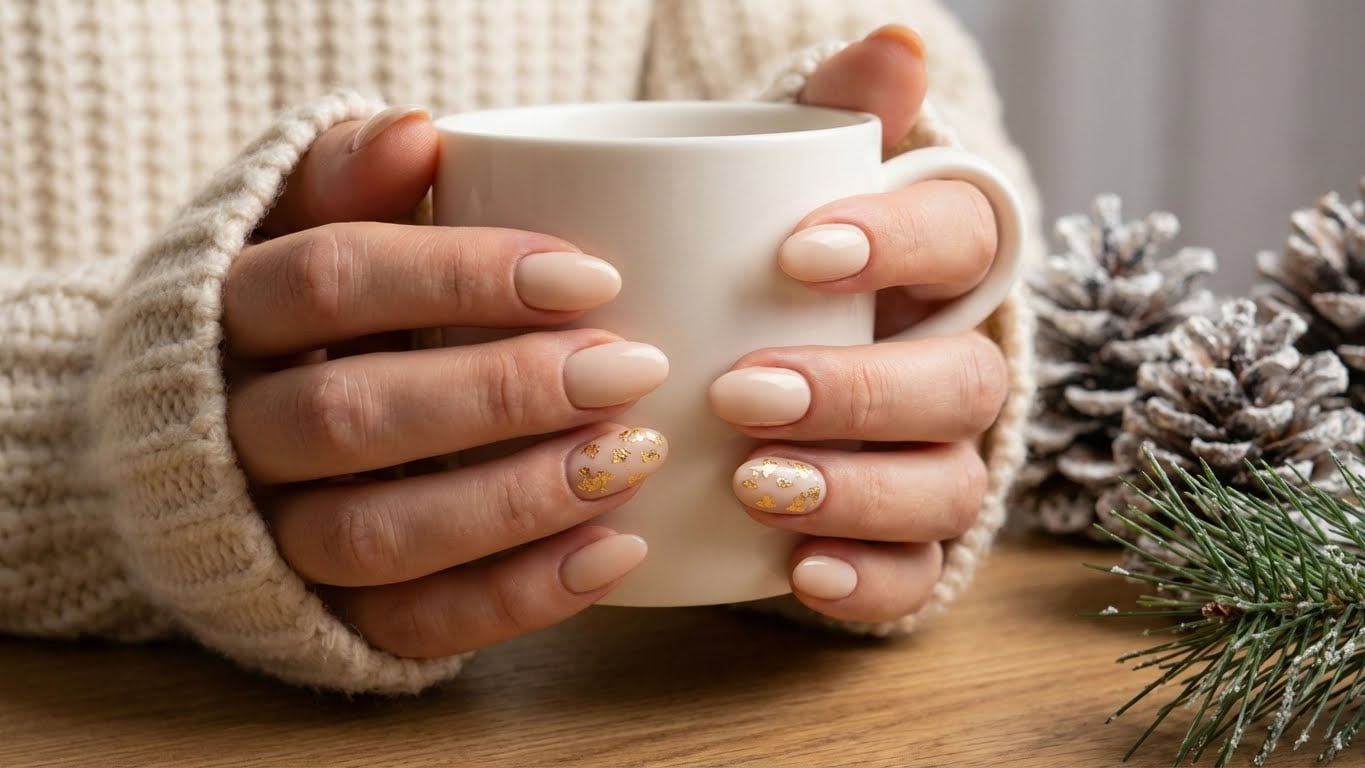
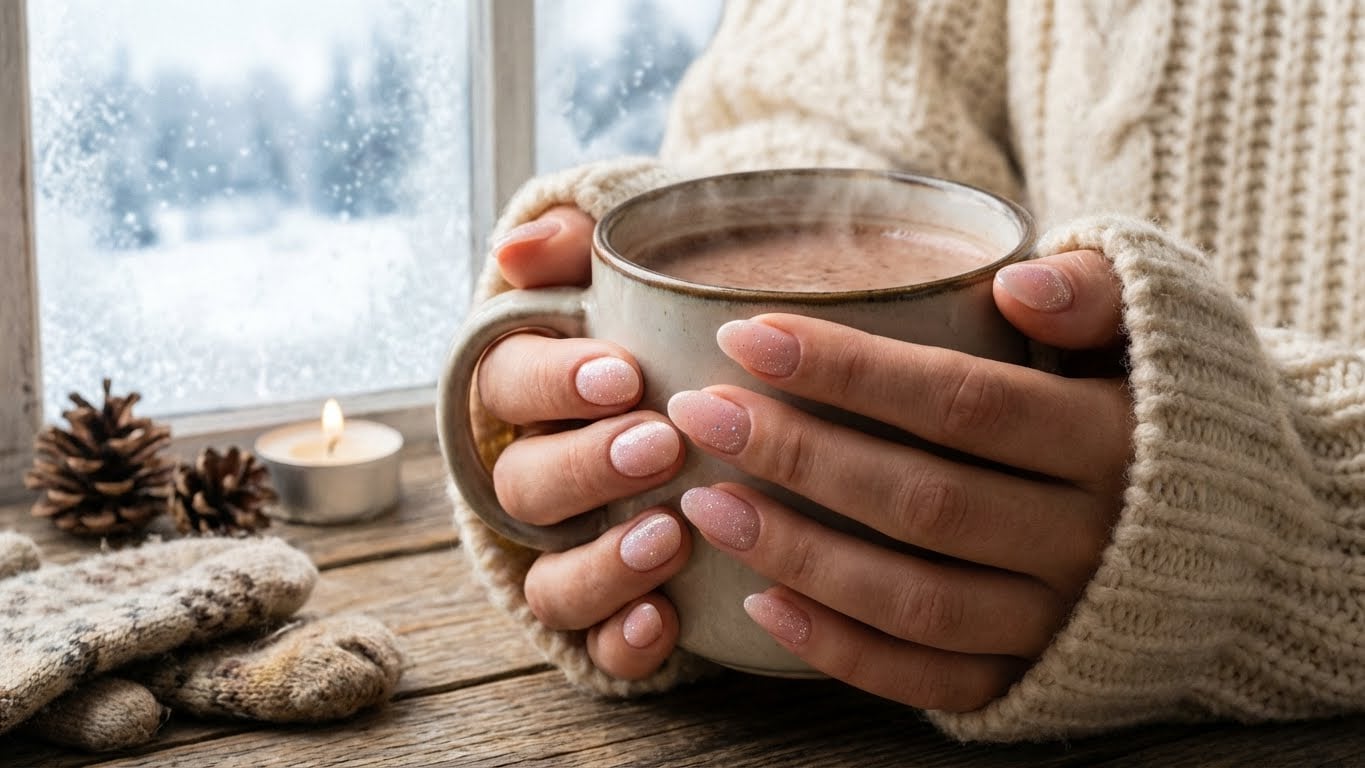
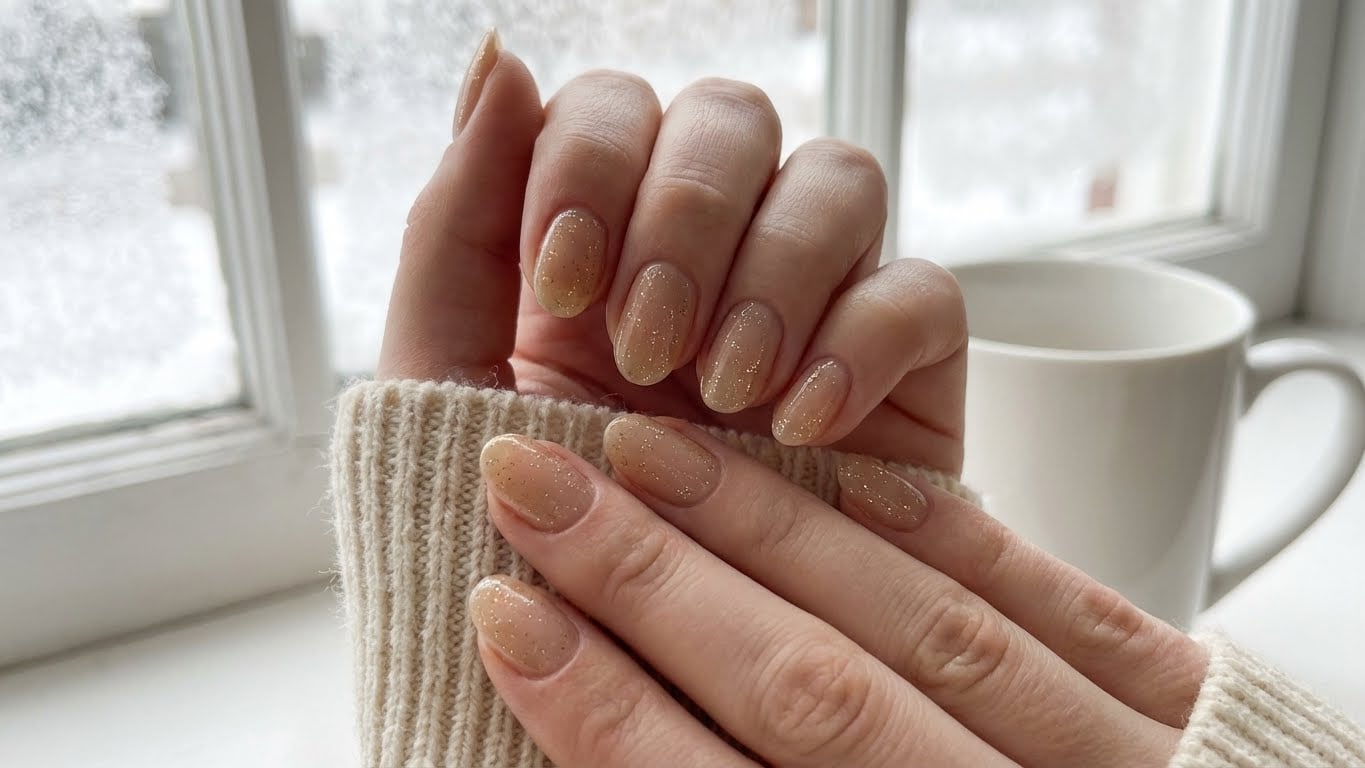
The key to a successful New Year’s Eve nail design is choosing the right colors. You’ll want to select shades that are both festive and timeless. Consider a palette of metallic silvers, golds, and champagnes, which will add a touch of glamour to your look.
Popular New Year’s Eve Nail Colors
- Silver and gold metallic shades
- Champagne and rose gold hues
- Deep berry and burgundy tones
Preparing Your Nails
Before you start designing, make sure your nails are prepped and ready for polish. Remove any old nail polish and push back your cuticles. Then, trim and file your nails to your desired shape.
Nail Prep Tips
- Use a nail file to gently shape your nails
- Push back your cuticles with a cuticle pusher
- Trim any excess nail polish from the edges of your nails
Creating a Glittering Effect
The most iconic New Year’s Eve nail design feature is the glittering effect. You can achieve this look using a variety of methods, including glitter polish, nail stickers, or even a glitter topcoat.
Glitter Polish Tutorial
For a classic glitter look, apply a base coat, followed by a coat of clear polish, and finish with a coat of glitter polish. To add extra sparkle, apply a topcoat over the glitter polish.
Nail Sticker Tutorial
For a more intricate design, use nail stickers to create a glittering effect. Apply a base coat, followed by a coat of clear polish, and then stick on the nail stickers. Finish with a topcoat to seal everything in place.
Adding a Pop of Color
To add some extra personality to your New Year’s Eve nail design, consider adding a pop of color. Use a nail art brush to paint on a small design, or use a nail polish dotting tool to create a fun and playful pattern.
Nail Art Brush Tutorial
For a more intricate design, use a nail art brush to paint on a small design. Start by applying a base coat, followed by a coat of clear polish. Then, use the nail art brush to paint on the design. Finish with a topcoat to seal everything in place.
Finishing Touches
Once you’ve completed your New Year’s Eve nail design, add some finishing touches to complete the look. Use a cuticle oil to moisturize your cuticles, and apply a nail polish remover to clean up any excess polish.
Finishing Touches Tips
- Use a cuticle oil to moisturize your cuticles
- Apply a nail polish remover to clean up any excess polish
- Add a coat of topcoat to seal everything in place
Conclusion
With these easy-to-follow steps, you’ll be able to create a stunning New Year’s Eve nail design at home. From choosing the right colors to adding a pop of color, we’ve got you covered. So go ahead, get creative, and ring in the new year with a dazzling nail design.
Keywords
- New Year’s Eve nail design
- Sparkling nail polish
- Nail stickers
- Nail art brush
- Nail polish remover
FAQ
Related Posts