New Year’s Eve is just around the corner, and you know what that means: it’s time to get creative with your nail art! Whether you’re a seasoned pro or a beginner, we’ve got the perfect guide to help you create a look that will sparkle and shine all night long.

Step 1: Choose Your Theme
The first step in creating your New Year’s Eve nails is to choose a theme. Do you want to go classic and elegant, or bold and bright? Maybe you want to incorporate some festive colors like red and green, or go for a more subtle look with metallic accents. Whatever you choose, make sure it reflects your personality and style.
Step 2: Prep Your Nails
Before you start creating your nail art, make sure your nails are prepped and ready to go. Remove any old nail polish and push back your cuticles. Use a buffer to smooth out any ridges or imperfections, and apply a base coat to protect your nails.
Step 3: Choose Your Colors
Now it’s time to choose your colors! For a classic New Year’s Eve look, you can’t go wrong with a combination of metallic and glitter polish. Try pairing a metallic silver or gold polish with a clear glitter polish for a look that’s sure to shine.
Glitter Polish Options
If you want to add some extra sparkle to your nails, consider using a glitter polish. There are so many different types of glitter polish out there, from small and subtle to large and bold. Some popular options include:
- Clear glitter polish: This is a great option if you want to add some sparkle to your nails without overpowering the rest of your design.
- Glitter polish in a variety of colors: If you want to add some extra color to your nails, consider using a glitter polish in a different color. This can add a fun and playful touch to your design.
- Glitter polish with different sizes of glitter: If you want to add some extra interest to your nails, consider using a glitter polish with different sizes of glitter. This can create a fun and textured look.
Step 4: Create Your Design
Now it’s time to create your design! Use nail polish to paint on your design, or try using nail art supplies like stickers or stamps to add some extra details. You can also use a nail art brush to paint on small details like stars or confetti.
Nail Art Ideas
Here are some nail art ideas to get you started:
- Glitter stripes: Paint on some glitter polish in a vertical stripe down the center of your nail, or create a horizontal stripe across the top of your nail.
- Confetti design: Use a nail art brush to paint on some small confetti shapes in a variety of colors.
- Stars: Use a nail art brush to paint on some small stars in a variety of colors.
- Numbers: Use a nail art brush to paint on some small numbers in a bold, metallic color.
Step 5: Finish with a Top Coat
Finally, apply a top coat to seal in your design and add some extra shine. This will help your nails last all night long and prevent chipping or fading.
And there you have it – a guide to creating your own New Year’s Eve nails at home. With these steps and some practice, you’ll be able to create a look that’s sure to sparkle and shine all night long.
Get Inspired
Want to see some inspiration for your New Year’s Eve nails? Check out some of these ideas:
- Try a classic red and gold look, complete with glitter accents.
- Go bold and bright with a neon-colored design.
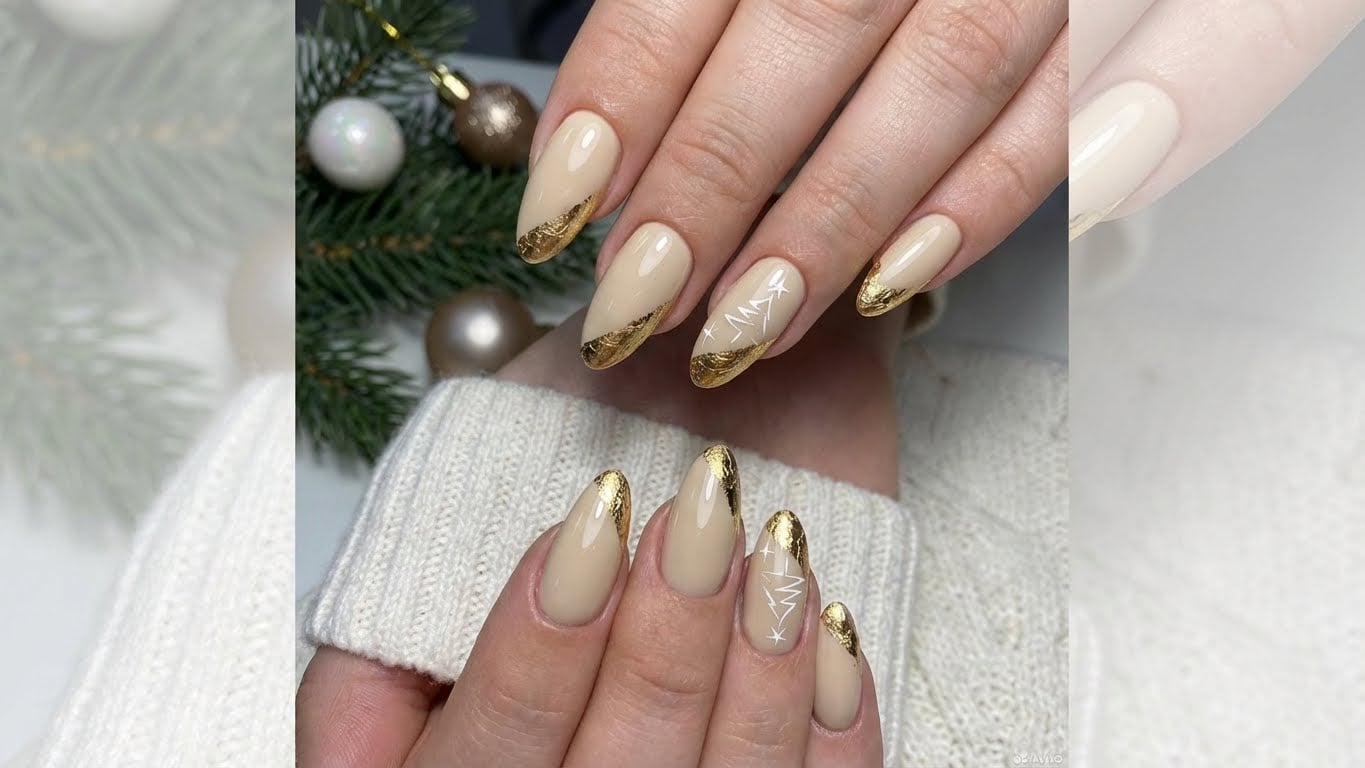
- Try a subtle metallic look, complete with a soft pink or purple polish.
- Get creative with some fun and playful nail art designs, like confetti or stars.
Conclusion
Creating your own New Year’s Eve nails at home is easier than you think. With these steps and some practice, you’ll be able to create a look that’s sure to sparkle and shine all night long. So why not give it a try? Grab your nail polish and let the countdown begin!
Related Posts