New Year’s Eve Nails: A Guide to Sparkling Success
Are you ready to ring in the new year with style? A bold, eye-catching nail design is the perfect way to add some sparkle to your New Year’s Eve look. In this guide, we’ll show you how to create 10 stunning nail designs that are sure to turn heads.
Step 1: Prep Your Nails
Before you start creating your New Year’s Eve nail design, make sure your nails are ready for the challenge. Trim and file your nails to the desired shape, and buff them to a smooth finish. This will help your polish adhere better and create a flawless base for your design.
Step 2: Choose Your Color Palette
New Year’s Eve is all about glamour and sophistication, so choose a color palette that reflects this. Consider a combination of metallic, glitter, and neutral shades to create a look that’s both bold and elegant.
Step 3: Add a Metallic Finish
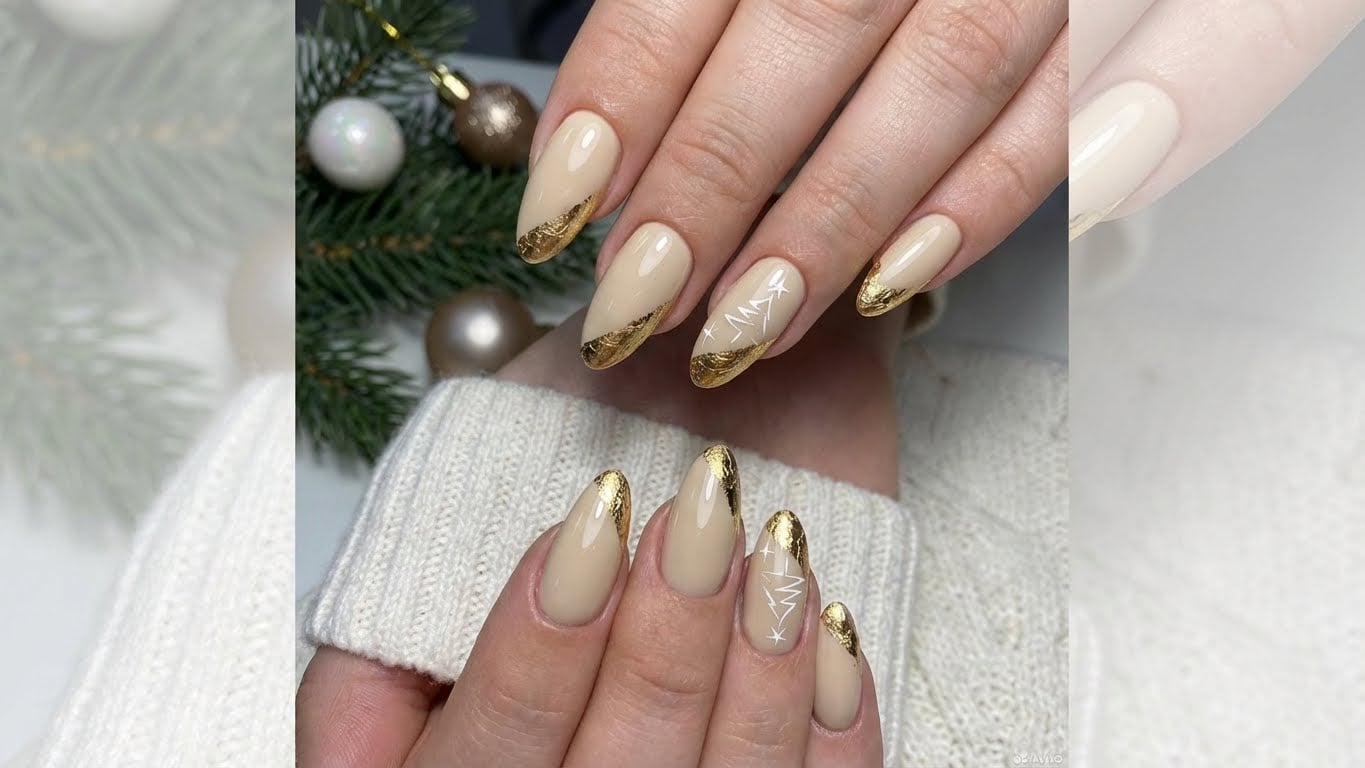
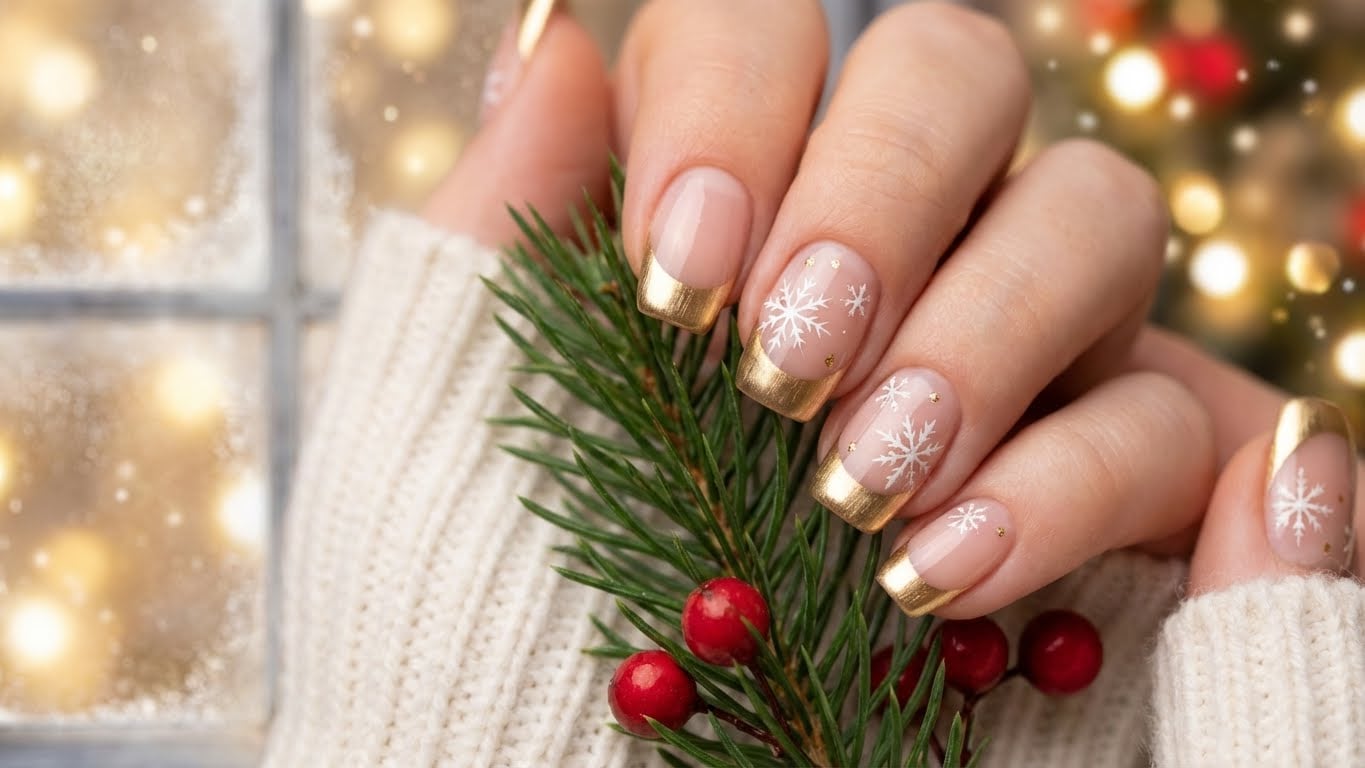
Metallic finishes are a great way to add some sparkle to your New Year’s Eve nail design. Use a metallic polish or a metallic topcoat to give your nails a sleek, high-shine finish. You can also add some metallic accents to your design using a nail art brush and some metallic paint.
10 Sparkling New Year’s Eve Nail Designs
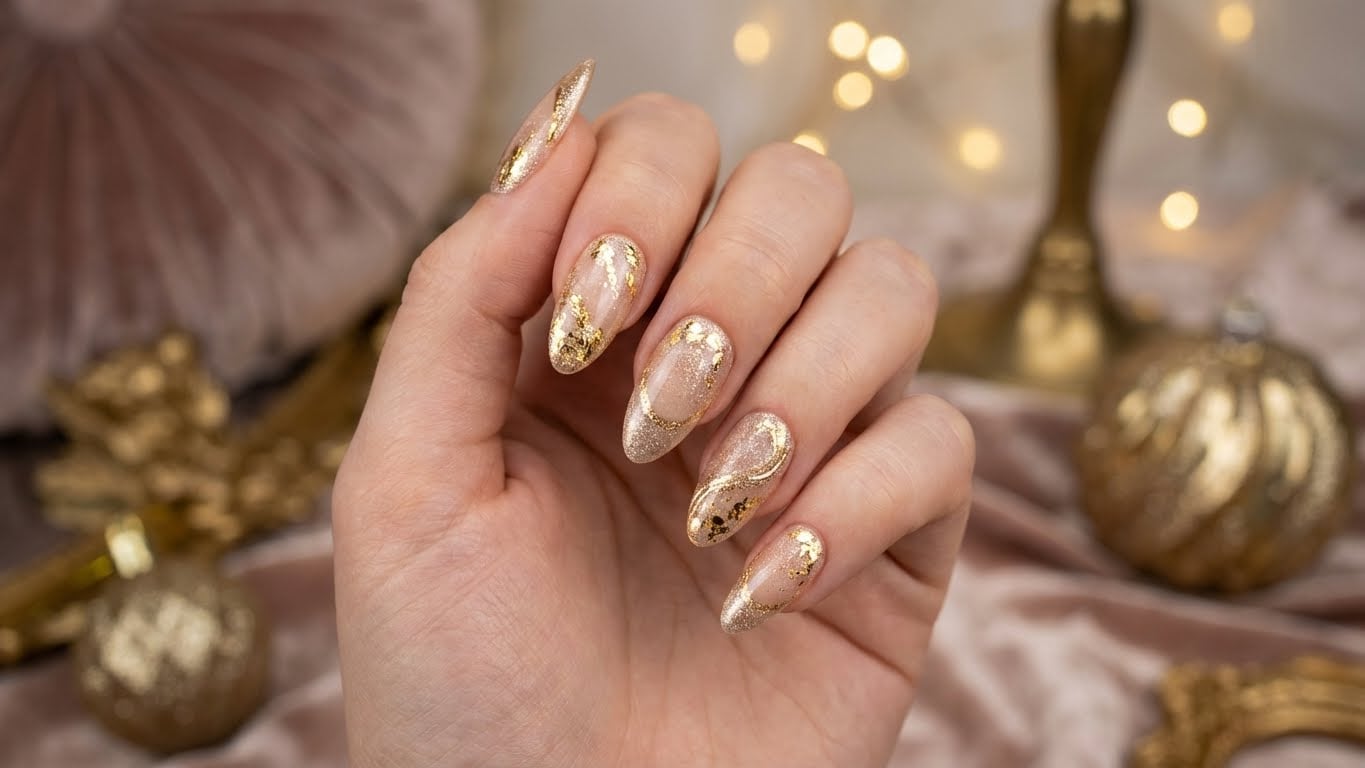
1. **Glittering Gold**: Create a bold, glittering gold design by applying a glitter polish to the entire nail. Use a nail art brush to add some metallic accents and create a striking, eye-catching look.
2. **New Year’s Eve Ball**: Celebrate the start of a new year with a design that features a glittering ball. Use a glitter polish and a nail art brush to create a sparkly, three-dimensional effect.
3. **Confetti Nails**: Create a fun and playful design by applying a confetti polish to the entire nail. Use a nail art brush to add some metallic accents and create a festive, celebratory look.
4. **Glittering Stripes**: Add some sparkle to your New Year’s Eve nail design with glittering stripes. Use a glitter polish and a nail art brush to create a bold, eye-catching look.
5. **Metallic Ombre**: Create a stunning, metallic ombre design by applying a metallic polish in a gradual, ombre effect. Use a nail art brush to add some metallic accents and create a sophisticated, high-shine finish.
6. **Glittering Accents**: Add some sparkle to your New Year’s Eve nail design with glittering accents. Use a glitter polish and a nail art brush to create a bold, eye-catching look.
7. **New Year’s Eve Countdown**: Celebrate the start of a new year with a design that features a countdown to midnight. Use a glitter polish and a nail art brush to create a sparkly, three-dimensional effect.
8. **Glittering Holographic**: Create a bold, holographic design by applying a holographic polish to the entire nail. Use a nail art brush to add some metallic accents and create a striking, eye-catching look.
9. **Metallic Gradient**: Create a stunning, metallic gradient design by applying a metallic polish in a gradual, ombre effect. Use a nail art brush to add some metallic accents and create a sophisticated, high-shine finish.
10. **Glittering Glitter**: Add some sparkle to your New Year’s Eve nail design with glittering glitter. Use a glitter polish and a nail art brush to create a bold, eye-catching look.
Finishing Touches
Once you’ve completed your New Year’s Eve nail design, make sure to finish it off with a topcoat. This will help your polish last longer and create a flawless, high-shine finish. You can also add some nail art details, such as glitter or metallic accents, to give your design an extra touch of sparkle.
Conclusion
Creating a stunning New Year’s Eve nail design is easier than you think. With these 10 sparkly designs, you’ll be ready to ring in the new year with style. Remember to prep your nails, choose a color palette that reflects the occasion, and add a metallic finish to create a look that’s both bold and elegant. Happy decorating, and have a happy New Year!
Related Posts