New Year’s Eve Nails: A Guide to Sparkling Nail Art
New Year’s Eve is a time for celebration, and what better way to ring in the new year than with some stunning nail art? In this guide, we’ll show you how to create sparkling New Year’s Eve nail art ideas that are sure to impress.

Materials Needed
- Nail polish in a variety of colors, including metallic and glitter finishes
- Nail art brushes and dotting tools
- A nail art sponge or cosmetic sponge
- Nail glue and a nail glue dotting tool
- A nail polish top coat and a base coat
Step 1: Prep Your Nails
Before you start creating your New Year’s Eve nail art, make sure your nails are prepped and ready. Remove any old nail polish and push back your cuticles. Use a nail file to shape your nails to your desired shape.
Step 1.1: Apply a Base Coat
Next, apply a base coat to your nails to help protect them and promote even polish adhesion. Let it dry completely before moving on to the next step.
Step 2: Create a Glitter Gradient
For a sparkly New Year’s Eve nail look, try creating a glitter gradient on your nails. Use a nail art sponge or cosmetic sponge to apply a gradient of glitter polish to your nails.
Step 2.1: Apply Glitter Polish
Start by applying a small amount of glitter polish to the sponge or cosmetic sponge. Make sure to load the sponge evenly with polish to avoid any bare spots.
Step 2.2: Apply the Glitter Gradient
Next, use the sponge or cosmetic sponge to apply the glitter polish to your nails in a gradient motion. Start at the cuticle and work your way down the nail, using a light touch to avoid over-saturating the nail.
Step 3: Add Metallic Accents
To add some extra sparkle to your New Year’s Eve nail art, try adding metallic accents to your nails. Use a metallic polish and a nail art brush to paint on small details, such as stars, confetti, or champagne bottles.
Step 3.1: Apply Metallic Polish
Start by applying a small amount of metallic polish to the nail art brush. Make sure to load the brush evenly with polish to avoid any bare spots.
Step 3.2: Paint on Metallic Accents
Next, use the nail art brush to paint on small details, such as stars, confetti, or champagne bottles. Use a light touch to avoid over-painting the nail.
Step 4: Seal with a Top Coat
Finally, seal your New Year’s Eve nail art with a top coat. This will help protect the polish and prevent chipping.
Step 4.1: Apply Top Coat
Start by applying a small amount of top coat to the nail. Make sure to cover the entire nail surface, but avoid getting any polish on the cuticles or skin.
Step 4.2: Finish with a Shine
Let the top coat dry completely before finishing with a shine. Use a nail buffer to gently buff the nail and remove any excess top coat.
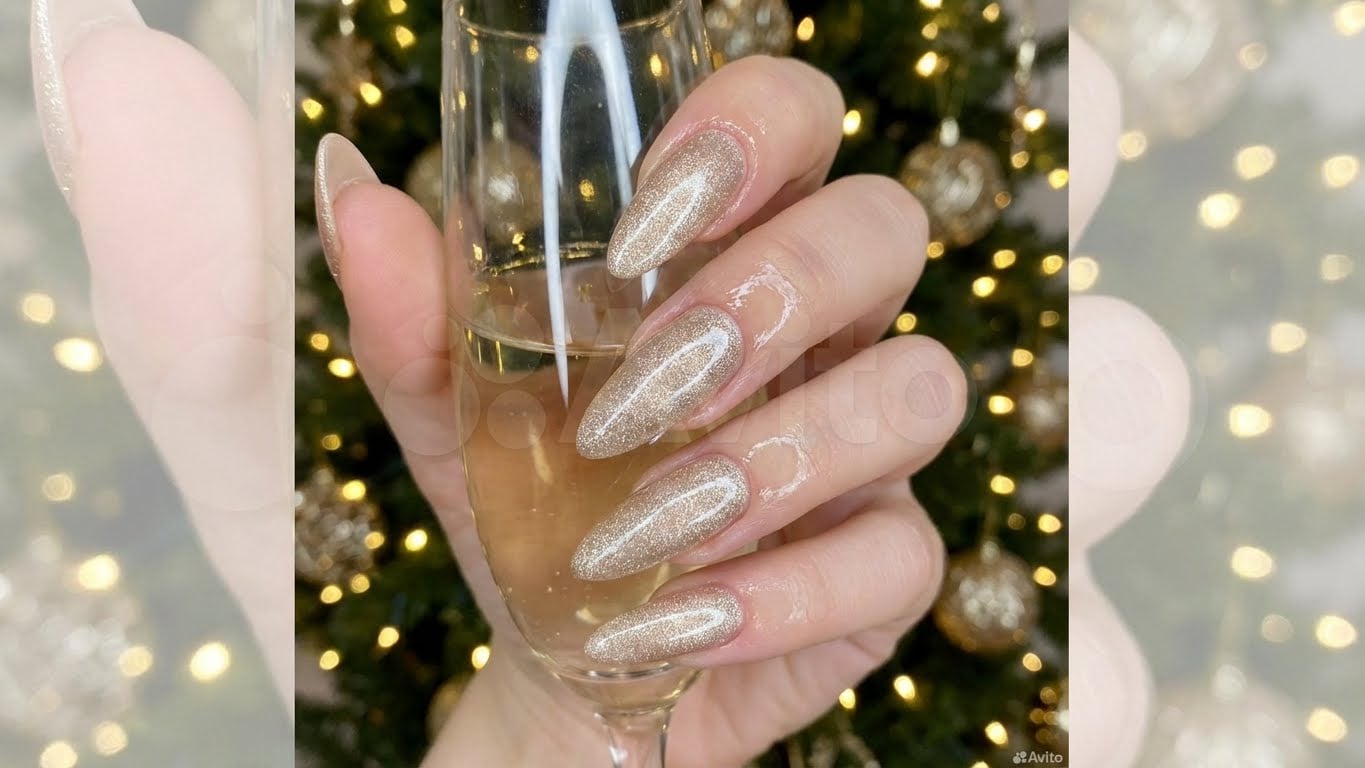
New Year’s Eve Nail Art Ideas to Try
Here are some New Year’s Eve nail art ideas to try:
- Glitter gradient with metallic accents
- Confetti nail art with glitter polish
- Champagne bottle nail art with metallic polish
- Star-studded nail art with glitter polish
Conclusion
With these New Year’s Eve nail art ideas, you’ll be sure to ring in the new year with style. From glitter to metallic, we’ve got you covered with the best tutorials and inspiration. So why wait? Get creative and show off your sparkly New Year’s Eve nails!
Related Posts