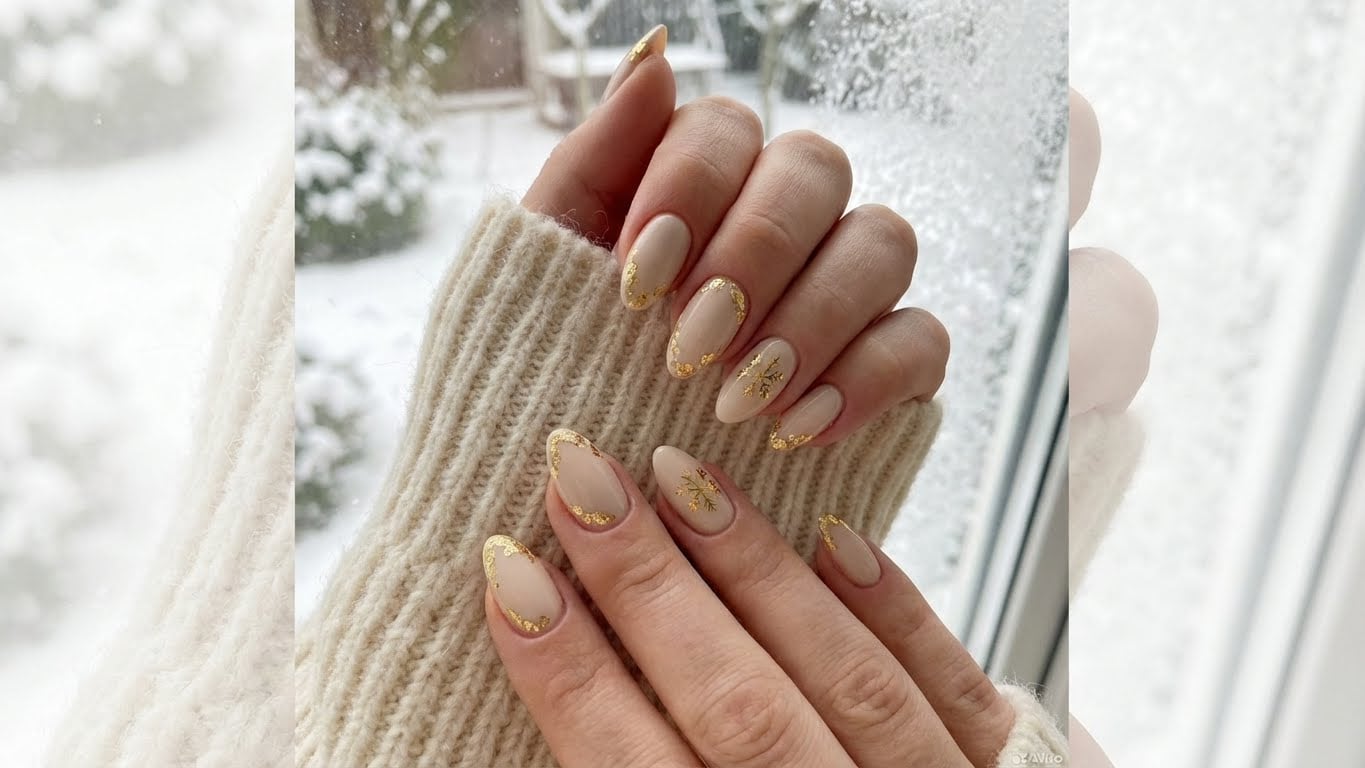
Winter is here, and it’s time to get creative with your nail art! In this article, we’ll show you how to create a beautiful snowflake design on your nails. Whether you’re a seasoned nail artist or a beginner, this guide will walk you through the steps to achieve a stunning winter wonderland look.

Materials Needed
To get started, you’ll need a few basic materials:
- Nail polish in white, silver, and any other colors you like
- Nail art brushes in various sizes
- Nail dotting tool
- Nail guide or stickers
- Top coat
Step 1: Prep Your Nails
Before you start painting, make sure your nails are clean and dry. Remove any old nail polish and push back your cuticles. Apply a base coat to protect your nails and promote even polish adhesion.
Step 2: Create the Base Color
Apply a thin layer of white nail polish to each nail, making sure to cover the entire surface. This will be the base color for your snowflake design.
Step 3: Add the Snowflake Pattern
Using a small nail art brush, paint a small snowflake shape on each nail. You can use a dotting tool to create the center of the snowflake. Allow the polish to dry completely before adding additional layers.
Step 4: Add Additional Details
Using a smaller nail art brush, add additional details to your snowflake design. You can add small dots, lines, or even a few sparkly accents to give your design some extra oomph.
Step 5: Seal It All In
Finally, apply a top coat to seal in your design and add a glossy finish.
Tips and Variations
Here are a few tips and variations to help you take your snowflake design to the next level:
- Experiment with different color combinations to create a unique snowflake effect.
- Add some texture to your design by using a textured polish or a nail stamp.
- Use a nail guide or stickers to create a more precise snowflake shape.
Frequently Asked Questions
-
Q: What type of nail polish should I use for this design?
A: You can use any type of nail polish you like, but acrylic or gel polish will give you a longer-lasting finish.
-
Q: How do I create a snowflake shape?
A: Use a small nail art brush to paint a small snowflake shape on each nail. You can use a dotting tool to create the center of the snowflake.
-
Q: Can I use a different color scheme for my snowflake design?
A: Yes, you can experiment with different color combinations to create a unique snowflake effect.
-
Q: How do I seal in my design?
A: Apply a top coat to seal in your design and add a glossy finish.
Conclusion
And that’s it! With these easy steps, you can create your own stunning snowflake nail design. Remember to experiment with different color combinations and techniques to make your design truly unique. Happy painting!
FAQ
What type of nail polish should I use for this design?
You can use any type of nail polish you like, but acrylic or gel polish will give you a longer-lasting finish.
How do I create a snowflake shape?
Use a small nail art brush to paint a small snowflake shape on each nail. You can use a dotting tool to create the center of the snowflake.
Can I use a different color scheme for my snowflake design?
Yes, you can experiment with different color combinations to create a unique snowflake effect.
How do I seal in my design?
Apply a top coat to seal in your design and add a glossy finish.