Winter is a great excuse to get creative with your nail art and try out new, sparkly looks. From snowflake designs to glittery finishes, the possibilities are endless. In this guide, we’ll walk you through the steps to achieve stunning, sparkly winter nails that will make you feel like a million bucks.

Prepare Your Nails
Before you start creating your sparkly winter nails, you need to prepare your nails. This involves cleaning and shaping your nails, as well as removing any old nail polish. Use a nail cleanser to wipe down your nails, and then shape them using nail clippers and a nail file.
Choose Your Base Coat
A good base coat is essential for achieving a long-lasting, sparkly finish. Look for a base coat that is specifically designed for nail art, as it will help your polish adhere to your nails and prevent chipping. Some popular brands include Silk! and Seche!.
Apply Base Coat
Apply a thin layer of base coat to each nail, making sure to cover the entire surface. Let it dry completely before moving on to the next step.
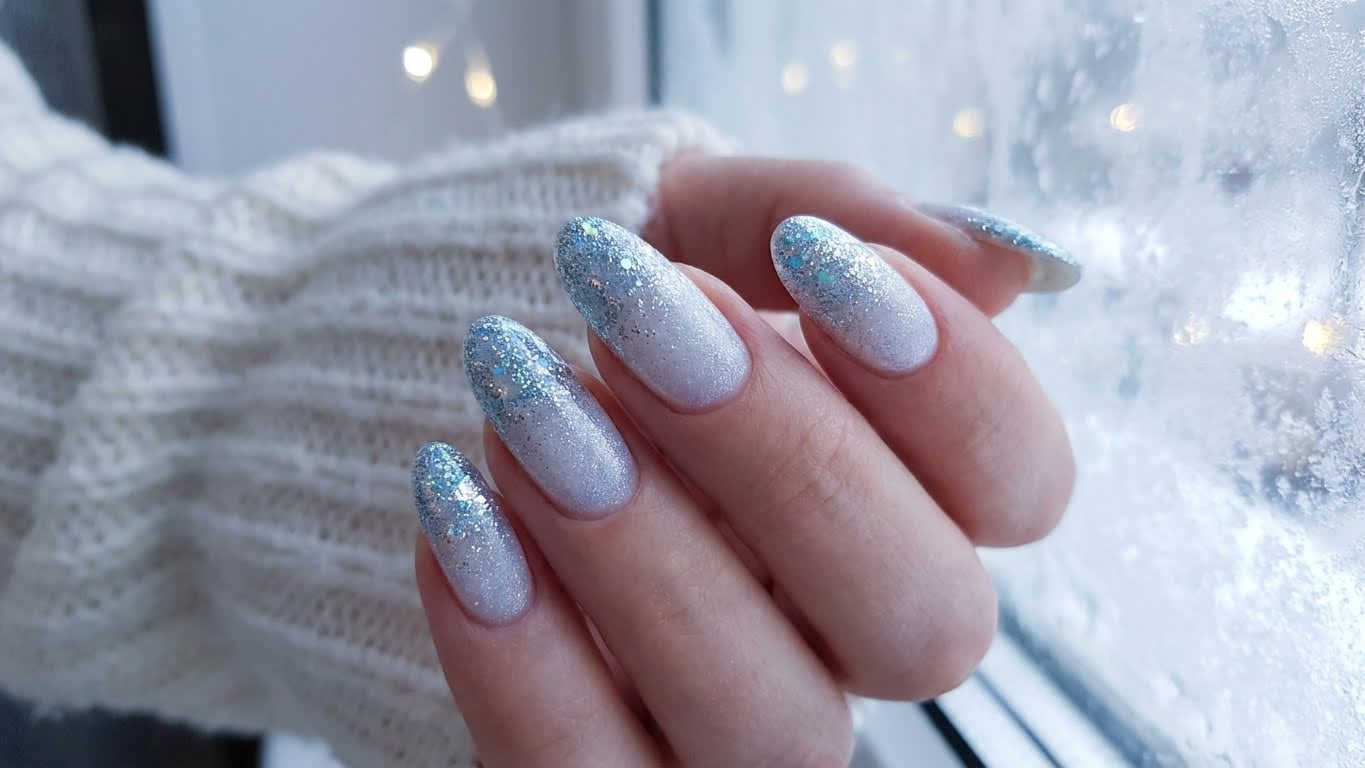
Choose Your Nail Polish
Now it’s time to choose your nail polish. For a sparkly winter look, you can’t go wrong with a glittery finish. Look for polish that contains glitter or shimmer particles, such as China Glaze! or Butter London!.
Apply Nail Polish
Apply a thin layer of nail polish to each nail, starting in the center and working your way out towards the tips. Make sure to let it dry completely before applying a second coat.
Finishing Touches
Once you’ve applied your nail polish, it’s time to add the finishing touches. You can use a top coat to seal in your polish and add an extra layer of shine. Some popular brands include Seche! and Orly!.
Add Nail Art
Finally, you can add nail art to give your sparkly winter nails a personal touch. Use a nail art brush and some nail polish to create designs such as snowflakes, stars, or trees.
Conclusion
With these simple steps, you can achieve stunning, sparkly winter nails that will make you feel like a million bucks. Remember to prepare your nails, choose a good base coat, and apply a glittery finish. Don’t forget to add some nail art to give your nails a personal touch. Happy crafting!
FAQs
-
Q: What is the best way to remove old nail polish?
A: The best way to remove old nail polish is to use a nail polish remover. You can also use acetone or nail polish remover wipes.
-
Q: How do I prevent my nail polish from chipping?
A: To prevent your nail polish from chipping, make sure to apply a good base coat and top coat. Also, avoid using your nails as tools, such as opening packages or picking at things.
-
Q: Can I use any type of glitter polish?
A: No, not all glitter polishes are created equal. Look for polish that contains high-quality glitter particles that will adhere well to your nails.
-
Q: How long does it take to dry nail polish?
A: It usually takes around 10-15 minutes for nail polish to dry completely. However, this can vary depending on the type of polish and the environment.
FAQ
What is the best way to remove old nail polish?
The best way to remove old nail polish is to use a nail polish remover. You can also use acetone or nail polish remover wipes.
How do I prevent my nail polish from chipping?
To prevent your nail polish from chipping, make sure to apply a good base coat and top coat. Also, avoid using your nails as tools, such as opening packages or picking at things.
Can I use any type of glitter polish?
No, not all glitter polishes are created equal. Look for polish that contains high-quality glitter particles that will adhere well to your nails.
How long does it take to dry nail polish?
It usually takes around 10-15 minutes for nail polish to dry completely. However, this can vary depending on the type of polish and the environment.
Related Posts