Welcome to Sparkly Winter Nails!
Winter is here, and with it comes the perfect excuse to get creative with your nail art. This season, sparkly winter nails are all the rage, and we’re excited to share the latest trends, tips, and tricks to help you achieve the perfect look.
Sparkly Winter Nail Trends
From holographic finishes to glittery accents, there are countless ways to add some sparkle to your winter nails. Here are some of the top trends to try:
Holographic Nails
Holographic nails are a game-changer for winter. With their iridescent finish and 3D effect, they’re sure to turn heads. Try pairing holographic polish with a clear top coat for a mesmerizing effect.
Glittery Accents
Add some extra sparkle to your winter nails with glittery accents. You can use individual glitters, glitter polish, or even add some loose glitter on top of your nail polish for a fun effect.
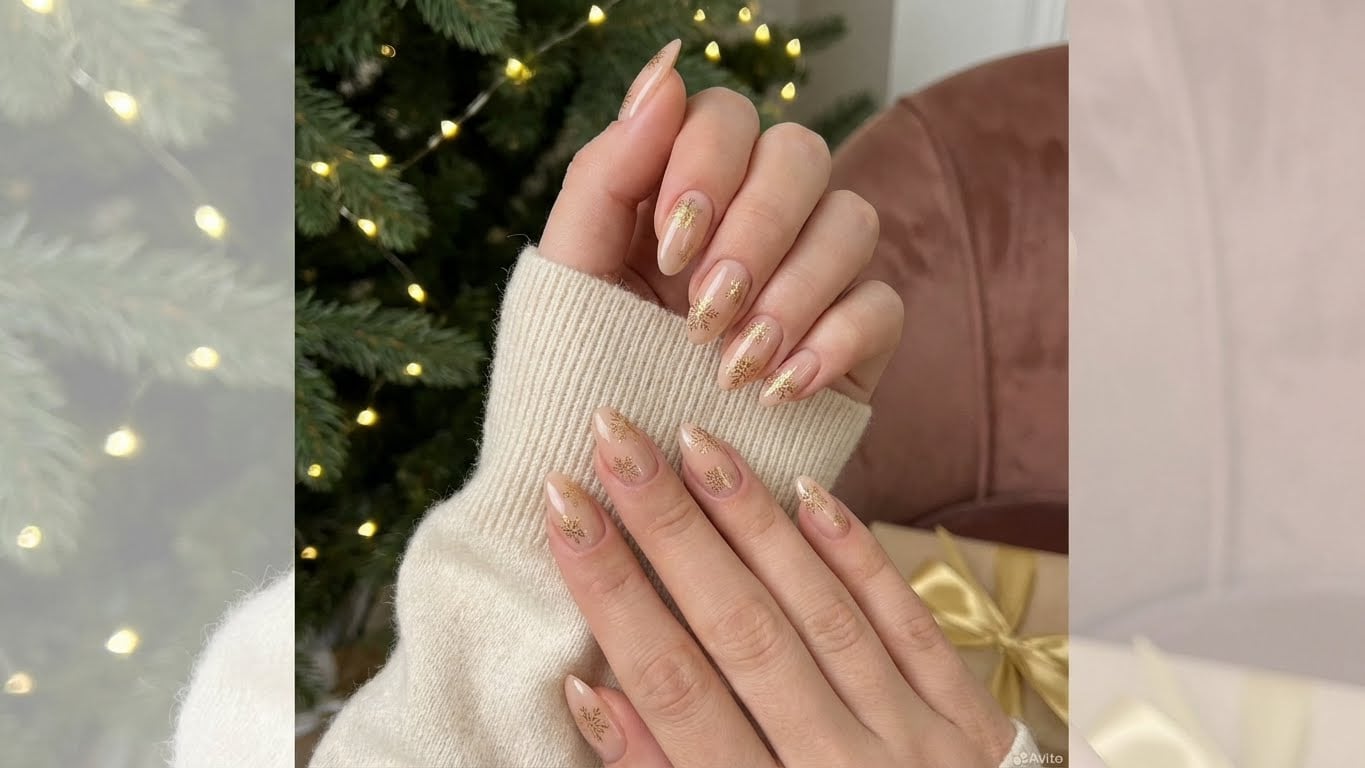
Silver and Gold Nails
Silver and gold nails are a classic winter combination. Try pairing a metallic silver or gold polish with a clear top coat and some glitter accents for a luxurious look.
Winter Nail Tips and Tricks
While sparkly winter nails are all about having fun, there are some essential tips and tricks to keep in mind to ensure your nails look their best:
Prep Your Nails
Before you start painting, make sure your nails are prepped. Use a nail file to shape your nails, and buff them lightly to create a smooth surface.
Choose the Right Base Coat
A good base coat is essential for achieving a long-lasting finish. Look for a base coat that’s formulated for your nail type (e.g., gel, acrylic, or natural).
Don’t Overdo It
While sparkly winter nails are fun, don’t overdo it. Too much glitter or sparkle can be overwhelming. Balance out your look with some subtle finishes or a clear top coat.
How to Achieve Sparkly Winter Nails
Ready to get creative with your winter nails? Here’s a step-by-step guide to help you achieve the perfect sparkly look:
Step 1: Prep Your Nails
Start by prepping your nails with a nail file and buffing them lightly.
Step 2: Choose Your Polish
Select a polish that fits your nail type and desired finish. For a holographic effect, try using a polish with a holographic finish.
Step 3: Add Glittery Accents
Add some extra sparkle to your nails with glittery accents. You can use individual glitters, glitter polish, or even add some loose glitter on top of your nail polish.
Step 4: Top Coat
Finish off your look with a clear top coat. This will help seal in your glittery accents and give your nails a glossy finish.
FAQs
Q: What’s the best way to remove glittery nail polish?
A: To remove glittery nail polish, use a nail polish remover and gently scrape off any remaining glitter with a cuticle pusher.
Q: Can I use any type of glitter on my nails?
A: No, not all glitters are created equal. Look for glitters specifically designed for nail use, and avoid using loose glitter or chunky glitters that can be difficult to apply.
Q: How long does glittery nail polish last?
A: Glittery nail polish can last anywhere from 3-7 days, depending on the type of polish and your nail type.
Q: Can I use glittery nail polish on my toes?
A: Yes, you can use glittery nail polish on your toes. Just be sure to choose a polish that’s specifically designed for toe use and follow the same application and removal steps as you would for your fingernails.
Conclusion</hassistant
{
“title”: “Sparkly Winter Nails: Trends, Tips, and Tricks for the Season

Related Posts